

You know that delightful aroma of freshly baked bread that seems to wrap you in a warm embrace? It all starts with a humble sourdough starter! While exploring the ins and outs of homemade bread, I stumbled upon the joy of crafting my very own starter. With just a few simple ingredients—flour, water, and a sprinkle of patience—you can whip up this culinary gem at home.
This easy beginner sourdough starter recipe is the perfect entry point for anyone looking to infuse their baking with unique flavors. Picture a bubbling mix that transforms into a tangy, airy loaf of bread, or crispy sourdough crackers shared with friends. As I embarked on this journey, I found joy not only in the baking process but also in the satisfying ritual of nurturing my starter day by day.
Join me as we dive into the world of sourdough and discover how this easy recipe can elevate your homemade culinary creations, leaving fast food far behind!
Why is a sour dough starter easy recipe essential?
Homemade Delight: There’s nothing quite like creating your own sourdough starter, transforming simple ingredients into something extraordinary that fills your home with warmth and comfort.
Unique Flavors: With this recipe, you’ll unlock complex, tangy flavors that elevate every loaf of bread or snack you create.
Beginner-Friendly: Designed with newcomers in mind, this easy recipe simplifies the sourdough process, ensuring you enjoy every step.
Versatile Options: Experiment with different flour types, such as whole wheat or rye, to customize the taste and nutritional benefits as your starter develops.
Time-Saving Tips: Learn how to maintain and store your starter effortlessly. For a deeper dive into baking ideas, check out my tips on using sourdough discard creatively.
Sourdough Starter Easy Recipe Ingredients
For the Starter
- Flour – Use unbleached all-purpose or whole grain flour like whole wheat or rye for added nutrients; you can experiment with different types once your starter is established.
- Water – Essential for activating the yeast; opt for room temperature or cool water, avoiding chlorinated types that can inhibit fermentation.
For Mixing Tools
- Glass jar with lid – Choose a jar that holds at least 2 cups (16 ounces), perfect for keeping your sourdough starter contained.
- Wooden spoon or silicone spatula – Ideal for mixing without risking contamination, ensuring a healthy starter.
- Rubber band or wet-erase marker – Handy for marking the starter’s level, allowing you to monitor its growth during the fermentation process.
How to Make Sourdough Starter Easy Recipe
-
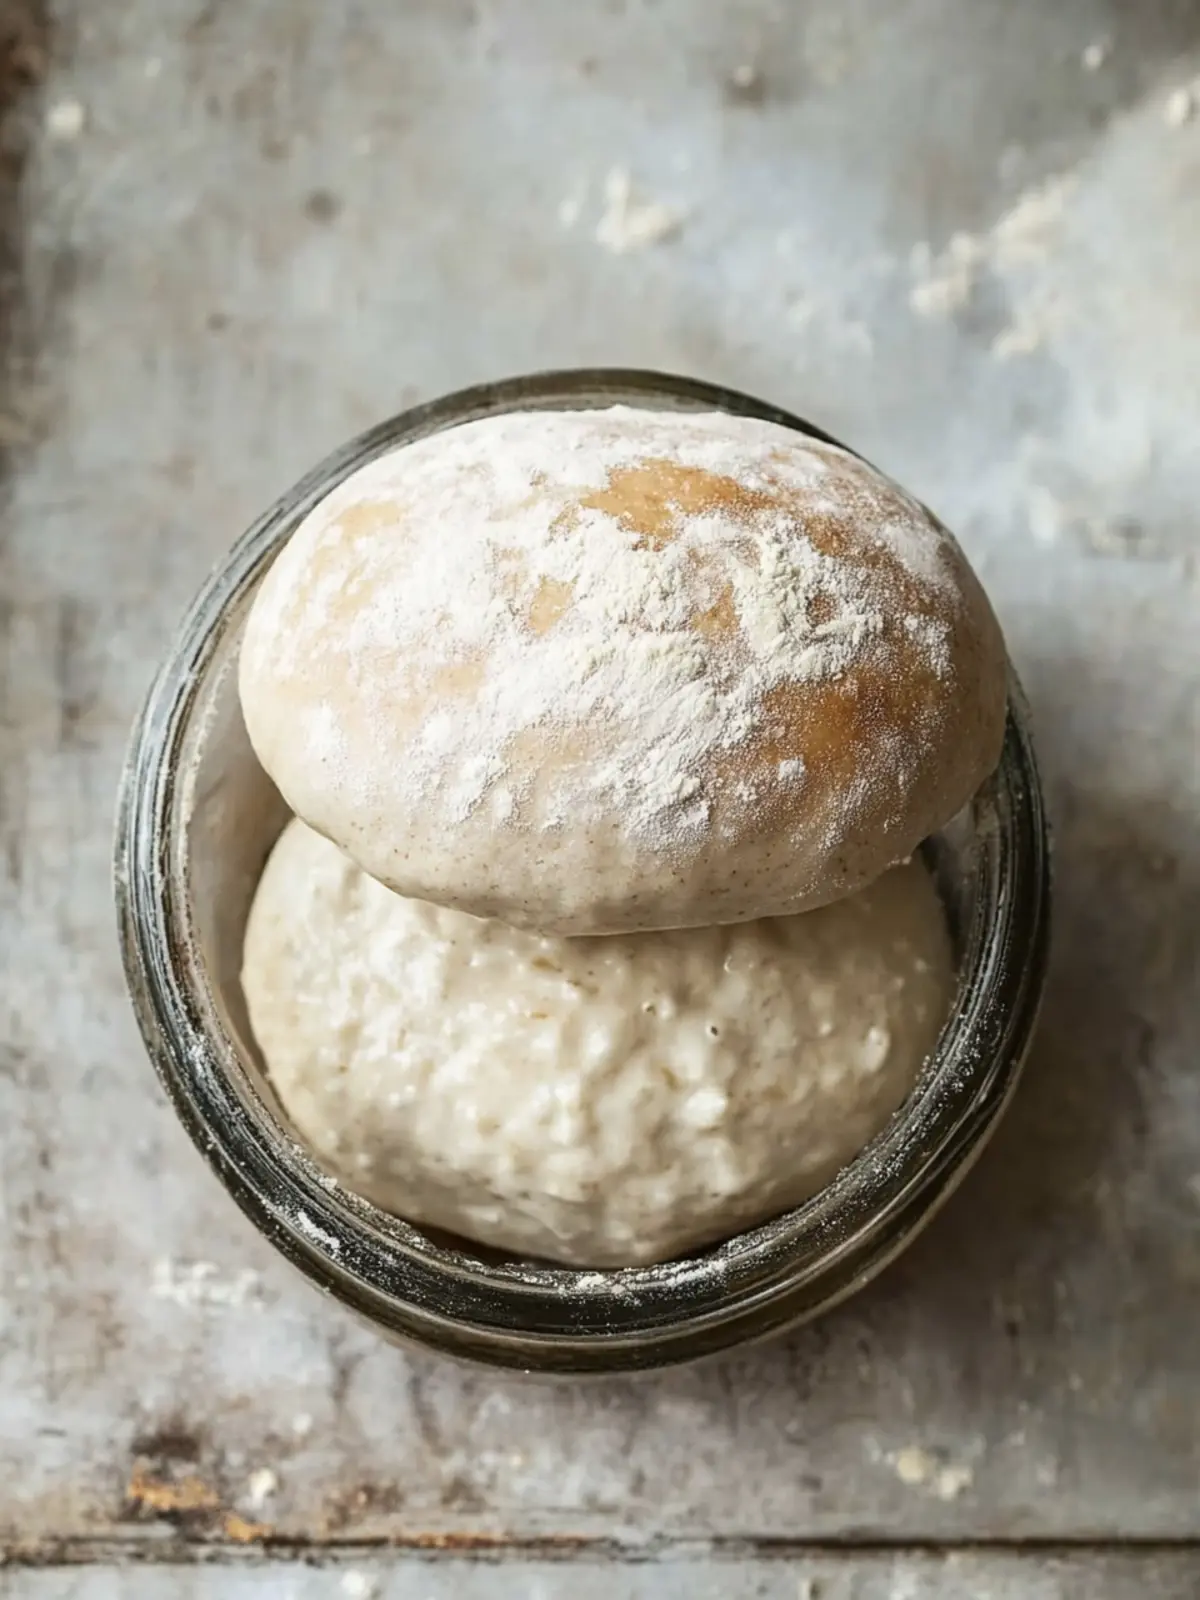
Mix Ingredients: In your glass jar, combine ½ cup of flour with ¼ cup of water. Stir well until you achieve a thick paste, making sure there are no dry pockets of flour.
-
Cover: Secure a lid or a clean cloth over the jar using a rubber band. This will keep unwanted pests out while letting your starter breathe, which is crucial for fermentation.
-
Feed Daily: Every 24 hours, discard about half of the starter—approximately ¼ cup—before replenishing it with ½ cup of flour and ¼ cup of water. This feeding is essential for keeping your starter healthy and active.
-
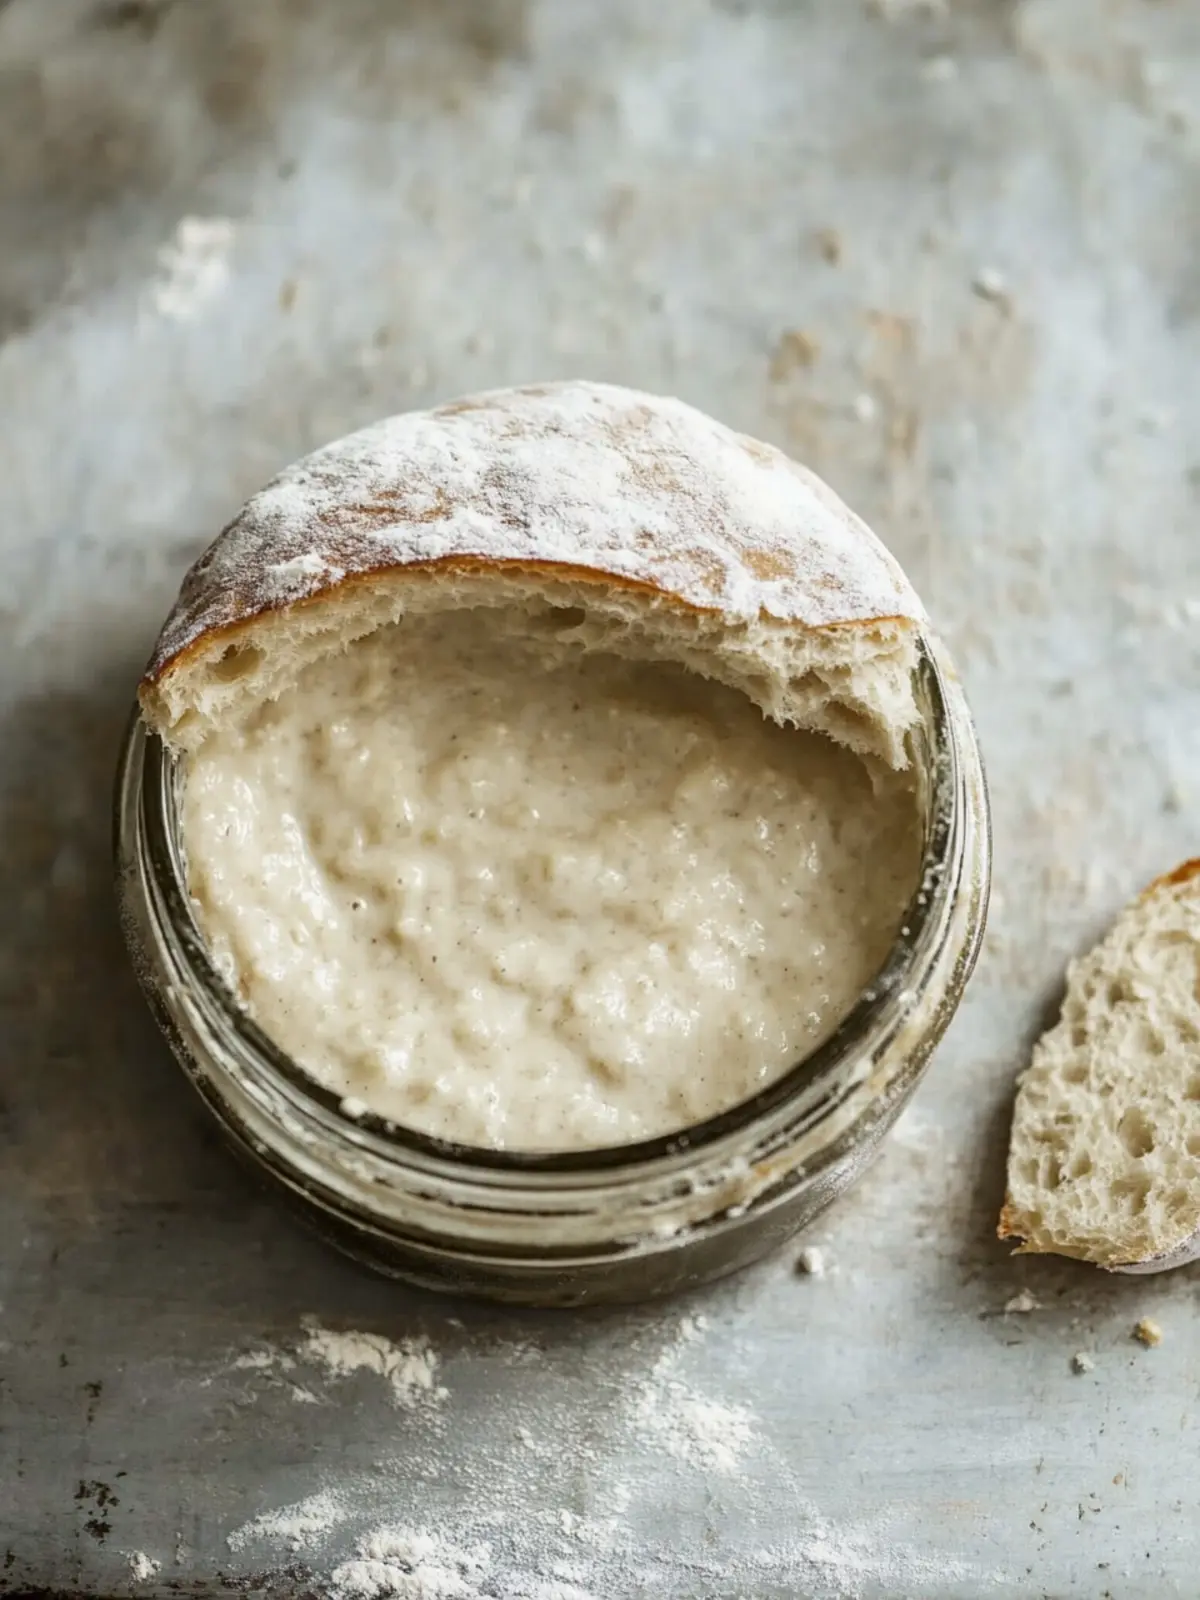
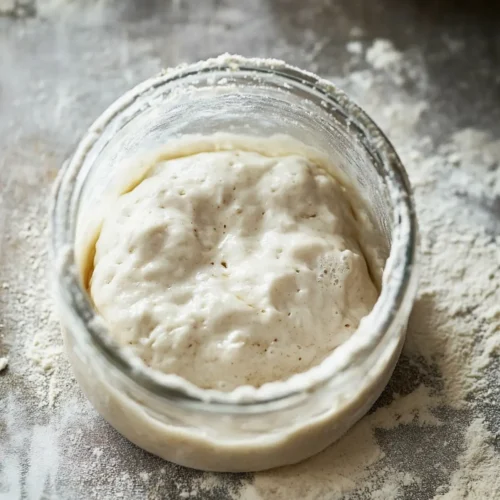
Observe: After 7-14 days, watch for bubbles forming and the starter doubling in size. These signs indicate that your sourdough starter is becoming active and ready to use in baking.
-
Float Test: To confirm readiness, perform a float test: take a spoonful of the starter and drop it into a glass of water. If it floats, your starter is active and primed for sourdough baking!
Optional: Serve your homemade starter in a variety of delicious recipes like sourdough bread or pancakes.
Exact quantities are listed in the recipe card below.
Sourdough Starter Easy Recipe Variations
Feel free to experiment and add your own personal touch to this delightful starter!
- Whole Wheat: Use whole wheat flour for a nuttier flavor and enhanced nutrition right from the start.
- Rye Flour: Incorporate rye flour to deepen the flavor complexity and boost fermentation speed. Your starter will develop a wonderfully tangy aroma.
- Spelt Flour: After a week, try feeding with spelt flour, offering a unique flavor while maintaining gut health with added nutrients.
- Gluten-Free: Substitute with gluten-free flour blends to create a gluten-free starter. Just ensure they contain xanthan gum for structure.
- Sourdough Discard: Consider adding a spoonful of your sourdough discard into the mix for a flavor kick and to promote yeast activity in your new starter.
- Honey or Sugar: Add a teaspoon of honey or sugar during initial feedings for a touch of sweetness that can help boost fermentation.
- Increase Hydration: Adjust the water ratio slightly for a wetter starter, enhancing the texture of your sourdough creations. A runnier starter will help create a more open crumb in your bread.
- Spice it Up: Introduce spices like cinnamon or nutmeg during feedings to cultivate a fragrant, aromatic starter for unique flavored breads.
Expert Tips for Sourdough Starter Easy Recipe
-
Patience is Key: Allow time for your starter to develop, as some environments may take longer than others. Don’t rush the process!
-
Watch for Signs: Look for bubbles and a noticeable rise in your starter over the course of 7-14 days to gauge its readiness for baking.
-
Avoid Contamination: Use clean utensils and avoid introducing foreign ingredients to your starter. This helps maintain its health for your sourdough starter easy recipe.
-
Correct Environment: Keep your starter in a warm, dark place (68-85°F) for optimal fermentation, avoiding overly hot spots to prevent stress on the yeast.
-
Experiment with Flours: Start with whole grain flours for initial feedings to promote fermentation, then transition to all-purpose flour for a balanced flavor profile.
What to Serve with Sourdough Starter Easy Recipe?
Transforming your humble sourdough starter into tantalizing meals can be a culinary adventure filled with delicious possibilities.
-
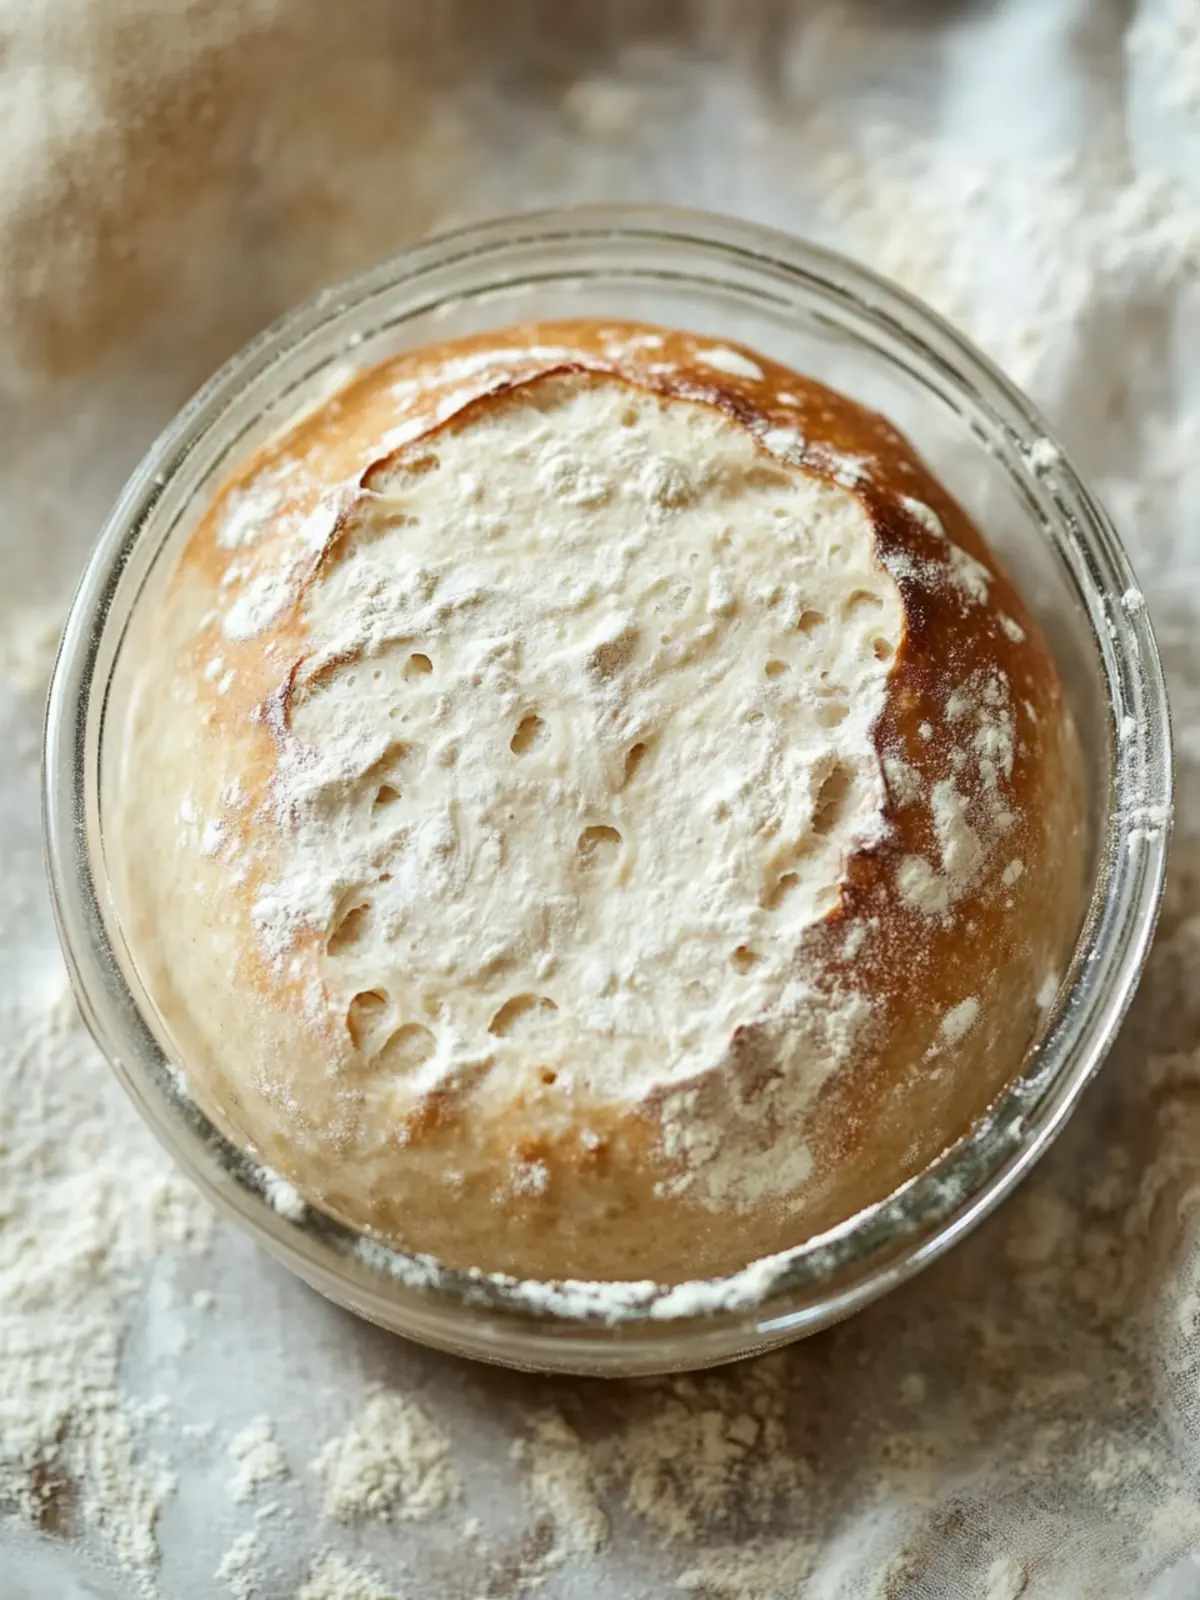
Fresh Sourdough Bread: There’s nothing better than the aroma of warm, crusty bread. Your homemade starter brings a tangy flavor and a delightful crust that elevates any meal.
-
Sourdough Pancakes: Fluffy and slightly tangy, these pancakes turn a simple breakfast into a gourmet treat. Serve with maple syrup for a delightful morning.
-
Rustic Crackers: Crispy, savory, and perfect for snacking or serving with cheese. These crackers made from your starter add crunch and flavor to any cheese board.
-
Homemade Pizza Crust: Transform your bubbly starter into a chewy, flavorful pizza crust! Top with fresh ingredients for a fun family night in.
-
Sourdough Muffins: From blueberry to corn, moist and tender muffins can be enhanced with sourdough for incredible depth of flavor. Perfect for brunch or a snack!
-
Savory Bread Pudding: This warm, comforting dish takes your leftover bread and turns it into a creamy, savory delight. The sourdough adds a wonderful twist to the classic.
-
Cheesy Garlic Bread: Bring buttery goodness to the table by using your starter to make dough for cheesy garlic bread. It’s the perfect side for any Italian meal!
Every dish you serve with your sourdough starter brings a unique flavor and texture, making each meal an event to remember. Enjoy the journey of bringing your culinary creations to life!
Make Ahead Options
These sourdough starter easy recipe instructions are a perfect fit for busy home cooks looking to save time! You can mix the initial ingredients—½ cup of flour and ¼ cup of water—up to 24 hours in advance. Ensure you cover the jar to guard against pests while allowing airflow. For optimal results, feed the starter once daily by discarding half and replenishing with fresh ingredients. After about 7-14 days, look out for bubbles and size increase; this signals your starter is active and ready for use. Just remember to keep it in a warm spot, ideally between 68-85°F, to maintain its quality and achieve that wonderfully bubbly, tangy effect.
How to Store and Freeze Sourdough Starter Easy Recipe
Fridge: Store your sourdough starter in the refrigerator for up to 2 weeks. Just be sure to feed it at least once a week to keep it healthy!
Freezer: If you need to take a longer break from baking, freeze your starter for up to 3 months. Make sure it’s well-fed, and store it in an airtight container.
Feeding After Storage: Before using your starter again, let it thaw in the fridge for a day, then feed it once and let it sit at room temperature for 4-6 hours until it becomes bubbly and active.
Reviving Old Starter: For dehydrated starter, mix equal parts flour and water, and let it sit in a warm area. Feed daily until it bubbles, signaling that your sourdough starter is ready to shine!
Sourdough Starter Easy Recipe FAQs
What type of flour is best for starting my sourdough starter?
Absolutely! The best flour to use for your sourdough starter is unbleached all-purpose flour or whole grain flour, such as whole wheat or rye. Whole grain flours offer more nutrients and can kickstart the fermentation process. Once your starter is established, feel free to experiment with other flours, like spelt or Einkorn, for unique flavors.
How should I store my sourdough starter once it’s established?
After your sourdough starter is active and bubbly, you can store it in the refrigerator. It can stay fresh for up to 2 weeks without any issues, but it’s a good practice to feed it at least once a week. When you do feed it, discard about half, then add in equal parts of flour and water.
Can I freeze my sourdough starter?
Yes! Freezing your sourdough starter is a great way to preserve it for longer periods. Make sure it is well-fed before freezing, then transfer it into an airtight container. A frozen starter can stay good for up to 3 months. When you’re ready to use it again, allow it to thaw in the fridge, feed it, and let it come to room temperature for 4-6 hours until it exhibits bubbling activity.
What are signs that my sourdough starter is healthy and active?
The signs to look for include a bubbly texture and noticeable rise over the course of 7-14 days. Your starter should double in size within a few hours of feeding. To further confirm its activity, you can perform the float test: take a spoonful of the starter and drop it into a glass of water. If it floats, it’s ready for baking!
Can I use my sourdough starter if it has a layer of liquid on top?
Yes, that liquid is known as “hooch,” and it forms when the starter is hungry. You can either pour it off or mix it back into the starter. However, you might want to feed your starter if you see hooch, ensuring it stays viable and ready for sourdough baking.
Is my sourdough starter safe if it develops unusual colors?
If your starter develops pink, orange, or fuzzy mold, it’s time to discard it and start fresh. A healthy starter should have a pleasant sour smell and pure white or light beige color. Always use clean utensils to avoid contamination!
Sourdough Starter Easy Recipe: Your Path to Homemade Perfection
Equipment
- Glass jar with lid
- Wooden spoon or silicone spatula
- Rubber band or wet-erase marker
Ingredients
For the Starter
- 0.5 cups Flour Use unbleached all-purpose or whole grain flour
- 0.25 cups Water Opt for room temperature or cool water
For Mixing Tools
- 1 unit Glass jar with lid At least 2 cups capacity
- 1 unit Wooden spoon or silicone spatula For mixing
- 1 unit Rubber band or wet-erase marker To mark the starter's level
Instructions
How to Make Sourdough Starter
- In your glass jar, combine ½ cup of flour with ¼ cup of water. Stir well until you achieve a thick paste.
- Secure a lid or a clean cloth over the jar using a rubber band.
- Every 24 hours, discard about half of the starter before replenishing it with ½ cup of flour and ¼ cup of water.
- After 7-14 days, watch for bubbles forming and the starter doubling in size.
- To confirm readiness, perform a float test: take a spoonful of the starter and drop it into a glass of water.