
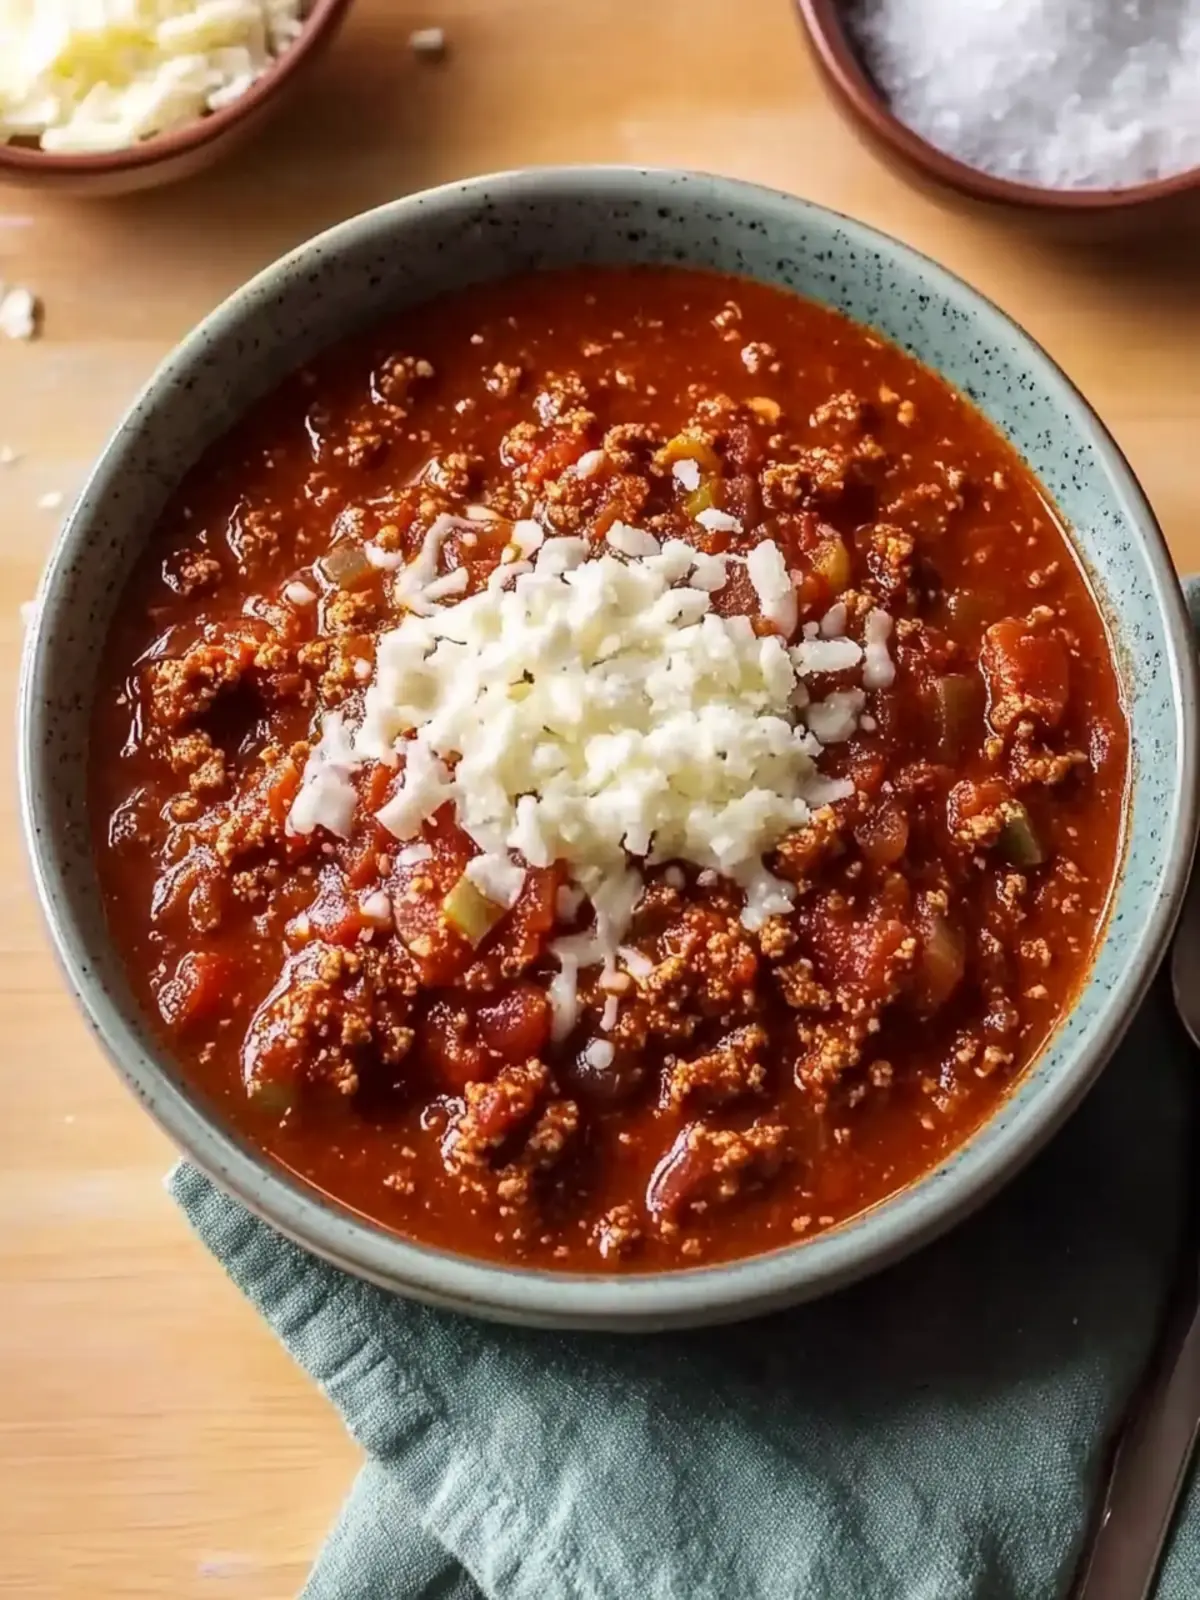
The moment the cool autumn air hits, I find myself craving a hearty, warming bowl of comfort. That’s when I whip up my favorite Homemade Lone Star Chili, a recipe that never fails to deliver rich, layered flavors that embrace you like a cozy blanket. With a robust mix of ground beef, a splash of beer, and all the right spices, this chili promises to be both satisfying and impressive—perfect for gatherings or a simple weeknight dinner.
Not only is it a crowd-pleaser, but making this Texas-style chili gives you the freedom to tailor it to your taste. Whether you’re in the mood for extra heat or a milder version, the ingredient options are flexible, making it a go-to recipe. And the best part? This is comfort food that won’t leave you tied to the stove all day, letting you enjoy the company around you while the flavors meld together beautifully. Get ready to savor every bit of this delicious Lone Star Chili!
Why Choose Homemade Lone Star Chili?
Comforting Satisfaction: This Homemade Lone Star Chili offers a warm embrace on chilly days, making it perfect for family dinners or gatherings.
Flavorful Depth: Combining ground beef with spices and a hint of beer creates a rich, layered taste that impresses every palate.
Flexible Ingredients: Customize your chili by adjusting heat levels and adding your favorite ingredients like beans or bell peppers.
Time-Saving Delight: With minimal prep and a hands-off cooking approach, you can enjoy quality time with loved ones while the chili simmers to perfection.
Crowd-Pleasing Dish: Whether in a bowl at home or served at a potluck, this chili is sure to be a hit with everyone at the table!
Homemade Lone Star Chili Ingredients
For the Meat Base
• Ground Beef – Essential protein and flavor base; recommended blend is 80/20 or 85/15 for richness.
• Olive Oil – Used for sautéing; can replace with vegetable oil if desired.
For the Sauce
• Tomato Sauce – Contributes moisture and acidity; can substitute with crushed tomatoes if necessary.
• Diced Tomatoes and Green Chilies (Rotel) – Adds texture, heat, and a flavor boost; any brand of diced tomatoes with green chilies works well.
For the Spice Mix
• Chili Powder – Provides the classic chili flavor; freshly ground is preferred for maximum taste.
• Ground Cumin – Enhances depth with earthy notes; substitute with ground coriander for a different profile.
• Cayenne Pepper – Adds heat; adjust to taste or omit for a milder chili.
For Thickening
• Cornmeal – Thickens chili and adds a unique texture; can be replaced with masa harina for similar results.
For Aromatics
• Onion – Offers sweetness and depth; should be diced; yellow or white varieties work best.
• Garlic (Minced) – Enhances flavor; using fresh garlic is highly recommended.
For Final Touches
• Beer (Mexican Lager) – Adds depth of flavor; substitute with beef broth for a non-alcoholic version.
• Salt – Enhances overall flavor; add to taste.
Now that you have all the essentials for your Homemade Lone Star Chili, it’s time to gather your ingredients and start creating this comforting delight!
How to Make Homemade Lone Star Chili
-
Heat Oil: Start by heating olive oil in a large pot over medium-high heat until it shimmers. This will create a perfect base for browning your meat.
-
Brown Beef: Add the ground beef, breaking it apart with a wooden spoon. Cook for 5-7 minutes until it’s beautifully browned and caramelized. Remove and set aside, leaving some of the tasty fat in the pot.
-
Sauté Aromatics: In the same pot, toss in the diced onion and sauté in the rendered fat for about 4-5 minutes. You want it softened and translucent; then add the minced garlic and cook for another 30 seconds.
-
Bloom Spices: Sprinkle in the chili powder, ground cumin, and cayenne pepper. Stir for 1 minute to allow the spices to bloom and fill your kitchen with their incredible aroma.
-
Deglaze with Beer: Return the browned beef to the pot and pour in the beer. Use a wooden spoon to scrape up any flavorful bits stuck to the bottom, mixing everything together well.
-
Add Tomatoes: Stir in the diced tomatoes, tomato sauce, and salt, ensuring the liquid covers all the solids. This will create a rich and hearty chili base.
-
Simmer: Bring the mixture to a gentle simmer. Reduce the heat to medium-low and let it cook uncovered for about an hour, stirring occasionally. Enjoy the wonderful smells that fill your home!
-
Thicken with Cornmeal: After an hour, add the cornmeal, stirring for another 2-3 minutes until the chili thickens to your desired consistency. If it’s too thick, adjust by adding a bit of water or beer, and don’t forget to taste for seasoning!
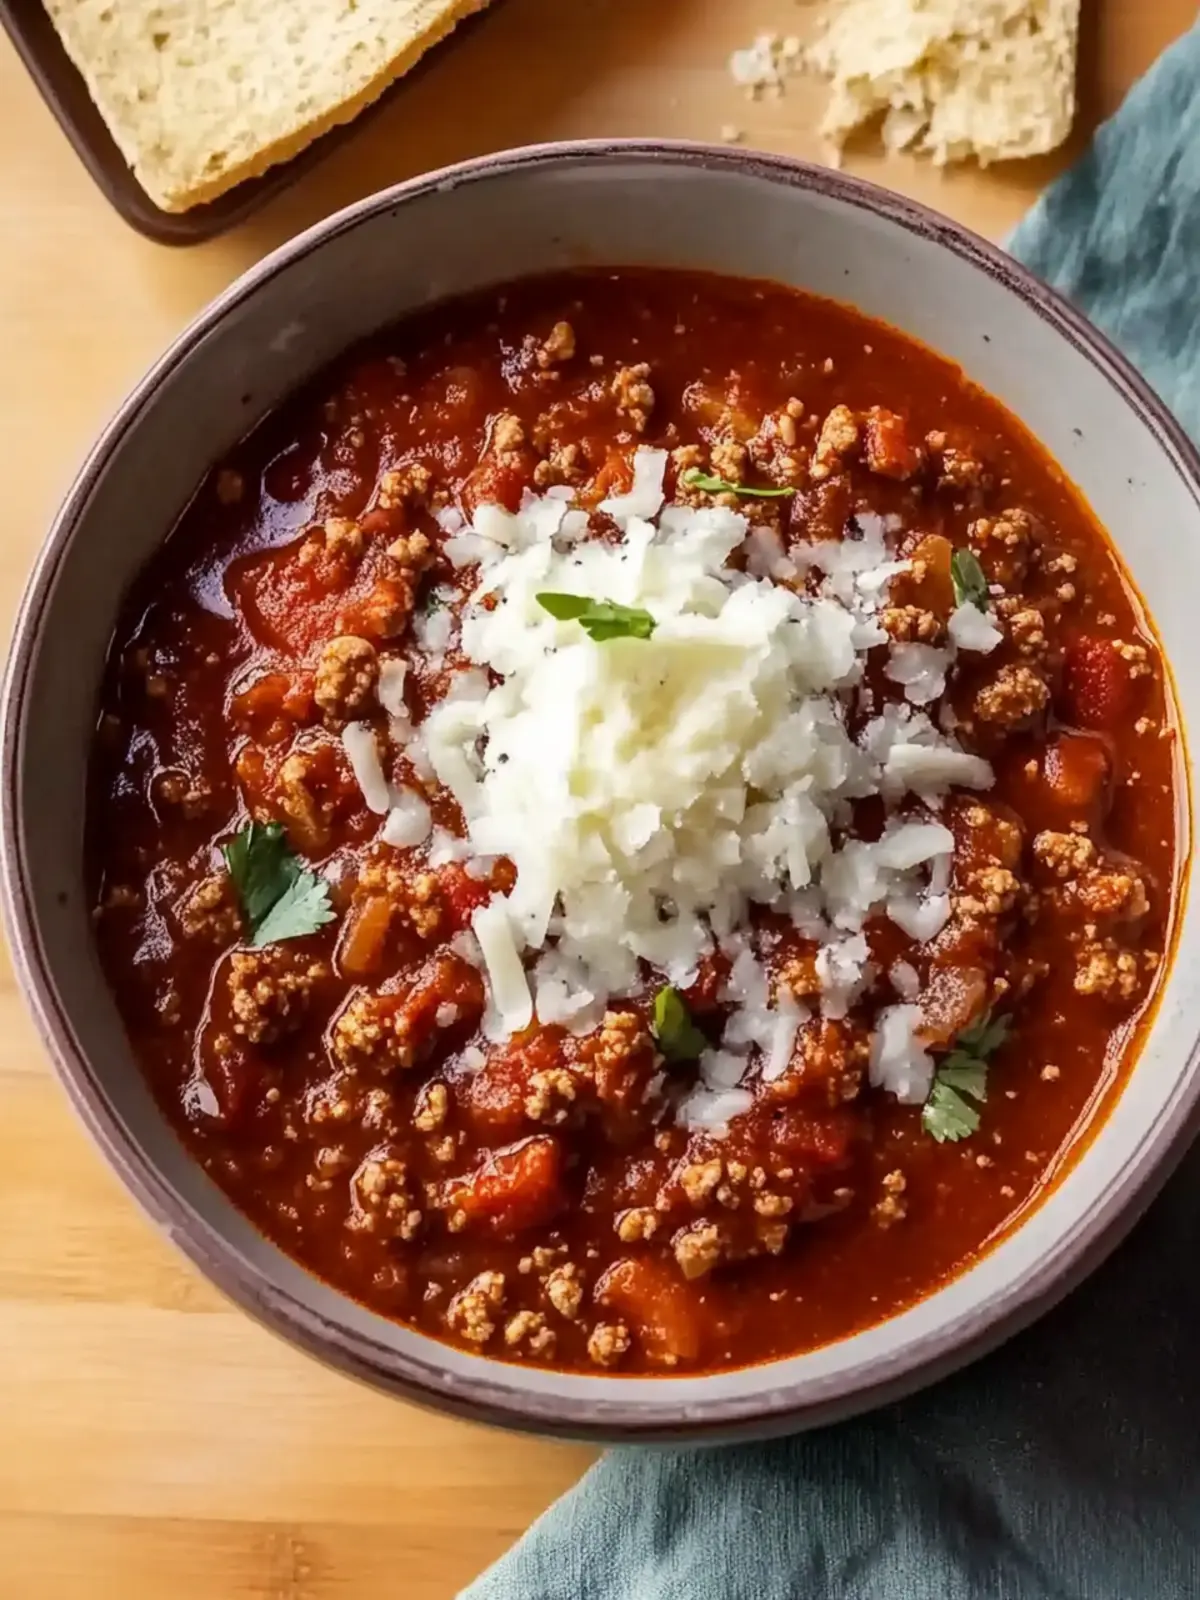
Optional: Top with fresh cilantro for added color and flavor!
Exact quantities are listed in the recipe card below.
What to Serve with Homemade Lone Star Chili?
Pairing chili with the right sides can elevate your meal from delicious to unforgettable. Explore these complementary dishes that enhance the rich flavors of your Lone Star Chili.
-
Cornbread: A classic pairing, sweet and buttery cornbread complements the heat from the chili while adding a delightful texture. Serve warm for that comforting touch.
-
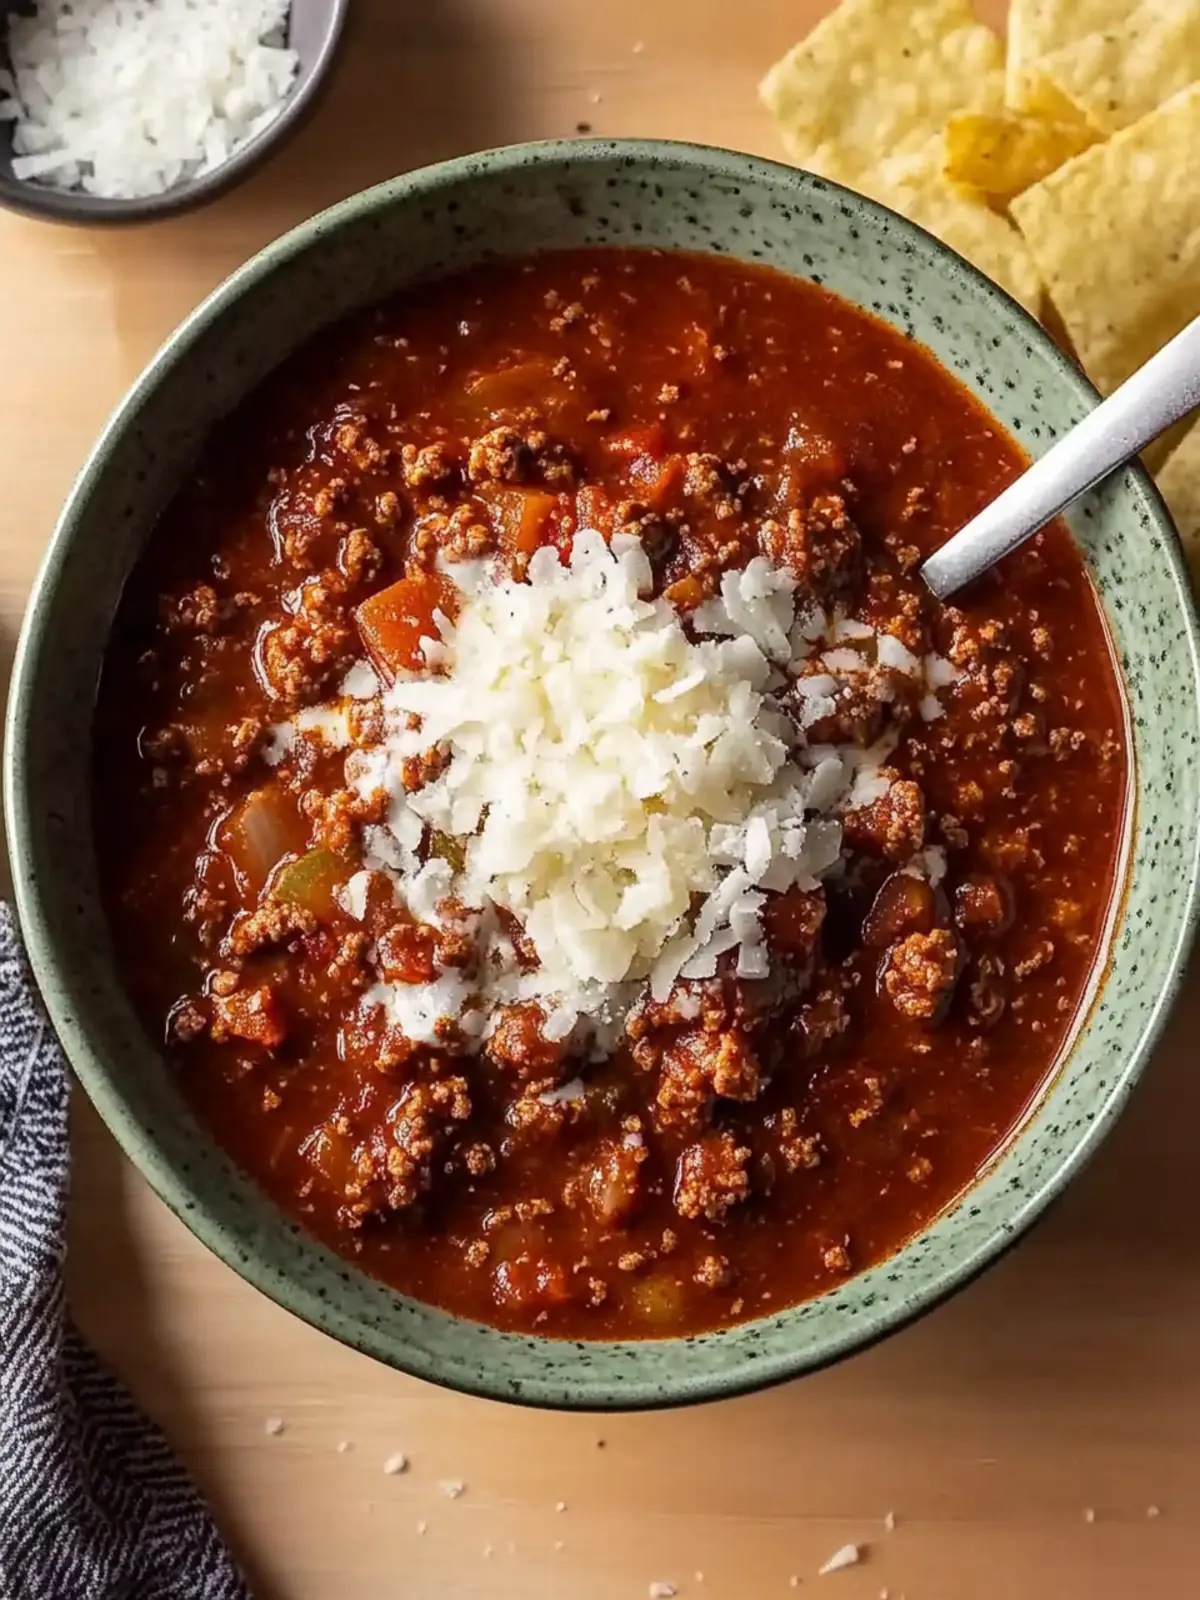
Tortilla Chips: Crunchy and salty, tortilla chips make the perfect vessel for scooping up chili. They add a satisfying crunch that contrasts beautifully with the chili’s smooth and hearty consistency.
-
Coleslaw: A bright and tangy coleslaw adds freshness and a cool crunch to balance the richness of the chili. The crisp veggies offer a delightful contrast to the warm dish.
-
Shredded Cheese: A sprinkle of sharp cheddar melts beautifully over the chili, adding creaminess and an extra layer of flavor. It’s an essential topping that everyone loves!
-
Jalapeños: For the spice enthusiasts, fresh or pickled jalapeños provide an extra kick and refreshing crunch that elevates the chili’s flavor profile. They can be added directly on top or served on the side.
-
Avocado Slices: Creamy avocado slices bring a mild, smooth texture that counteracts the heat of the chili, creating a delightful harmony in every bite. They add a touch of elegance too!
-
Beer Pairing: Enjoy your meal with a light Mexican lager for a refreshing sip that complements the flavors of the chili beautifully. The clean taste enhances the richness of the dish.
-
Fresh Cilantro: A sprinkle of fresh cilantro not only adds a pop of color but also a burst of fresh, herbaceous flavor that brightens each spoonful of chili. It’s a simple touch that makes a big difference!
These side dishes will turn your Homemade Lone Star Chili into a memorable feast, providing contrasting flavors and textures that will delight your taste buds.
Homemade Lone Star Chili Variations
Feel free to get creative and make this Homemade Lone Star Chili your own masterpiece with these fun variations!
- Turkey Substitute: Swap ground beef for ground turkey for a leaner option while keeping that rich flavor intact.
- Vegetarian Delight: Use plant-based meat crumbles or lentils as a protein-packed substitute for a delightful veggie version.
- Extra Beans: Mix in a variety of beans—like black beans or kidney beans—for added texture and heartiness.
- Flavor Boost: Add a splash of Worcestershire sauce or liquid smoke for a deeper flavor profile that brings a smoky essence to your chili.
- Heat Adjustment: If you crave spice, throw in some chopped jalapeños or a spoonful of your favorite hot sauce to ignite the heat. Feel free to start small and add more as you go!
- Herb Power: Toss in fresh herbs like oregano or thyme during the simmer for refreshing herbal notes that brighten the dish.
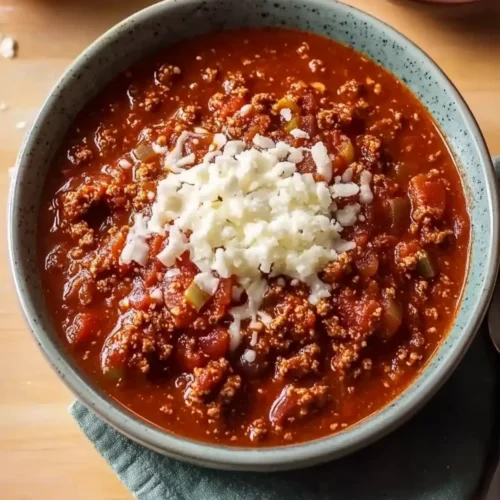
- Cheesy Goodness: Top each bowl with shredded cheese, sliced jalapeños, or a dollop of sour cream for a creamy delight that plays off the chili’s warmth.
- Cornmeal Twist: Mix in some cooked corn or use cornbread crumbs in place of cornmeal for added sweetness and delightful texture.
Let your imagination run wild, and enjoy creating your personalized version of this comforting classic!
Storage Tips for Homemade Lone Star Chili
-
Refrigeration: Store leftover chili in an airtight container for up to 4 days. The flavors will meld together beautifully and may even taste better the next day.
-
Freezer: Cool the chili completely and freeze in portions for up to 3 months. Use freezer-safe containers or bags for easy future meals.
-
Reheating: When ready to enjoy, thaw overnight in the fridge, then reheat on the stovetop over medium heat, stirring occasionally until heated through.
-
Serving: Don’t forget to garnish with your favorite toppings like cheese or cilantro after reheating for that fresh burst of flavor in your Homemade Lone Star Chili!
Make Ahead Options
Homemade Lone Star Chili is a fantastic recipe for meal prep enthusiasts! You can chop the onions and mince the garlic up to 24 hours in advance, storing them in an airtight container to keep them fresh. Additionally, you can brown the ground beef and store it separately in the fridge for up to 3 days. When you’re ready to enjoy your chili, simply heat the beef in a pot, add the sautéed onions and garlic, and follow the remaining steps. This approach not only saves time but ensures your chili is just as delicious and flavorful, allowing busy cooks to savor a comforting meal with minimal effort.
Expert Tips for Homemade Lone Star Chili
-
Browning Beef Correctly: Avoid overcrowding the pot while browning the beef, as it can steam instead of sear. This ensures a rich flavor and texture in your Homemade Lone Star Chili.
-
Monitor Spice Levels: Taste and adjust the spices towards the end of cooking. Remember, flavors can mellow, so add more chili powder or cayenne pepper if you want extra heat.
-
Stir Cornmeal Wisely: Incorporate cornmeal only in the last 10-15 minutes of cooking. Adding it too early can lead to a gummy texture that masks the chili’s richness.
-
Keep an Eye on Simmering: Gently monitor the simmer to prevent scorching. If it gets too thick, don’t hesitate to add water or beer to reach your desired consistency.
-
Enjoy Leftover Flavors: Store leftovers in an airtight container for up to 4 days. Not only will they be safe, but the flavors actually deepen and improve over time!

Homemade Lone Star Chili Recipe FAQs
How do I select the best ground beef for my chili?
For the best flavor and richness in your Homemade Lone Star Chili, I recommend using an 80/20 or 85/15 blend of ground beef. This means that 80% or 85% of the meat is lean beef, while the remaining percentage is fat. The fat adds moisture and flavor, making for a heartier chili. If you’re looking for a leaner option, you could opt for ground turkey or a plant-based meat substitute.
How should I store leftover chili, and how long will it last?
Absolutely! Store leftover Homemade Lone Star Chili in an airtight container in the refrigerator for up to 4 days. The flavors can actually deepen and improve over time. Just make sure it’s fully cooled before placing it in the fridge to keep everything fresh.
Can I freeze my chili, and if so, how?
Yes, you can freeze your chili! First, allow the Homemade Lone Star Chili to cool completely. Then, portion it into freezer-safe containers or zip-lock bags, making sure to remove as much air as possible. It will keep well for up to 3 months. When you’re ready to enjoy, thaw it overnight in the fridge and reheat on the stovetop. I often find that the flavors intensify after freezing, making it even more delicious!
What should I do if my chili is too thick?
Not an uncommon issue! If your Homemade Lone Star Chili turns out too thick, just add a bit of water or beer to reach your desired consistency. Start by adding just a small amount (about a quarter cup) and stir well, continuing to adjust until it’s perfect. Remember, simmering can change the texture, so keep an eye on it as you adjust.
Can I make my chili vegetarian or vegan?
Very easily! To make a vegetarian or vegan version of your Homemade Lone Star Chili, consider substituting the ground beef with plant-based meat alternatives like lentils or black beans. You can also add in more veggies like bell peppers or corn for added texture and flavor. Just be sure to use vegetable broth instead of beer for a completely plant-based dish.
Are there any ingredients I should avoid due to allergies?
Definitely keep allergies in mind! Common allergens include gluten (in certain beers or if you’re using flour for thickening), and dairy (if you choose to top your chili with cheese). Always check product labels and consider using gluten-free beer or broth to accommodate various dietary needs.
Savory Homemade Lone Star Chili for Ultimate Comfort Food
Equipment
- - Large pot
Ingredients
For the Meat Base
- 1 lb Ground Beef Recommended blend is 80/20 or 85/15.
- 2 tbsp Olive Oil Can replace with vegetable oil.
For the Sauce
- 15 oz Tomato Sauce Can substitute with crushed tomatoes.
- 10 oz Diced Tomatoes and Green Chilies (Rotel) Any brand works.
For the Spice Mix
- 2 tbsp Chili Powder Freshly ground is preferred.
- 1 tbsp Ground Cumin Can substitute with ground coriander.
- 1 tsp Cayenne Pepper Adjust to taste or omit.
For Thickening
- 2 tbsp Cornmeal Can replace with masa harina.
For Aromatics
- 1 medium Onion Diced; yellow or white works best.
- 3 cloves Garlic (Minced) Fresh garlic is recommended.
For Final Touches
- 12 oz Beer (Mexican Lager) Can substitute with beef broth.
- to taste Salt Add to taste.
Instructions
How to Make Homemade Lone Star Chili
- Heat olive oil in a large pot over medium-high heat until it shimmers.
- Add the ground beef, breaking it apart. Cook for 5-7 minutes until browned. Remove and set aside.
- In the same pot, sauté diced onion in the rendered fat for 4-5 minutes, then add minced garlic and cook for another 30 seconds.
- Sprinkle in chili powder, ground cumin, and cayenne pepper. Stir for 1 minute.
- Return the browned beef to the pot and pour in the beer, scraping up flavorful bits.
- Stir in diced tomatoes, tomato sauce, and salt, covering all the solids.
- Let the mixture simmer uncovered for about an hour, stirring occasionally.
- After an hour, add cornmeal, stirring for 2-3 minutes until chili thickens. Adjust consistency as needed.