

There’s nothing quite like the luxurious taste of sushi, but let’s face it—often, it feels a bit too intricate for a cozy weeknight dinner. After a long day spent tackling the hustle and bustle of life, I wanted something that combined all the fresh flavors of sushi without the guesswork or meticulous rolls. Enter my Salmon Sushi Cups, a delightful surprise that will elevate your home cooking game while keeping things delightfully simple.
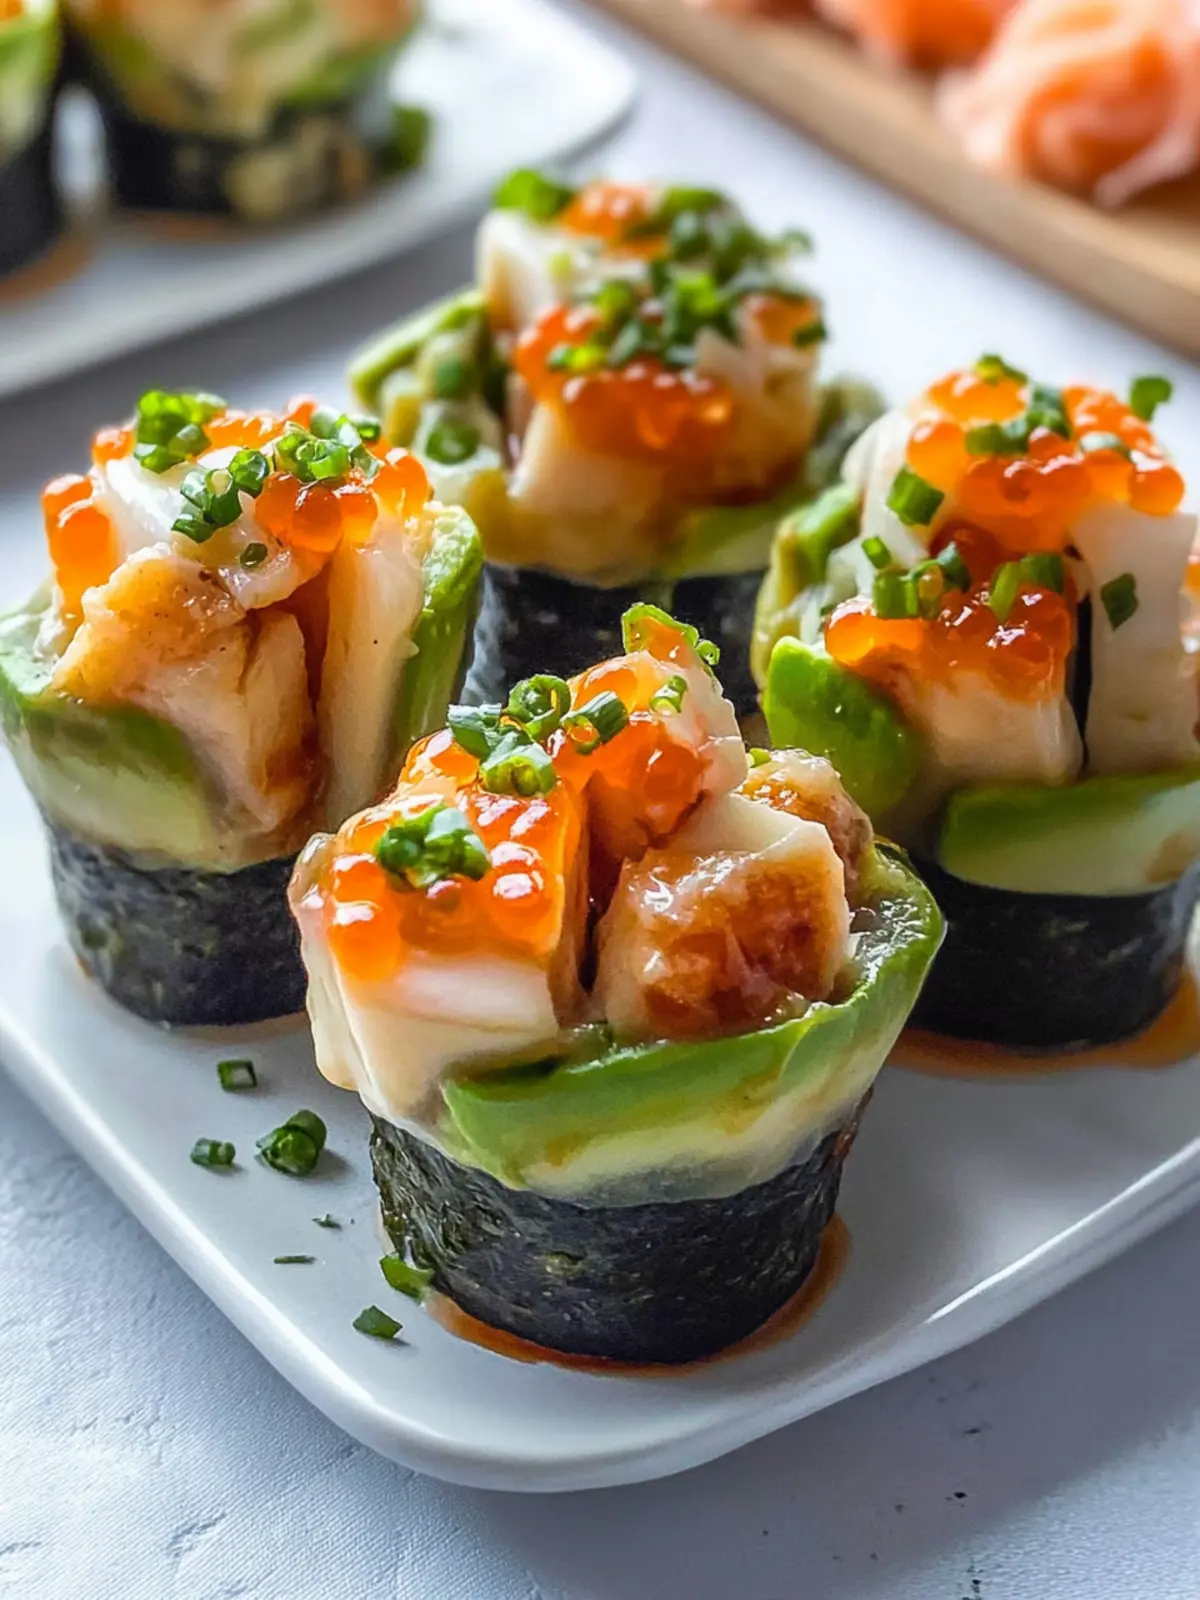
These sushi cups are not only a fun twist on traditional sushi but also incredibly versatile. With juicy salmon mingling with perfectly cooked rice and a hint of spicy mayo, every bite is a little celebration. Plus, they come together in just 25 minutes, making them a fantastic option for both casual dinners and impressive gatherings. Trust me, whether you’re chatting over a glass of wine with friends or treating yourself to a gourmet delight, these individual sushi cups are guaranteed to make your tastebuds sing. So, let’s dive into this delicious and easy recipe that’s sure to leave everyone craving more!
Why are Sushi Bake Cups a must-try?
Simplicity at Its Best: With just 25 minutes of total time, you can create these flavorful bites without any fuss.
Flavor Explosion: The combination of tender salmon, seasoned rice, and spicy mayo adds an unforgettable taste experience.
Versatile Treat: Perfect for casual nights or elegant gatherings, these cups will amaze your guests!
Crowd-Pleasing Bite: Everyone loves sushi, and these cups provide a fun, unique way to enjoy it!
Healthy and Light: Packed with fresh ingredients, they can easily fit into a balanced lifestyle.
Whether you’re looking for a quick dinner or a party appetizer, these Sushi Bake Cups are bound to impress!
Sushi Bake Cups Ingredients
For the Rice
• ½ cup rice – Choose jasmine, sushi, or short grain rice for that perfect texture.
• salt – A pinch enhances flavor in your sushi cups.
• 2 teaspoons seasoned rice vinegar (optional) – Adds a delightful tang and authentic sushi flavor.
For the Salmon Filling
• ½ pound salmon – Fresh, high-quality salmon enhances the overall taste of these Sushi Bake Cups.
• 1 tablespoon coconut aminos – Use this for a gluten-free alternative to soy sauce.
• 1 tablespoon spicy mayo – For zing; add more for those who love extra heat!
For Assembly
• 2 sheets of nori – These seaweed wrappers need to be cut into perfect squares for each cup.
• chopped fresh chives – Brightens the dish and adds a lovely pop of color for garnish.
These simple yet flavorful ingredients will help bring your Sushi Bake Cups to life!
How to Make Sushi Bake Cups
-
Preheat the oven to 400°F. Getting the oven ready ensures that your sushi cups will be perfectly baked to a delightful crisp.
-
Rinse the rice under cold water until the water runs clear. Cook the rice according to the package instructions, adding a pinch of salt. Once cooked, mix in the seasoned rice vinegar for added flavor, if desired.
-
Pat dry the salmon using paper towels to remove excess moisture. Cut the salmon into small cubes and combine it in a bowl with coconut aminos, a pinch of salt, and spicy mayo. Stir gently to coat.
-
Cut the nori sheets into 6 equal squares, approximately 3.5 inches each. This will serve as the base for your flavorful sushi cups.
-
Add a tablespoon of cooked rice onto each nori square and press it gently into the seaweed, creating a solid cup. This shapes the base and holds the salmon filling nicely.
-
Place each nori and rice square into a muffin tin insert. Top each rice cup with a tablespoon of the marinated salmon mixture, distributing it evenly across all cups for consistent flavor.
-
Bake for about 15 minutes, watching for a golden color. For an extra crunch, broil for the last 60 seconds to really crisp up those tops!
-
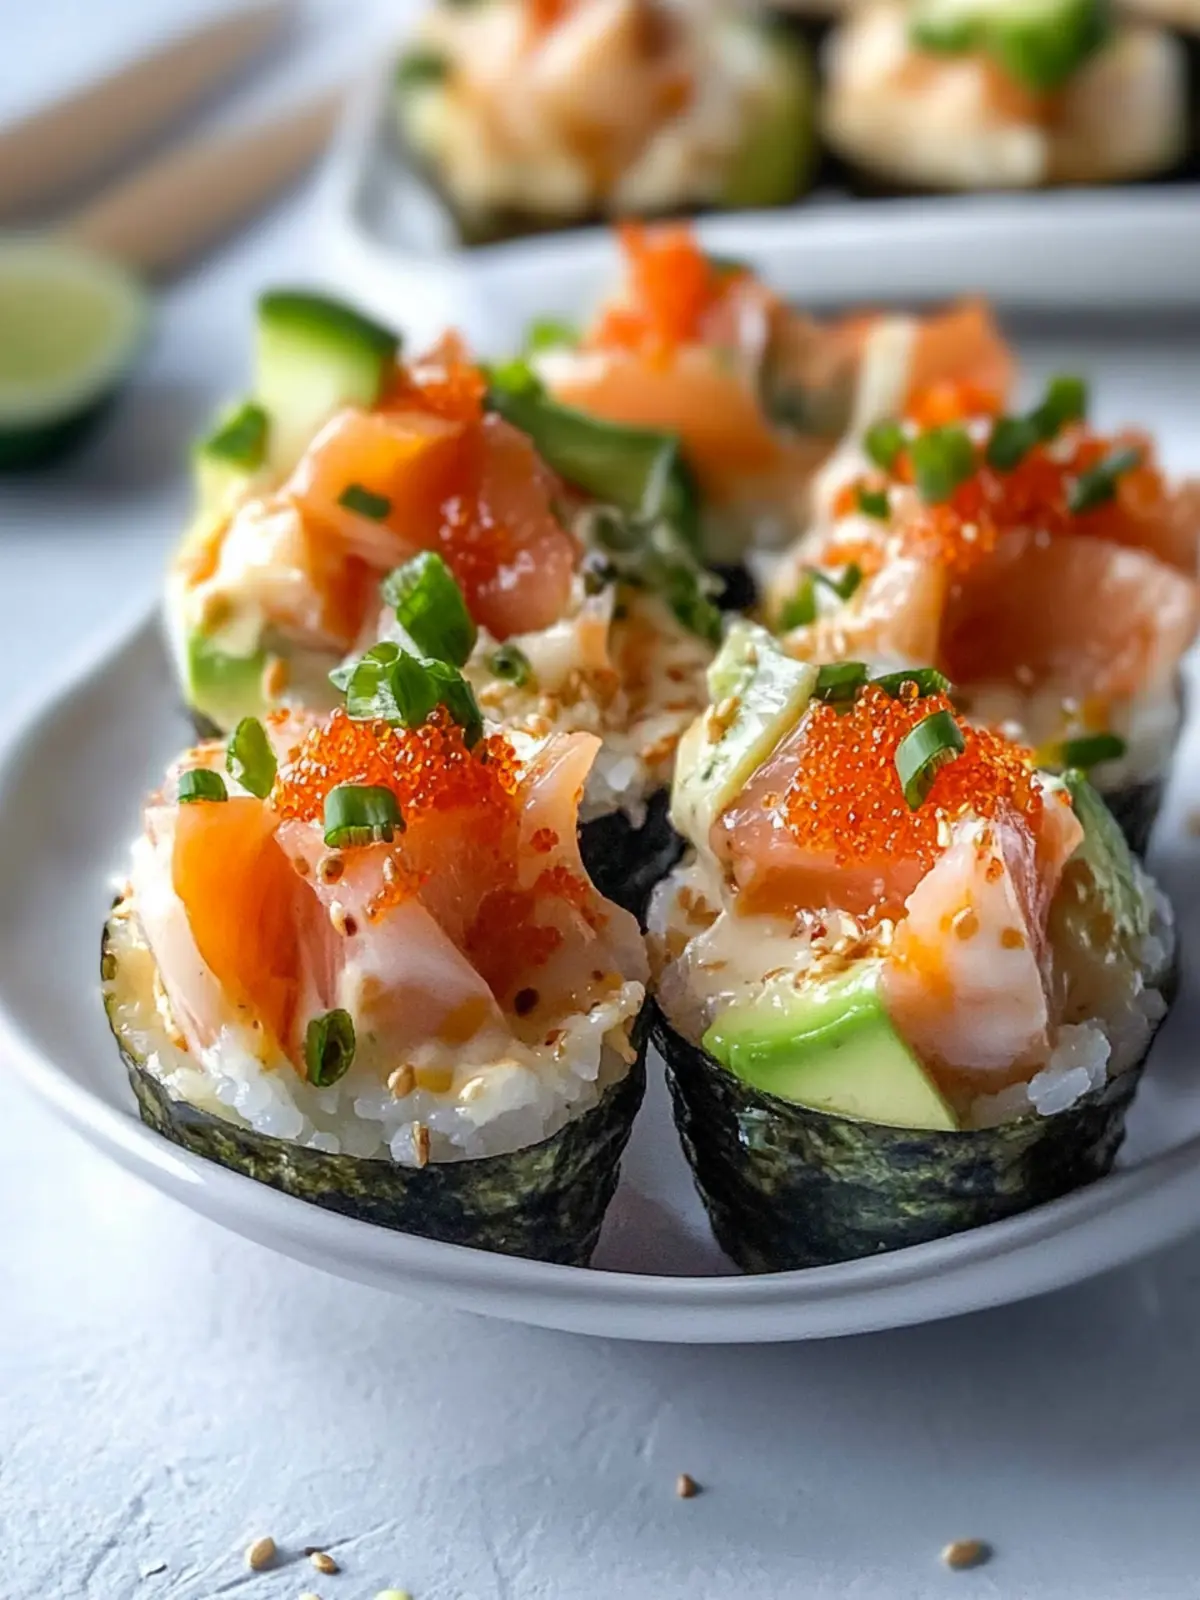
Remove the muffin tin from the oven and let it cool slightly. Then, transfer the sushi cups to a plate and garnish with additional spicy mayo and chopped chives for a beautiful finish.
Optional: Drizzle with extra spicy mayo for a flavorful kick.
Exact quantities are listed in the recipe card below.
Sushi Bake Cups Variations
Feel free to get creative and tailor your Sushi Bake Cups to match your taste preferences and dietary needs!
- Gluten-Free: Swap soy sauce with coconut aminos or tamari to keep your dish safe for gluten-sensitive friends.
- Spicy Twist: Add diced jalapeños or sriracha to the salmon mixture for an extra kick that spice lovers will adore!
- Veggie Delight: Substitute salmon with thinly sliced avocado and cucumber for a fresh, vegetarian option that is equally satisfying.
- Flavor Boost: Mix in minced ginger or garlic to the rice for an aromatic touch that elevates the overall flavor profile.
- Baked Crispy Tofu: For a plant-based version, replace salmon with crispy baked tofu, marinated in the same tasty sauce.
- Crunchy Topping: Sprinkle panko breadcrumbs mixed with a bit of sesame oil on top before baking for added crunch and flavor.
- Pineapple Surprise: Include small chunks of grilled pineapple in the filling for a delightful sweet-savory flavor combination.
- Herb Infusion: Incorporate fresh herbs, like cilantro or basil, into the rice to create a fragrant and vibrant base for your sushi cups.
These ideas can take your delicious Sushi Bake Cups on a delightful flavor journey!
Expert Tips for Sushi Bake Cups
-
Rice Perfected: Use short-grain rice for the best texture—it’s stickier and holds together well in your Sushi Bake Cups.
-
Prepping Salmon: Always pat your salmon dry before cutting; this helps it marinate correctly and prevents excess moisture in your cups.
-
Nori Shaping: Cut the nori squares with kitchen scissors for neat edges. Press the rice firmly into the nori to ensure it holds during baking.
-
Spicy Mayo Magic: Adjust the amount of spicy mayo based on your guests’ heat preferences—it’s easy to add later as a garnish!
-
Crisping the Tops: Keep an eye on your sushi cups while broiling; they can quickly go from perfect to overdone in mere seconds.
With these tips, you’ll create irresistible Sushi Bake Cups that shine on any dinner table!
How to Store and Freeze Sushi Bake Cups
Fridge: Store leftover Sushi Bake Cups in an airtight container for up to 3 days. This keeps them fresh and ready to reheat whenever a craving strikes.
Freezer: For longer storage, freeze the sushi cups in a single layer on a baking sheet and then transfer them to a freezer-safe bag for up to 2 months. This prepares you for last-minute meals.
Reheating: When ready to enjoy, thaw in the fridge overnight and reheat in the oven at 350°F for about 10-12 minutes for that fresh-baked taste.
Avoid sogginess: To prevent the nori from becoming soggy, serve the sushi cups immediately after baking while they are still crispy!
What to Serve with Sushi Bake Cups?
Looking to create a full meal experience that enchants all the senses?
-
Crispy Edamame: Perfectly salted and lightly seasoned, these little green gems offer a delightful crunch that complements the sushi’s textures.
-
Miso Soup: A warm, soothing bowl of miso soup brings comforting umami flavors to the table, pairing beautifully with the freshness of the sushi cups.
-
Pickled Ginger: The zingy taste of pickled ginger cleanses the palate and enhances the flavors of the sushi, adding a refreshing contrast.
-
Sesame-Sesame Salad: A vibrant mix of greens dressed in a sesame vinaigrette makes for a light, crunchy side that doesn’t overshadow the main event.
-
Sushi Rice Salad: For an extra touch of authenticity, create a rice salad with vegetables and sesame. It echoes the core ingredients of your sushi cups while adding a fun twist.
-
Chilled Sake: Elevate your dining adventure with a glass of chilled sake—its smoothness perfectly balances the savory flavors of the dish.
Let your meal shine as brightly as the flavors within these Sushi Bake Cups!
Make Ahead Options
These Sushi Bake Cups are perfect for meal prep aficionados! You can prepare the rice and salmon filling up to 24 hours in advance by cooking the rice, mixing in the rice vinegar (if using), and marinating the salmon in coconut aminos and spicy mayo. Store the rice in an airtight container in the refrigerator to keep it fresh. When you’re ready to serve, simply assemble the sushi cups by pressing the rice into the nori and topping it with the salmon before baking. Additionally, if you want to enjoy them later, bake the cups and refrigerate them for up to 3 days; reheat in the oven for that just-baked taste! These steps ensure your sushi cups remain delicious and delightful, saving you time during busy weeknights.

Sushi Bake Cups Recipe FAQs
How do I choose the right rice for Sushi Bake Cups?
Absolutely! For the best texture, I recommend using short-grain rice, which is stickier and holds together nicely in your sushi cups. Jasmine or sushi rice also works well, giving you that delightful bite. Always rinse the rice until the water runs clear to remove excess starch before cooking.
How should I store leftover Sushi Bake Cups?
Very! Store any leftover Sushi Bake Cups in an airtight container in the fridge for up to 3 days. This keeps them fresh and ready for a tasty snack or meal. Just make sure to reheat them to crispiness in the oven when you’re ready to enjoy!
Can I freeze my Sushi Bake Cups?
Definitely! To freeze, place the sushi cups in a single layer on a baking sheet and freeze until solid, about 1-2 hours. Then, transfer them to a freezer-safe bag and they’ll keep well for up to 2 months. When you’re ready to enjoy, simply thaw overnight in the fridge and reheat in the oven at 350°F for 10-12 minutes for that fresh-baked taste.
What should I do if my Salmon Sushi Cups turn out soggy?
No problem! If the nori becomes soggy, it’s often a matter of timing. Serve your Sushi Bake Cups immediately after baking while they’re still crispy. If you need to reheat leftovers, placing them back in the oven rather than the microwave can help revive that crunchy texture. Always ensure your ingredients, particularly the salmon, have as little moisture as possible before assembly.

Sushi Bake Cups: Easy Salmon Treats for Everyone
Equipment
- Muffin tin
- Oven
Ingredients
For the Rice
- 0.5 cup rice Choose jasmine, sushi, or short grain rice.
- salt A pinch enhances flavor.
- 2 teaspoons seasoned rice vinegar Optional for added flavor.
For the Salmon Filling
- 0.5 pound salmon Fresh, high-quality.
- 1 tablespoon coconut aminos Gluten-free alternative to soy sauce.
- 1 tablespoon spicy mayo Add more for extra heat.
For Assembly
- 2 sheets nori Cut into perfect squares.
- chopped fresh chives For garnish.
Instructions
How to Make Sushi Bake Cups
- Preheat the oven to 400°F.
- Rinse the rice under cold water until the water runs clear. Cook the rice according to the package instructions, adding a pinch of salt. Mix in the seasoned rice vinegar if desired.
- Pat dry the salmon with paper towels. Cut into small cubes and combine with coconut aminos, salt, and spicy mayo.
- Cut nori sheets into 6 equal squares, approximately 3.5 inches each.
- Add a tablespoon of cooked rice onto each nori square and press it gently into the seaweed.
- Place each nori and rice square into a muffin tin and top with a tablespoon of the salmon mixture.
- Bake for about 15 minutes, then broil for the last 60 seconds to crisp the tops.
- Remove from the oven and let cool slightly. Garnish with additional spicy mayo and chopped chives.