

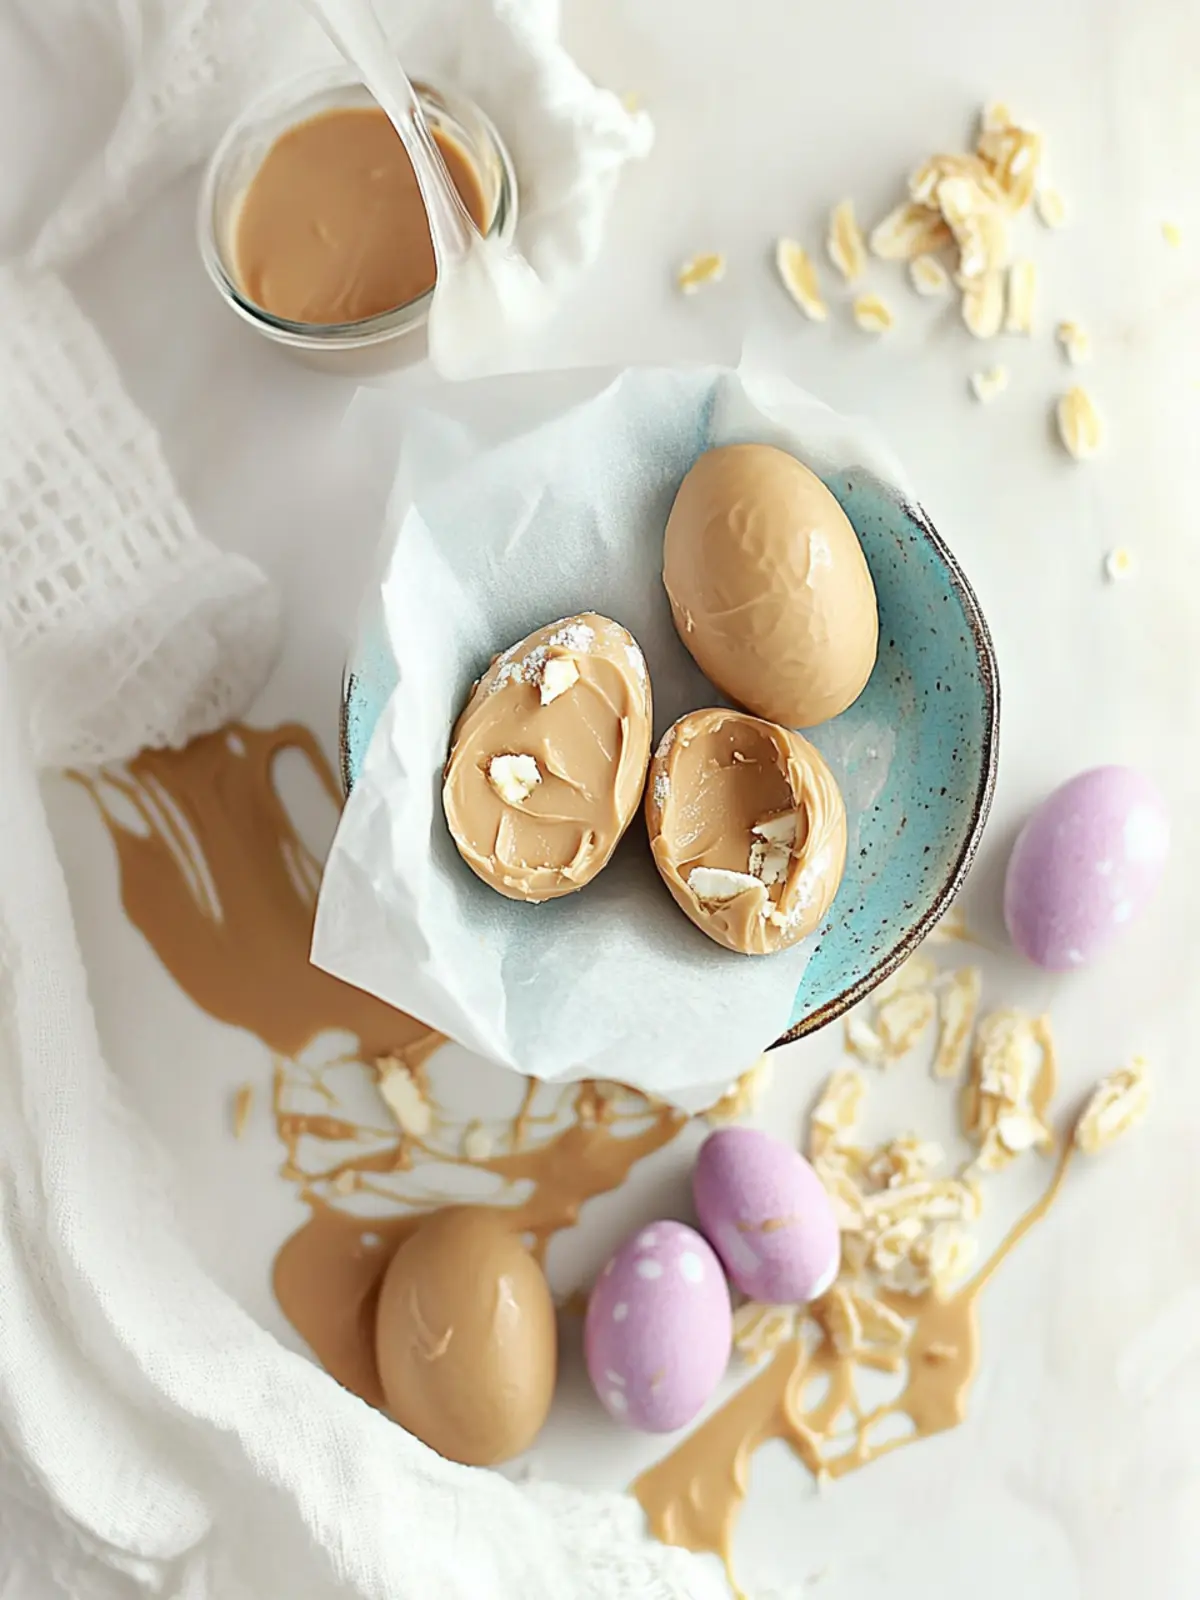
There’s something exceptionally joyful about creating homemade treats, especially when they come wrapped in chocolate! As Easter approaches, I’m reminded of the excitement of crafting my very own Peanut Butter Easter Eggs—an indulgence that combines the perfect balance of sweet and salty flavors. One bite of these creamy, chocolate-covered delights transports me straight to my childhood, where pastel colors and the promise of spring filled the air.
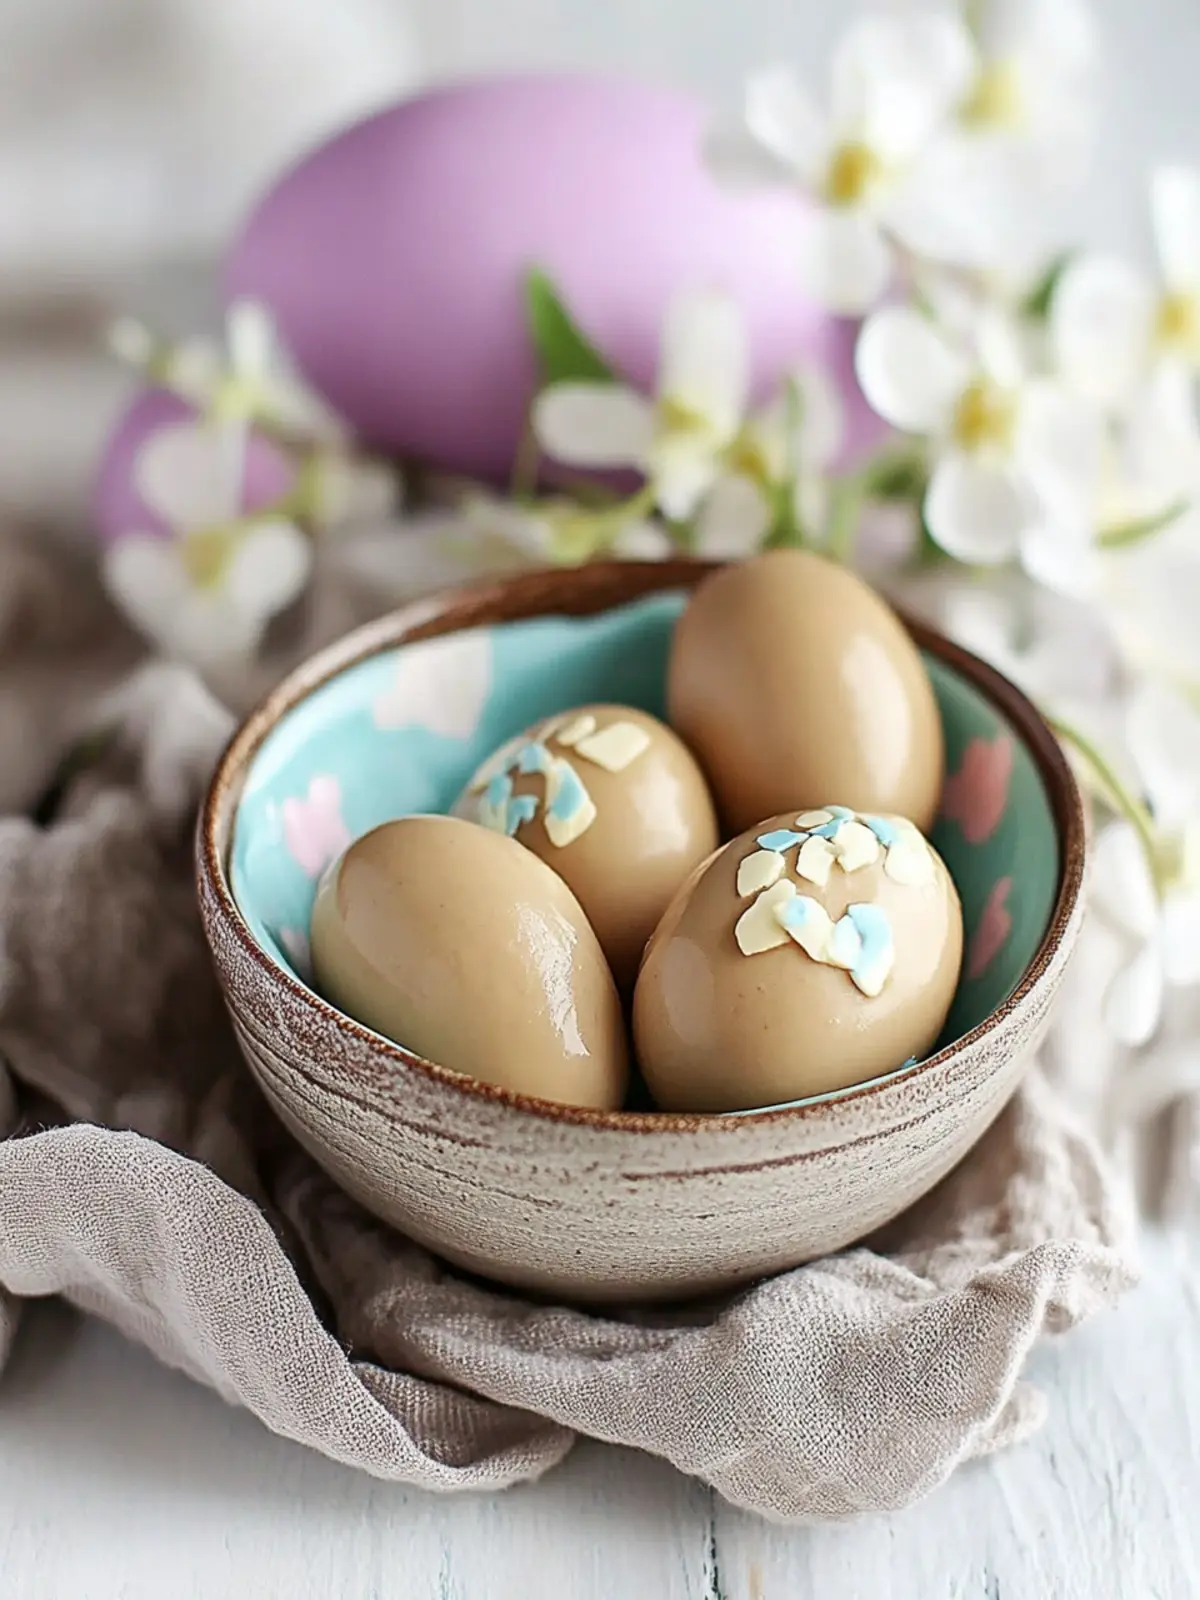
What sets these peanut butter eggs apart from those store-bought confections is not just the freshness of the ingredients but also the creative freedom I have in decorating them. Imagine impressive pastel designs that add a touch of whimsy to your holiday spread, or even a festive sprinkle of your choice to brighten things up.
Whether you’re prepping for a family gathering or seeking a delightful weekend project, this no-bake recipe is here to elevate your Easter celebrations and satisfy those chocolate cravings. Let’s dive in and bring a bit of homemade magic to your table!
Why Are These Peanut Butter Eggs So Special?
Irresistible Flavor: The sweet and salty combination delivers a taste that’s simply addictive.
No Baking Required: This easy no-bake recipe saves time, making it perfect for busy schedules.
Customizable Designs: You can get creative with pastel decorations, making each egg a personal masterpiece!
Diet-Friendly Options: With simple swaps, it’s easy to cater to different dietary needs—dairy-free or gluten-free, anyone?
Nostalgic Treat: These peanut butter eggs evoke childhood memories, bringing warmth and joy to your Easter festivities.
Elevate your celebrations with these delightful homemade treats that will surely impress your loved ones!
Peanut Butter Egg Ingredients
-
For the Filling
• Graham Crackers – Provides structure and slight crunch; can be substituted with cookie crumbs if unavailable.
• Smooth Peanut Butter – Adds creaminess and rich flavor; crunchy peanut butter can be used for extra texture.
• Powdered Sugar – Sweetens the filling and aids in achieving a smooth consistency.
• Unsalted Butter – Enriches the filling and adds moisture; replace with coconut oil for a dairy-free option.
• Vanilla Extract – Enhances the flavor profile; ensure it’s pure vanilla for the best results.
• Salt – Balances sweetness and elevates all flavors. -
For the Coating
• Colored Candy Coating Melts – Used for decorative purposes to give a colorful finish; a food-safe colored chocolate can be an alternative.
• Chocolate Candy Coating Melts – Forms the outer shell; choose dark or milk chocolate based on your preference for these irresistible peanut butter eggs.
How to Make Peanut Butter Eggs
-
Prepare the Filling:
Crush graham crackers finely for the filling. In a mixer, combine the graham cracker crumbs, smooth peanut butter, powdered sugar, melted unsalted butter, vanilla extract, and a pinch of salt. Mix until the texture is smooth and crumbly, then refrigerate until firm, about 30 minutes. -
Prepare Molds:
Clean your silicone egg molds thoroughly. Melt the colored candy coating melts in small bowls, then carefully apply to the inside of each mold using a brush or lollipop stick. You can create fun designs such as polka dots or swirls. Place them in the refrigerator to harden for approximately 15 minutes. -
Make Chocolate Shells:
Melt the chocolate coating melts until smooth and glossy. Brush a thick layer inside each mold, ensuring an even coating. Pop them into the refrigerator to set for about 20 minutes, until firm to the touch. -
Fill the Eggs:
Once the chocolate shell is set, press the prepared peanut butter filling into the molds, leaving a little space at the top. Cover it with another layer of melted chocolate to seal each egg. Chill in the refrigerator for an additional 30 minutes to set completely. -
Finish & Serve:
Gently remove the eggs from the molds, taking care not to break them. For the best taste and texture, let them come to room temperature before serving. Store any leftovers in an airtight container.
Optional: Add festive sprinkles on top of the chocolate coating for an extra cheerful touch!
Exact quantities are listed in the recipe card below.

Make Ahead Options
These Homemade Peanut Butter Easter Eggs are perfect for busy cooks looking to save time during the holiday season! You can prepare the filling up to 24 hours in advance—simply mix the graham cracker crumbs, peanut butter, powdered sugar, melted butter, vanilla extract, and salt, and then refrigerate until firm. Additionally, the chocolate shells can also be made ahead; just brush the molds and refrigerate them for about 20 minutes until set. When you’re ready to finish the peanut butter eggs, simply fill them with the prepared filling, seal with another layer of chocolate, and chill until completely set. This not only saves you precious time but ensures your homemade treats are just as delicious when served!
What to Serve with Peanut Butter Easter Eggs?
Elevate your Easter treat experience by pairing these delightful homemade confections with complementary flavors and textures.
- Coffee or Hot Chocolate: A warm beverage balances the sweetness of the eggs while enhancing the rich chocolate flavor.
- Vanilla Ice Cream: The creaminess of vanilla ice cream brings a delightful contrast to the sweet, salty peanut butter filling.
- Carrot Sticks with Hummus: A crunchy, fresh element adds balance and a lightness to the chocolatey indulgence. Fresh veggies are always a refreshing choice.
- Fruit Salad: A medley of seasonal fruits offers a burst of color and natural sweetness that complements the richness of the peanut butter eggs.
- Cheese Board: Include a selection of mild cheeses, crackers, and nuts for an added layer of savory flavors that pair surprisingly well with chocolate.
- Sparkling Lemonade: The bright, zesty taste of sparkling lemonade cleanses the palate between bites of rich chocolate, making for a refreshing treat.
- Mint Tea: A soothing herbal pairing that leaves a light, refreshing aftertaste, perfect for cutting through the richness of the eggs.
- Chocolate Dipped Strawberries: An extension of the chocolate theme, these add a touch of fruitiness and elegance to your Easter celebration.
- Nutty Brownies: A fudgy complement, brownies can enhance the flavor experience and satisfy any lingering chocolate cravings.
- Pistachio Cookies: Crunchy, nutty cookies can balance the soft texture of the peanut butter eggs while adding another layer of flavor to your dessert spread.
How to Store and Freeze Peanut Butter Eggs
- Room Temperature: Store your peanut butter eggs in an airtight container at room temperature for up to 2 weeks. This keeps them fresh while maintaining their delightful texture.
- Fridge: If you prefer a cooler treat, place them in the refrigerator for up to 1 month. Just be sure they’re well-wrapped to prevent any moisture absorption.
- Freezer: To freeze, wrap each egg tightly in plastic wrap and place them in a freezer-safe container. They can last up to 3 months—perfect for enjoying later!
- Reheating: If stored in the fridge or freezer, allow them to come to room temperature before serving to fully appreciate the creamy filling of your peanut butter eggs.
Peanut Butter Eggs Variations
Let your creativity soar as you customize these delectable treats to suit your taste!
-
Nut Butter Swap: Replace peanut butter with almond or cashew butter for a delightful twist in flavor and texture.
-
Dairy-Free Delight: Substitute unsalted butter with coconut oil to create a dairy-free version that’s just as delicious!
-
Flavor Boost: Experiment with different extracts like almond or hazelnut for a unique flavor profile in every bite.
-
Crispy Texture: Incorporate crispy rice cereal into the filling for added crunch and an interesting texture.
-
Colorful Sprinkles: Add vibrant sprinkles into the chocolate coating for a festive touch that brings joy to each egg.
-
Spicy Kick: For a surprising twist, mix in a pinch of cayenne pepper to the filling for a sweet and spicy combination.
-
Mini Versions: Use a mini muffin tin instead of molds to create bite-sized treats perfect for sharing or snacking.
-
Fruity Fusion: Blend in some crushed freeze-dried strawberries or raspberries into the filling for a fruity explosion of flavor.
Expert Tips for Making Peanut Butter Eggs
-
Smooth Consistency: Ensure the peanut butter filling is mixed until completely smooth; any lumps can affect the texture of your peanut butter eggs.
-
Chill Properly: Don’t skip the refrigeration steps! Allowing the filling and chocolate to set helps maintain structure, preventing messy egg disassembly.
-
Color Accuracy: Use separate brushes for each colored coating to prevent colors from bleeding together, ensuring your peanut butter eggs stay vibrant and beautiful.
-
Thickness Matters: When brushing the chocolate coating, aim for a thick, even layer to create a solid seal; a thin layer may lead to leaks and empty shells.
-
Creative Alternatives: Experiment with different nut butters or flavor extracts in the filling for a unique twist on these classic peanut butter eggs.
Peanut Butter Eggs Recipe FAQs
How do I choose the right peanut butter for these eggs?
Absolutely! For the best flavor and texture in your peanut butter eggs, choose a smooth peanut butter that you enjoy eating. If you prefer a bit of crunch, feel free to swap in crunchy peanut butter—it adds a delightful texture contrast. Just ensure the peanut butter you use is natural and creamy, with minimal additives for the best results.
How should I store my peanut butter eggs?
Very good question! You can store your peanut butter eggs in an airtight container at room temperature for up to 2 weeks. If you prefer them chilled, they can last in the refrigerator for up to 1 month. Just make sure to keep them sealed well to prevent moisture.
Can I freeze peanut butter eggs? How?
Absolutely! Freezing is a great option for extending the shelf life. To freeze your peanut butter eggs, start by wrapping each egg tightly in plastic wrap. Then, place them in a freezer-safe container or bag. They will last in the freezer for up to 3 months! When you’re ready to enjoy, simply thaw them in the refrigerator overnight or let them sit at room temperature for about 30 minutes.
What can I do if my chocolate coating doesn’t set properly?
Oh no! If your chocolate coating hasn’t set correctly, don’t panic. This can happen if the chocolate was overheated or too thin. To troubleshoot, try brushing on a thicker layer of chocolate in a second round. Ensure that the filling is fully chilled before adding the chocolate coating, as this helps everything firm up. You can also pop them back in the fridge to help set up more quickly.
Are these peanut butter eggs safe for kids?
Very much so! These homemade peanut butter eggs are a fun treat for kids and are generally safe. However, if you’re concerned about allergies, always check the labels of your peanut butter and chocolate coatings. Additionally, keep in mind that they contain butter and sugar, so moderation is key.
Can I make these peanut butter eggs dairy-free?
Of course! To make your peanut butter eggs dairy-free, simply replace the unsalted butter with coconut oil and ensure your chocolate coating is dairy-free as well. There are plenty of great dairy-free chocolate options available now. They’ll still taste delicious and maintain that creamy texture we all love!

Delicious Peanut Butter Eggs: Easy No-Bake Easter Treats
Equipment
- - Mixer
- silicone egg molds
- small bowls
- brush or lollipop stick
Ingredients
For the Filling
- 1 cup graham crackers or cookie crumbs
- 1 cup smooth peanut butter or crunchy peanut butter
- 2 cups powdered sugar
- 1/2 cup unsalted butter melted, can substitute with coconut oil
- 1 tsp vanilla extract ensure it's pure
- 1/4 tsp salt
For the Coating
- 1 cup colored candy coating melts or colored chocolate
- 1 cup chocolate candy coating melts dark or milk chocolate
Instructions
How to Make Peanut Butter Eggs
- Crush graham crackers finely for the filling. In a mixer, combine the graham cracker crumbs, smooth peanut butter, powdered sugar, melted unsalted butter, vanilla extract, and salt. Mix until smooth and crumbly, then refrigerate until firm, about 30 minutes.
- Clean your silicone egg molds thoroughly. Melt the colored candy coating melts in small bowls, then carefully apply to the inside of each mold using a brush. Place them in the refrigerator to harden for about 15 minutes.
- Melt the chocolate coating melts until smooth and glossy. Brush a thick layer inside each mold to create the shell. Refrigerate to set for about 20 minutes.
- Once the chocolate shell is set, press the prepared peanut butter filling into the molds. Cover with another layer of melted chocolate to seal each egg. Chill for another 30 minutes to set completely.
- Gently remove the eggs from the molds. For the best taste, let them come to room temperature before serving. Store leftovers in an airtight container.