

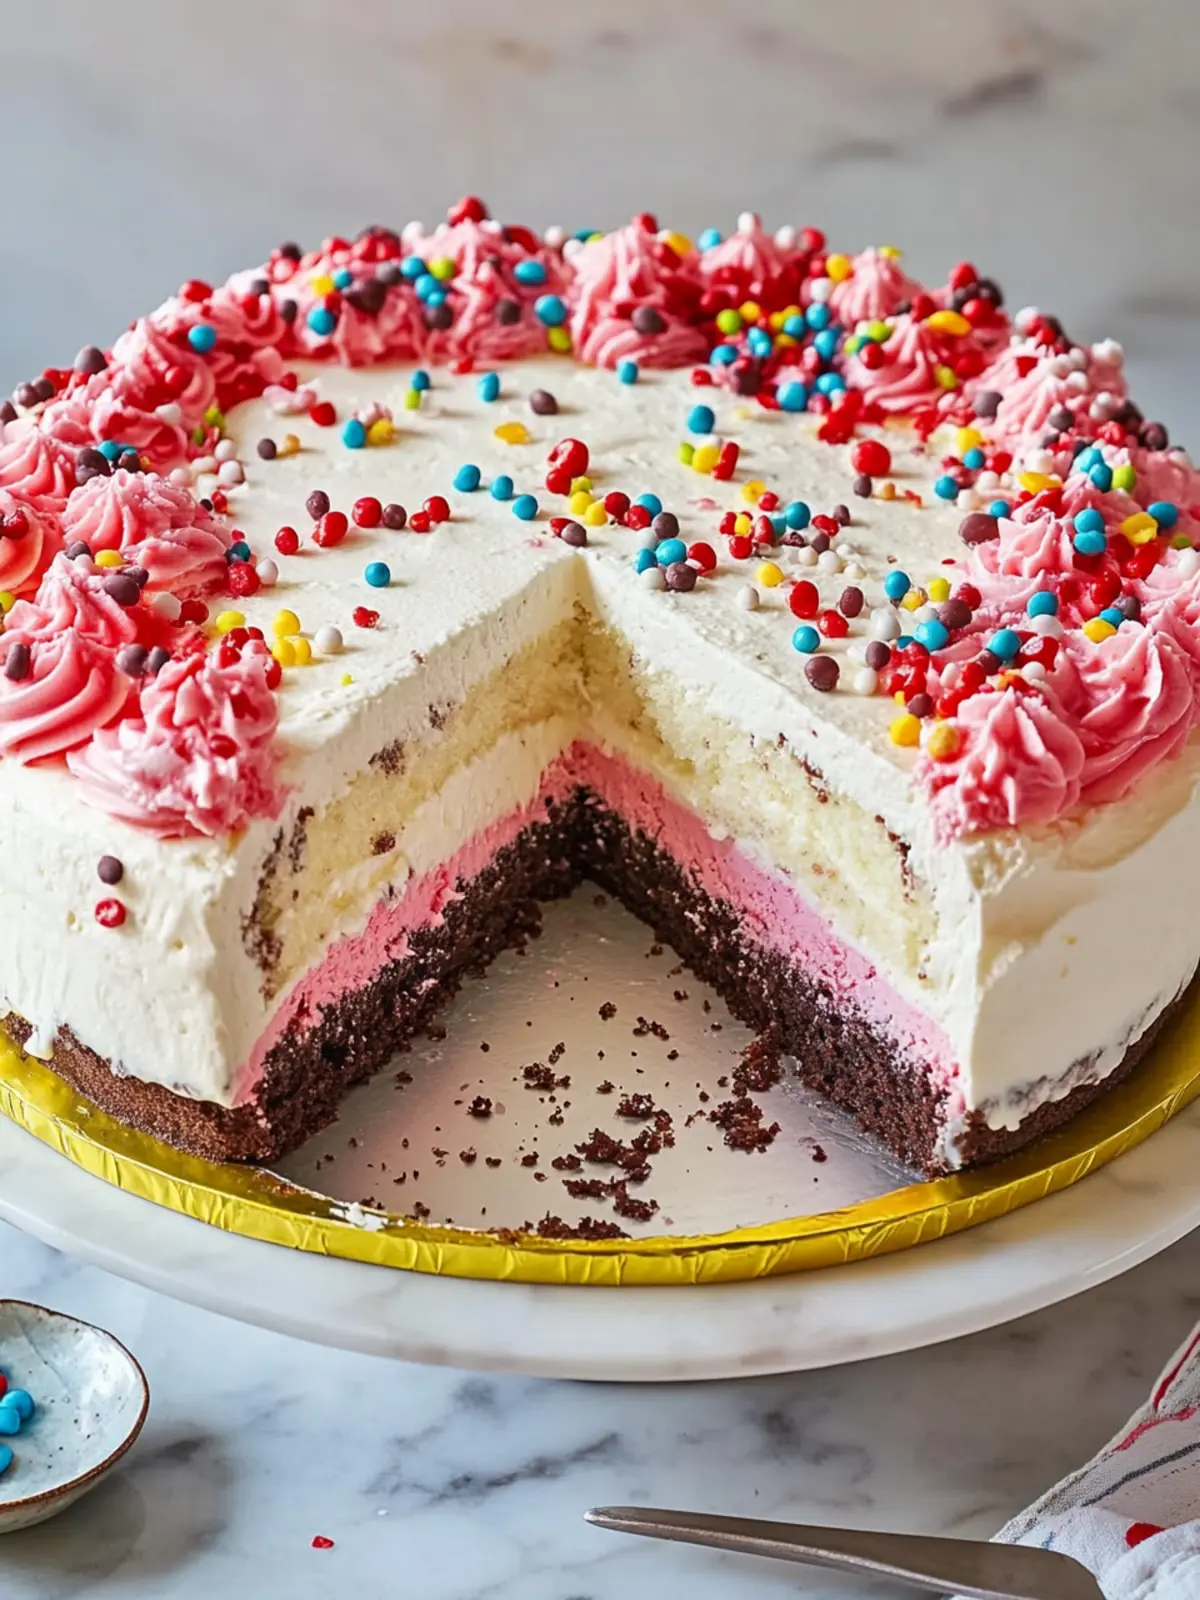
There’s something truly nostalgic about the creamy layers of a classic ice cream cake, especially when it captures the delightful essence of a Dairy Queen favorite! Imagine the joy on your loved one’s face when you unveil this Copycat Dairy Queen Ice Cream Cake at your next gathering—it’s bound to be the showstopper of the dessert table.
As I crafted this recipe in my own kitchen, the sweet smell of melting chocolate chips and freshly baked Oreo crumbs filled the air, instantly transporting me back to summer nights spent indulging in frozen treats. The best part? This cake is not only delicious but also remarkably easy to make at home, effortlessly combining vanilla and chocolate ice cream with a rich hot fudge center, all wrapped in a crumbly cookie crunch.
Whether you’re looking for a unique birthday celebration cake or simply want to satisfy a craving, this ice cream cake is sure to please both young and old alike. Let’s dive into how you can create this indulgent masterpiece in your own kitchen!
Why will you love this Copycat Dairy Queen Ice Cream Cake?
Nostalgic Delight: This cake brings back the joyful essence of childhood treats, evoking sweet memories of summer nights.
Easy to Master: Even beginner bakers can impress with this straightforward recipe—it’s a fun way to spark creativity in the kitchen!
Layered Indulgence: With creamy vanilla and chocolate ice cream, complemented by a gooey hot fudge center, every slice is a taste of bliss.
Crowd-Pleaser: Perfect for birthdays, family gatherings, or just a sweet escape; this cake is sure to steal the spotlight!
Customizable: Feeling adventurous? Try different ice cream flavors or toppings to make it uniquely yours.
Make Ahead: Freeze it ahead of time to eliminate dessert stress on special occasions—just decorate before serving!
This recipe promises to be a memorable addition to your cooking repertoire, and if you enjoy similar frozen delights, check out my post on homemade ice cream flavors!
Copycat Dairy Queen Ice Cream Cake Ingredients
• Creating this Copycat Dairy Queen Ice Cream Cake is a breeze with the right ingredients!
For the Cookie Crunch
- Oreo cookies – Use regular Oreos for that classic crunch; you can substitute with gluten-free cookies if needed.
- Unsalted butter – Adds richness to the cookie base; melted for easy mixing.
For the Ice Cream Layers
- Vanilla ice cream – Opt for a high-quality brand for the creamiest texture; let it soften before spreading.
- Chocolate ice cream – Rich and decadent, perfect for layering with vanilla; be sure to soften as well.
For the Fudge Center
- Semisweet chocolate chips – The heart of the fudge center; choose a good quality for a melt-in-your-mouth experience.
- Refined coconut oil or vegetable shortening – Helps achieve a smooth consistency for melted chocolate; using coconut oil adds a subtle flavor.
- Hot fudge topping – A drizzle of indulgence awaits; warm it slightly for easy spreading.
For the Whipped Cream Topping
- Heavy whipping cream – Essential for a light and fluffy topping; make sure it’s chilled for best results.
- Confectioners’ sugar – Add sweetness to perfectly whipped cream; it dissolves easily, keeping the texture smooth.
- Pure vanilla extract – Enhances sweetness and flavor in the whipped cream; never settle for imitation!
For the Decoration
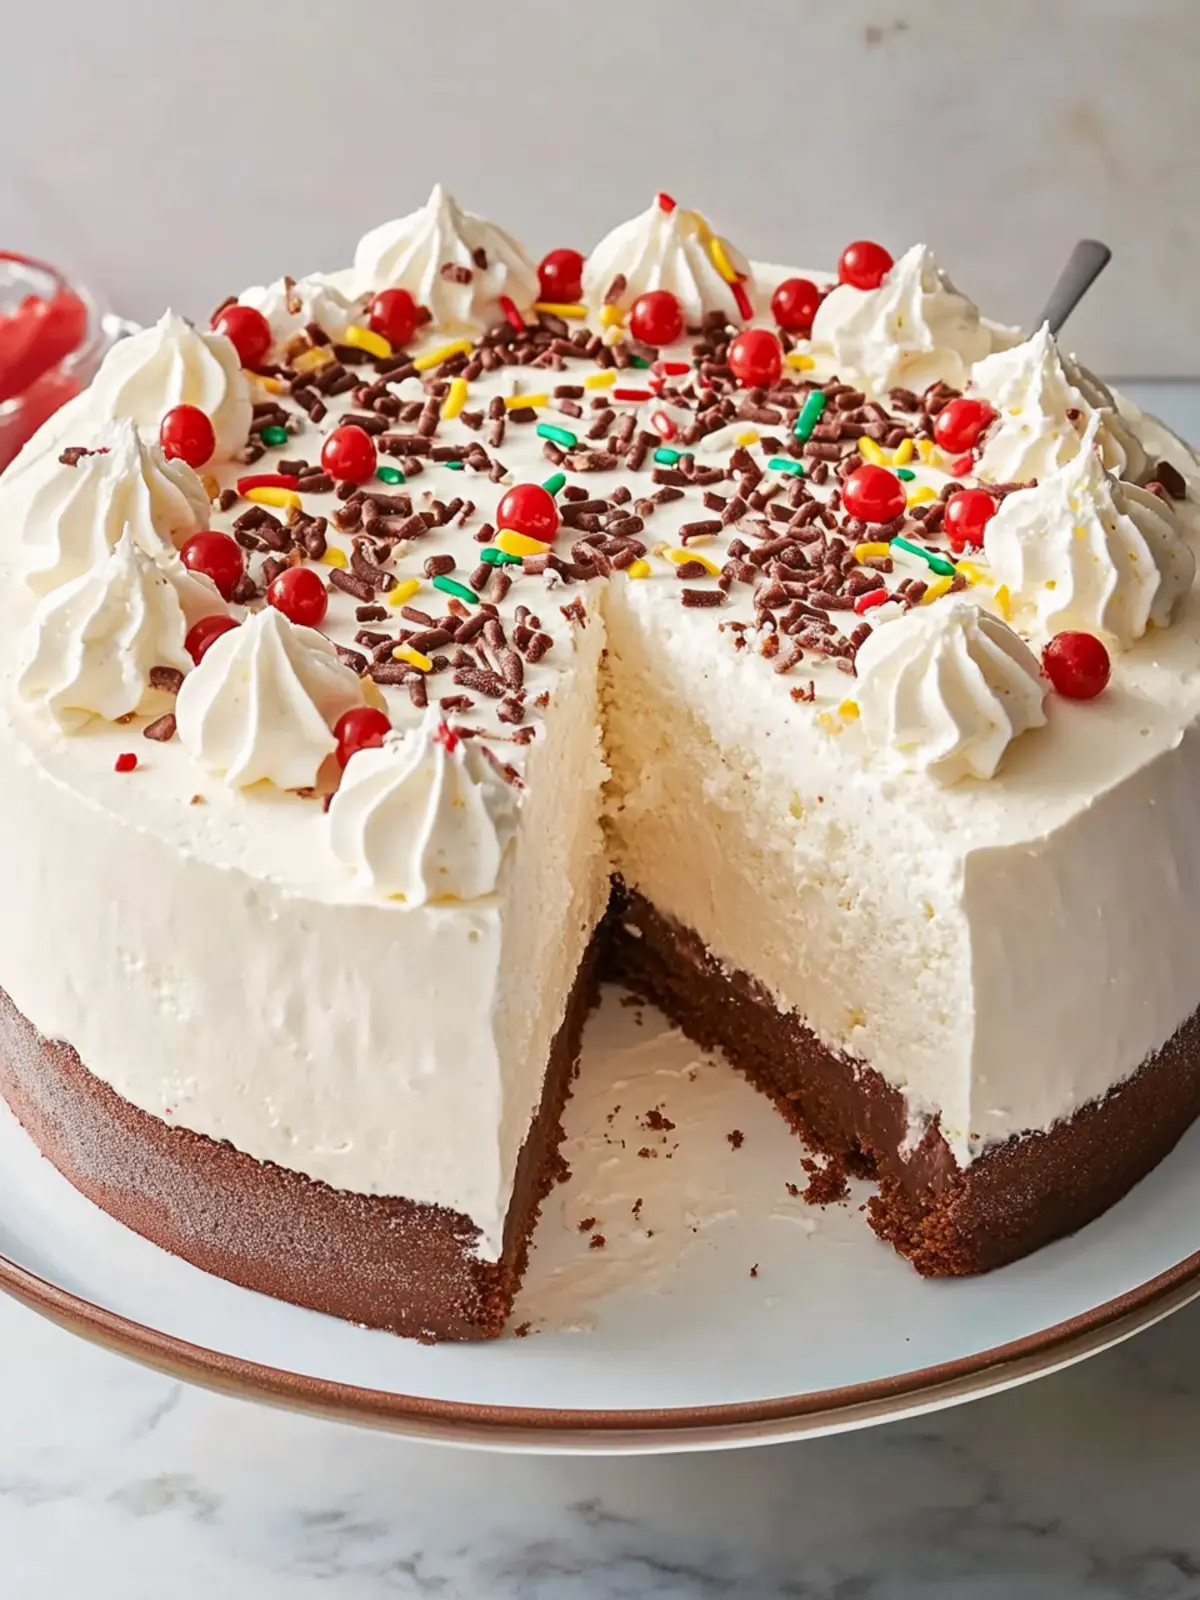
- Sprinkles – Add a fun and festive touch to your cake; choose colorful sprinkles to brighten up your dessert presentation!
How to Make Copycat Dairy Queen Ice Cream Cake
-
Preheat your oven to 350°F (175°C) and line a baking sheet with parchment paper. Chop the Oreo cookies into chickpea-sized pieces, transfer them to a bowl, and toss with melted butter. Spread the mixture onto the prepared sheet and bake until fragrant and crisp, about 5 to 8 minutes.
-
Melt the chocolate chips in a microwave-safe bowl in 30-second increments, stirring in between until smooth. This should take about 60 to 90 seconds total. Stir in the coconut oil until combined.
-
Combine the cookie crumbs with the chocolate mixture and toss to ensure everything is well-coated. Spread the mixture onto another parchment-lined sheet and refrigerate until hardened, approximately 30 minutes. Chop into small pieces for crunch.
-
Line a 9″ springform pan with plastic wrap. Stir the vanilla ice cream in a large bowl until it’s smooth and spreadable. Spread it into the bottom of the prepared pan and freeze for 30 minutes to set.
-
Warm the jar of hot fudge topping in the microwave in 15-second increments until it’s slightly warm and spreadable, taking about 30 to 45 seconds total.
-
Scatter the chocolate crunchies over the frozen vanilla layer. Dollop the warmed fudge across the crunchies, and then spread it carefully. Freeze the cake until slightly firm, or about 15 to 30 minutes.
-
Stir the chocolate ice cream until smooth and spreadable. Spoon it over the fudge layer, gently spreading until it’s smooth. Cover the top of the cake and freeze until firm, at least 4 hours or up to 1 week.
-
Peel off the top plastic wrap layer about 2 hours before serving. Invert the cake onto a platter, remove the sides of the springform pan, and carefully peel off the remaining plastic wrap. Return to the freezer while preparing the whipped cream.
-
Beat the heavy cream, confectioners’ sugar, and vanilla in a large bowl until stiff peaks form. Transfer about one-third of the whipped cream to a piping bag fitted with a star tip.
-
Spread the remaining whipped cream over the top and sides of the ice cream cake. Pipe a shell border around the top edge and base, if desired.
-
Freeze the decorated cake uncovered for 1 to 2 hours before serving to ensure it holds its shape.
-
Sprinkle the top edge and base of the cake with colorful sprinkles just before serving. Let it sit at room temperature about 5 minutes before slicing with a sharp knife.
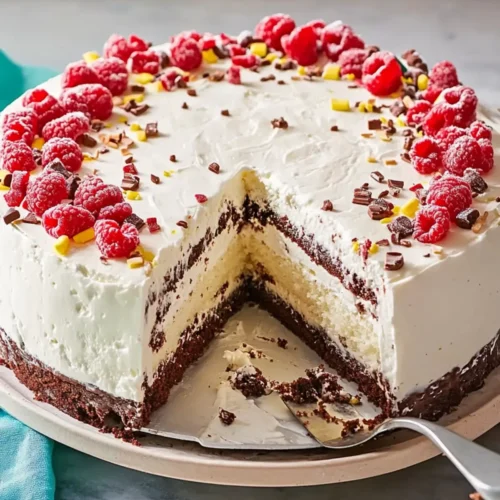
Optional: Top with fresh fruit for a burst of flavor!
Exact quantities are listed in the recipe card below.
Make Ahead Options
These Copycat Dairy Queen Ice Cream Cakes are a perfect solution for busy home cooks looking to save time! You can prepare the cookie crunch and fudge layers up to 3 days in advance and store them in airtight containers in the refrigerator. Simply tuck the hardened chocolate crunchies and fudge in the fridge to keep them fresh. You can also layer the ice creams and freeze the cake up to 1 week ahead—just wrap it well in plastic wrap to prevent freezer burn. When you’re ready to serve, whip up the cream and decorate the cake approximately 1 to 2 hours before your gathering for incredible, fresh results. Enjoy the surprise and delight that this stunning cake brings, without the last-minute stress!
Copycat Dairy Queen Ice Cream Cake Variations
Feel free to tailor this delightful dessert to suit your tastes and dietary needs!
-
Gluten-Free: Substitute Oreos with gluten-free chocolate sandwich cookies to keep the crunch while making it accessible for everyone.
-
Nutty Addition: Add chopped nuts like pecans or almonds into the chocolate crunch layer for an extra layer of flavor and texture—just be sure to chop them finely!
-
Minty Fresh: Replace vanilla ice cream with mint chocolate chip for a refreshing twist that’s perfect for hot summer days—an instant favorite for mint lovers!
-
Vegan Option: Use coconut cream in place of heavy whipping cream and opt for dairy-free ice creams. You’ll achieve a rich and creamy texture that’s purely plant-based.
-
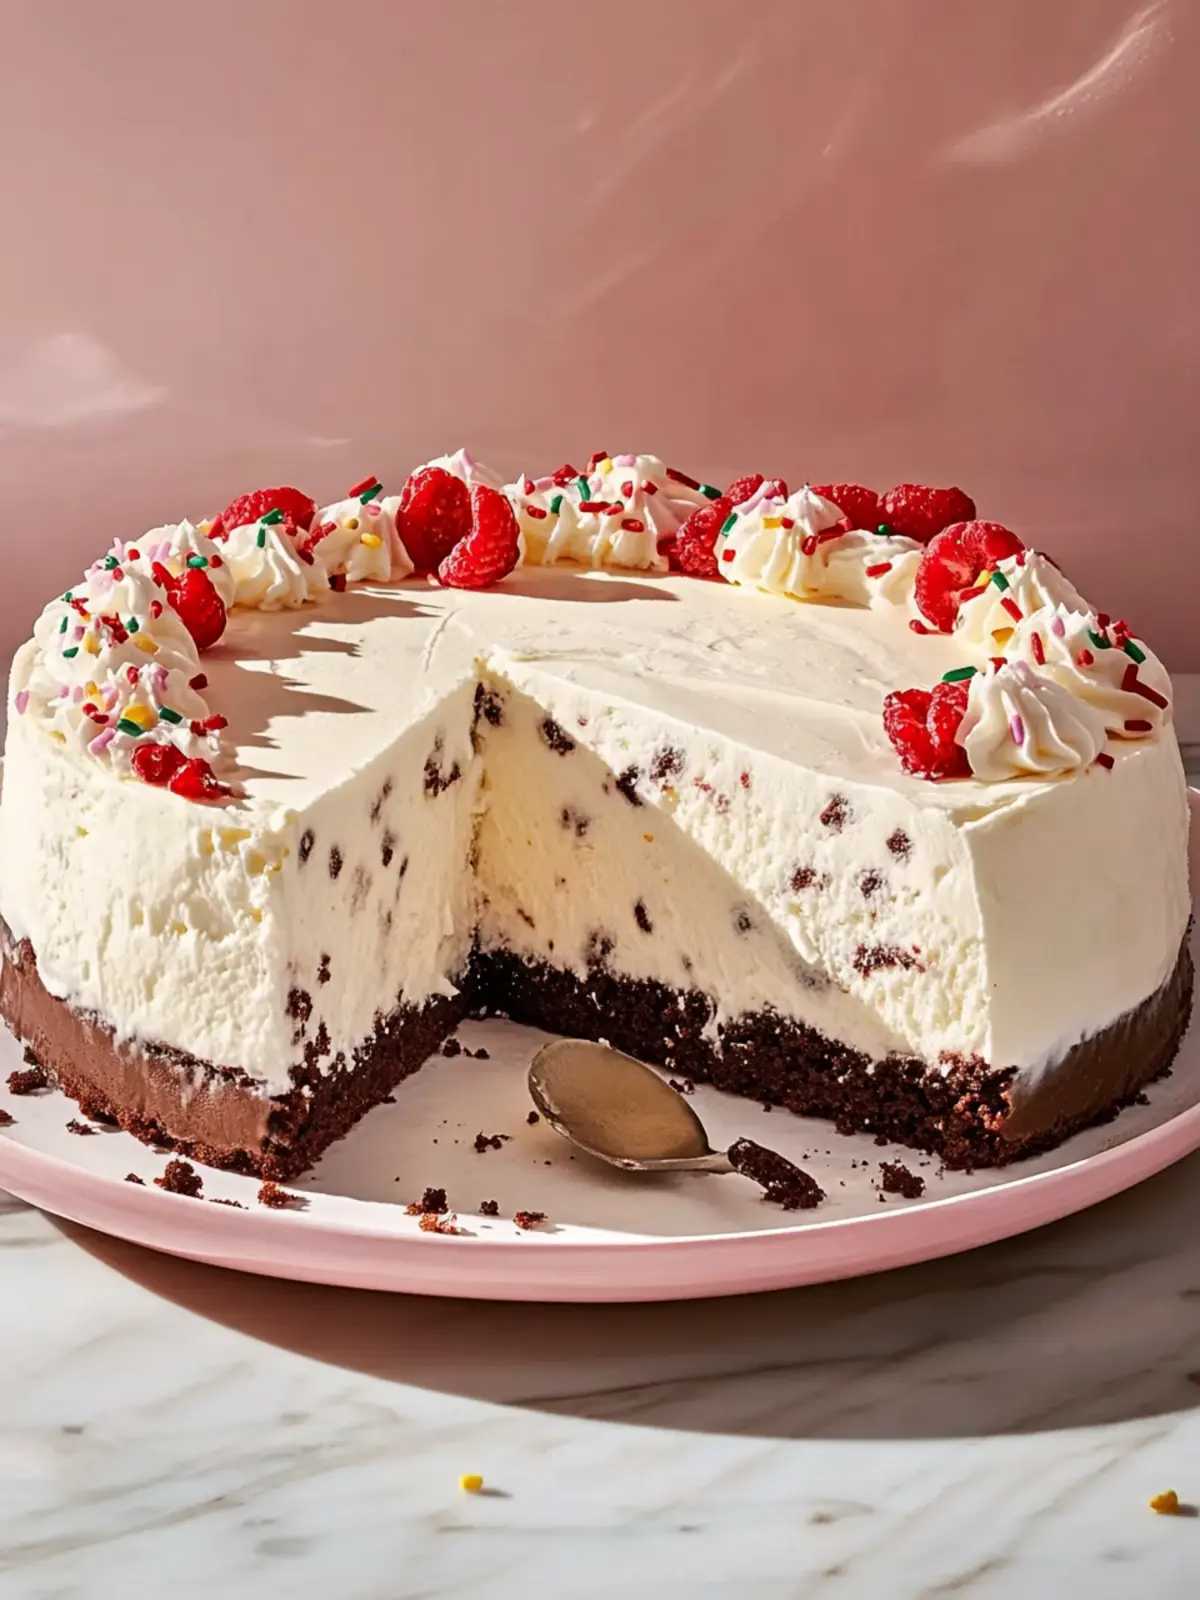
Fruity Layers: Incorporate sliced strawberries or bananas between the ice cream layers for a burst of fruitiness that beautifully complements the chocolate and vanilla.
-
Spicy Kick: Infuse a touch of cayenne or chili powder into the fudgy topping for those who enjoy a bit of heat. It adds an unexpected zing that will surprise and delight!
-
Coffee Lovers: Mix in a shot of espresso or some coffee-flavored ice cream for an irresistible mocha twist—the perfect pick-me-up dessert!
-
Chocolate Overload: Use a chocolate sandwich cookie crust instead of regular Oreos for ultimate chocolate indulgence if you simply can’t get enough!
Each variation can inspire delightful new stories and memories at your dessert table. Enjoy crafting your unique version!
How to Store and Freeze Copycat Dairy Queen Ice Cream Cake
Fridge: Store leftover cake in the fridge for up to 3 days, covered with plastic wrap or an airtight container, to maintain its freshness.
Freezer: For longer storage, keep the cake in the freezer for up to 1 week. Wrap it tightly in plastic wrap followed by foil to prevent freezer burn.
Serving: When ready to enjoy, let the frozen cake sit at room temperature for about 5 minutes before slicing to ensure clean cuts and a perfect slice.
Reheating: There’s no need to reheat; serve the cake frozen for the best texture and flavor!
Expert Tips for Copycat Dairy Queen Ice Cream Cake
Soften Ice Cream: Make sure both ice creams are slightly softened before spreading; this makes layering much easier and avoids tearing.
Watch the Bake: When baking the Oreos, keep an eye on them to prevent burning; they should be crisp but not overly dark.
Even Layers: For a perfect presentation, spread each layer evenly; a spatula can help ensure a smooth finish and avoid uneven slicing.
Chill Between Layers: Allow each layer to firm up in the freezer before adding the next; this prevents mixing of the flavors and maintains distinct layers.
Decorate Wisely: Sprinkle the cake with toppings just before serving for maximum freshness; otherwise, they can become soggy over time.
Slice with Care: Use a sharp, hot knife for clean slices; dipping the knife into hot water and wiping it dry can help achieve smooth cuts.
What to Serve with Copycat Dairy Queen Ice Cream Cake?
Creating a joyful and satisfying meal goes beyond the cake, inviting you to explore delightful pairings that enhance every bite.
-
Fresh Berries: Juicy strawberries or raspberries provide a refreshing contrast to the rich cake, balancing sweetness with a tart note. Their vibrant colors also add an appealing touch to your dessert table.
-
Chocolate Sauce: Drizzling extra chocolate sauce on each slice amplifies the indulgent experience, creating a decadent treat that’s hard to resist. It’s a delightful twist for any chocolate lover!
-
Whipped Cream: A dollop of freshly whipped cream can enhance the cake’s texture, adding a light and fluffy element that perfectly complements the creamy layers. Feel free to flavor it with a hint of vanilla or almond extract for extra flair!
-
Ice Cream Scoops: Serve alongside a scoop of your favorite ice cream to elevate the experience. Imagine the joy of different flavors blending together in every bite!
-
Caramel Sauce: For a sweet, buttery kick, drizzle some warm caramel sauce over the cake slice. It brings a delightful depth that harmonizes beautifully with chocolate and vanilla.
-
Coffee or Espresso: A cup of freshly brewed coffee or espresso pairs nicely, offering a warm and slightly bitter contrast that cuts through the sweetness, enhancing the overall flavor experience.
-
Mint Leaves: Garnish your dessert with a fresh sprig of mint for an invigorating element that refreshes the palate. Plus, it looks stunning on the plate!
-
Chocolate Chip Cookies: For an irresistible duo, serve with chocolate chip cookies. Their chewy texture and chocolate goodness create a nostalgic and heartwarming touch to your dessert spread.
Copycat Dairy Queen Ice Cream Cake Recipe FAQs
How do I choose the right Oreos for the cookie crunch?
Absolutely! I recommend using regular Oreos for that classic crunch. If you’re following a gluten-free diet, you can easily substitute them with gluten-free cookies, which will still give you that delightful texture.
What’s the best way to store leftover ice cream cake?
For the best results, store any leftover cake in the fridge for up to 3 days, covered with plastic wrap or in an airtight container. This helps maintain its freshness and flavor. If you want to keep it longer, wrap it tightly and freeze it, where it can remain good for up to 1 week.
Can I freeze Copycat Dairy Queen Ice Cream Cake? If so, how?
Yes! To freeze, follow these steps:
- After decorating the cake, ensure it is fully set in the freezer for a minimum of 4 hours.
- Wrap the entire cake tightly in plastic wrap to avoid freezer burn.
- For extra protection, add a layer of foil around the plastic wrap.
By doing this, you can enjoy your ice cream cake even after a week, but it’s best consumed fresh!
What should I do if my ice cream is too hard to spread?
Very! If your ice cream is too hard, let it sit at room temperature for about 10-15 minutes until it softens slightly. This will make it easier to spread without tearing. Remember to spread it quickly to avoid melting when layering.
Can I use alternative ingredients due to allergies?
Certainly! If you have dairy allergies, consider using dairy-free ice creams and coconut cream for the whipped topping. For nut allergies, ensure that your coconut oil or any chocolate chips are produced in a nut-free facility to prevent cross-contamination. Always read labels carefully!
How can I tell when my whipped cream is ready?
To achieve those stiff peaks, beat the heavy cream until it flows smoothly and holds a peak that stands upright without drooping. This process usually takes about 3-5 minutes on medium speed with an electric mixer. Just be careful not to overbeat it, as that can turn it grainy!
Ultimate Copycat Dairy Queen Ice Cream Cake Recipe You’ll Love
Equipment
- Oven
- microwave
- Springform pan
- Mixing bowls
- - Piping bag
Ingredients
For the Cookie Crunch
- 20 cookies Oreo cookies Use regular Oreos for that classic crunch; you can substitute with gluten-free cookies if needed.
- 1/2 cup Unsalted butter Adds richness to the cookie base; melted for easy mixing.
For the Ice Cream Layers
- 1 quart Vanilla ice cream Opt for a high-quality brand for the creamiest texture; let it soften before spreading.
- 1 quart Chocolate ice cream Rich and decadent, perfect for layering with vanilla; be sure to soften as well.
For the Fudge Center
- 1 cup Semisweet chocolate chips The heart of the fudge center; choose a good quality for a melt-in-your-mouth experience.
- 2 tablespoons Refined coconut oil or vegetable shortening Helps achieve a smooth consistency for melted chocolate; using coconut oil adds a subtle flavor.
- 1 cup Hot fudge topping A drizzle of indulgence awaits; warm it slightly for easy spreading.
For the Whipped Cream Topping
- 1 cup Heavy whipping cream Essential for a light and fluffy topping; make sure it’s chilled for best results.
- 1/4 cup Confectioners' sugar Add sweetness to perfectly whipped cream; it dissolves easily, keeping the texture smooth.
- 1 teaspoon Pure vanilla extract Enhances sweetness and flavor in the whipped cream; never settle for imitation!
For the Decoration
- 1 cup Sprinkles Add a fun and festive touch to your cake; choose colorful sprinkles to brighten up your dessert presentation!
Instructions
Preparation
- Preheat your oven to 350°F (175°C) and line a baking sheet with parchment paper. Chop the Oreo cookies into chickpea-sized pieces, transfer them to a bowl, and toss with melted butter. Spread the mixture onto the prepared sheet and bake until fragrant and crisp, about 5 to 8 minutes.
- Melt the chocolate chips in a microwave-safe bowl in 30-second increments, stirring in between until smooth. This should take about 60 to 90 seconds total. Stir in the coconut oil until combined.
- Combine the cookie crumbs with the chocolate mixture and toss to ensure everything is well-coated. Spread the mixture onto another parchment-lined sheet and refrigerate until hardened, approximately 30 minutes. Chop into small pieces for crunch.
- Line a 9" springform pan with plastic wrap. Stir the vanilla ice cream in a large bowl until it's smooth and spreadable. Spread it into the bottom of the prepared pan and freeze for 30 minutes to set.
- Warm the jar of hot fudge topping in the microwave in 15-second increments until it's slightly warm and spreadable, taking about 30 to 45 seconds total.
- Scatter the chocolate crunchies over the frozen vanilla layer. Dollop the warmed fudge across the crunchies, and then spread it carefully. Freeze the cake until slightly firm, or about 15 to 30 minutes.
- Stir the chocolate ice cream until smooth and spreadable. Spoon it over the fudge layer, gently spreading until it's smooth. Cover the top of the cake and freeze until firm, at least 4 hours or up to 1 week.
- Peel off the top plastic wrap layer about 2 hours before serving. Invert the cake onto a platter, remove the sides of the springform pan, and carefully peel off the remaining plastic wrap. Return to the freezer while preparing the whipped cream.
- Beat the heavy cream, confectioners' sugar, and vanilla in a large bowl until stiff peaks form. Transfer about one-third of the whipped cream to a piping bag fitted with a star tip.
- Spread the remaining whipped cream over the top and sides of the ice cream cake. Pipe a shell border around the top edge and base, if desired.
- Freeze the decorated cake uncovered for 1 to 2 hours before serving to ensure it holds its shape.
- Sprinkle the top edge and base of the cake with colorful sprinkles just before serving. Let it sit at room temperature about 5 minutes before slicing with a sharp knife.