

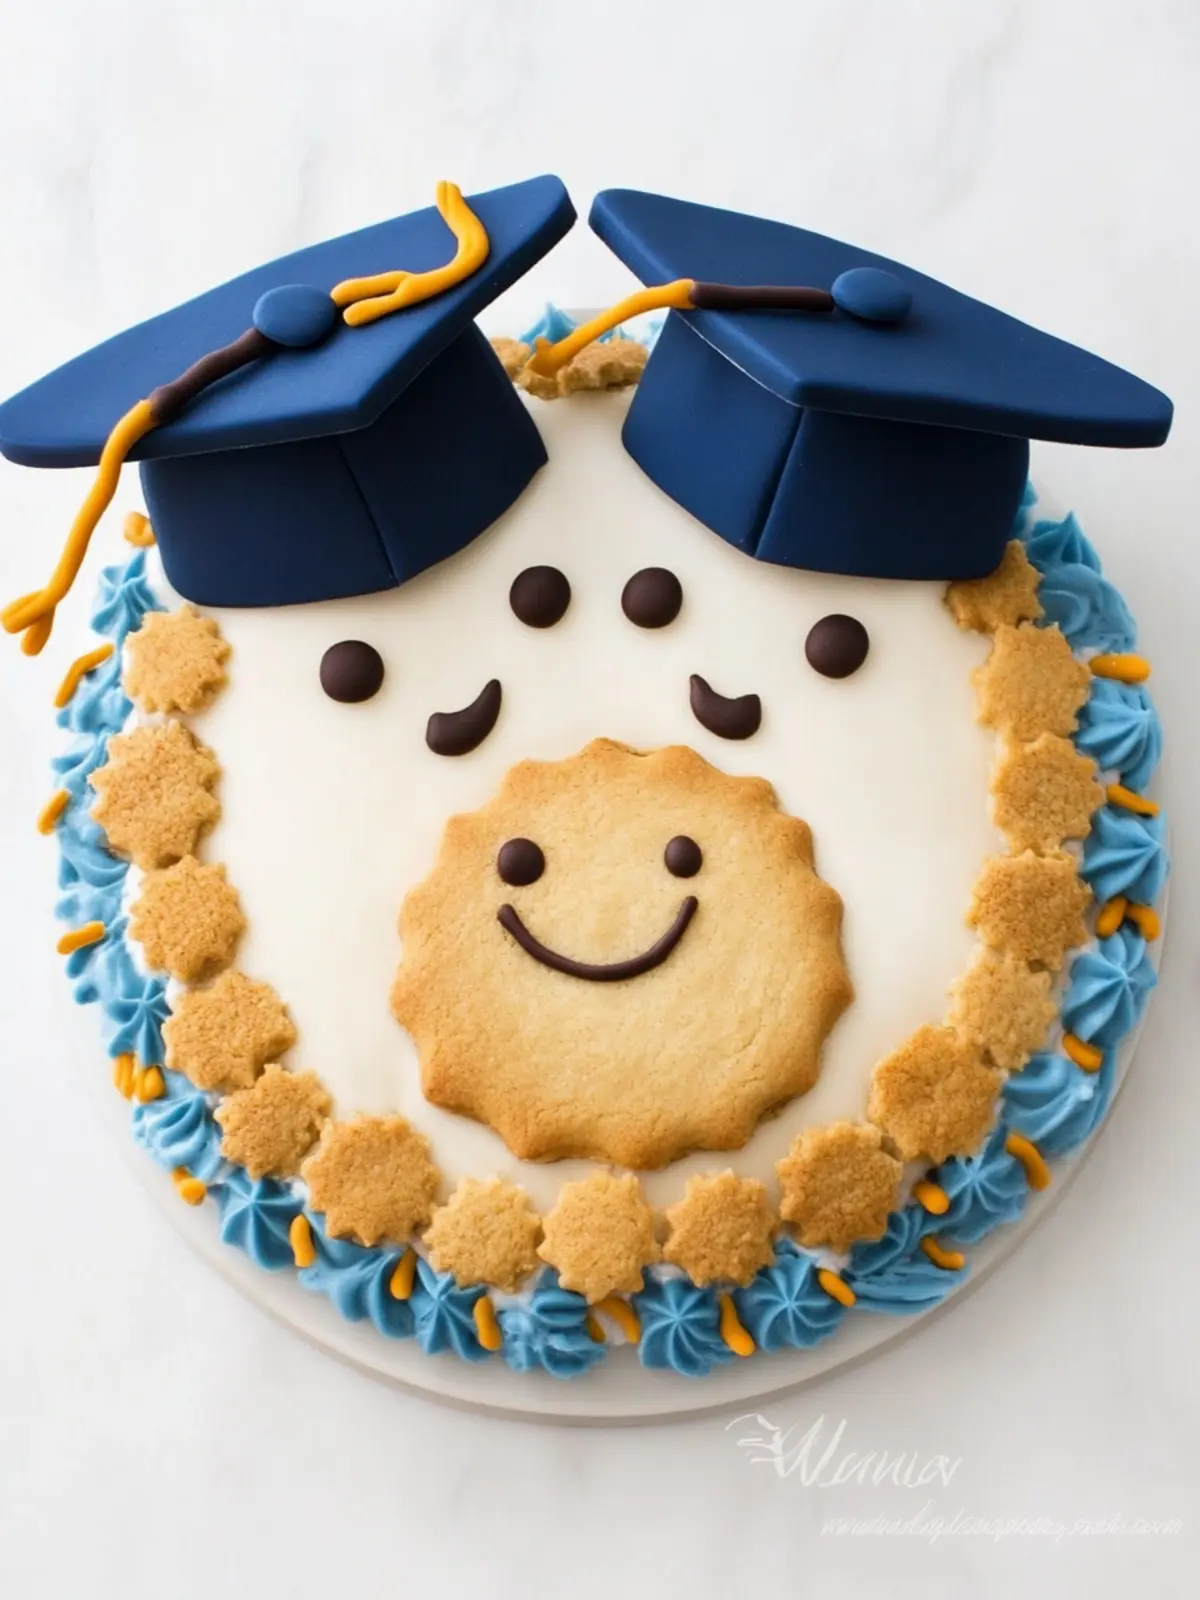
As graduation season approaches, the excitement in the air is palpable—hats flying, smiles beaming, and celebrations beckoning! This is the perfect time to craft something truly special that captures all those proud moments: Graduation Cookies. These delightful treats are not just cookies; they’re personalized little masterpieces that add an extra touch of sweetness to your festivities.
I stumbled upon this cookie cake recipe during a lighthearted conversation with friends about their graduation celebrations, and I knew I had to whip it up for my own gathering. The buttery cookie base, paired with creamy white chocolate and vibrant food coloring, makes each bite not just a treat but a visual delight as well. Whether you’re celebrating a high school graduation, a college milestone, or just looking to elevate your dessert game, these cookies have got you covered.
They’re charming, festive, and surprisingly easy to make. Trust me, your friends and family will be wowed by how deliciously creative you can be. So roll up your sleeves, preheat that oven, and let’s dive into this Graduation Cookie cake recipe that’s sure to bring joy to any celebration!
Why Love This Graduation Cookie Cake Recipe?
Delightful creativity: These cookies are more than just sweets; they’re edible celebrations, perfect for showcasing your decorating skills.
Eye-catching colors: With vibrant food coloring, you can customize the grad caps and tassels to match school colors, adding a personal touch that will impress.
Kid-friendly fun: Involve the younger ones in decorating, turning baking into a memorable family activity.
Perfect for gatherings: Designed to share, these cookies will be the highlight of any graduation party or get-together.
Flavorful base: The buttery, rich cookie dough pairs perfectly with creamy white chocolate, creating a treat that’s simply irresistible.
Whether you’re an experienced baker or a novice, this recipe is both accessible and crowd-pleasing for any celebration!
Graduation Cookie Cake Ingredients
• Ready to create your stunning Graduation Cookie Cake? Here’s everything you need!
For the Cookie Base
- 2 cups all-purpose flour – a must for the foundation of your cookies, add more if the dough feels sticky.
- ¼ teaspoon salt – enhances the flavors for a well-rounded taste.
- ¼ teaspoon baking powder – helps the cookies rise slightly while baking.
- ½ cup butter – softened slightly for easy creaming with sugar.
- ¾ cups sugar – sweetens the dough and contributes to its chewy texture.
- 1 large egg – binds the ingredients together for a cohesive dough.
- ¾ teaspoon pure vanilla extract – adds a lovely warmth and aroma.
- ½ teaspoon almond extract – provides a nutty flavor that elevates the cookies.
For the Decorations
- 16 ounces white chocolate – melts beautifully, perfect for adding a creamy layer.
- ⅓ cup light corn syrup – acts as a glue for the decorations; you can use more if needed.
- Food coloring – flesh tone and other colors for your grad caps, letting your creativity shine!
Ready to gather these ingredients? Your Graduation Cookie Cake journey is about to begin, and each step will take you closer to a sweet celebration!
How to Make Graduation Cookie Cake
-
Preheat your oven to 350°F (175°C), letting it warm up while you prepare your ingredients. This ensures that your cookies bake evenly and beautifully!
-
Combine the flour, salt, and baking powder in a bowl. Mix them together thoroughly and set aside. This dry mixture is essential for a perfectly textured cookie base.
-
Cream the softened butter and sugar together until light and fluffy, usually about 3-5 minutes. The airy consistency will help your cookies rise nicely in the oven.
-
Add the egg, vanilla, and almond extract, stirring until well incorporated. This mixture provides a wonderful flavor profile to your cookie dough.
-
Mix in the dry ingredients just until combined. Be gentle! If the dough feels sticky, sprinkle in a little extra flour to help it hold together.
-
Roll out the cookie dough on a floured surface until it’s about ⅛ inch thick. A smooth, even thickness will help ensure all your cookies bake at the same rate.
-
Cut twelve 3-inch circles from the dough using a cookie cutter. These will serve as the base for your graduation caps.
-
Shape twelve diamond-shaped grad caps from the remaining dough. This creative step is where the fun really begins!
-
Cut a triangle-shaped notch from each circle using the same diamond-shaped cutter. This is where the grad cap will fit perfectly.
-
Brush two long edges of each diamond-shaped piece with corn syrup, and carefully insert it into the notch of the circle. Press to seal the seams tightly.
-
Bake your cookies for 10-14 minutes until the edges are set and the tops no longer look wet. A touch of golden brown is what you’re aiming for!
-
Cool the cookies completely on a wire rack before decorating. Patience here is key; warm cookies can make decorating a messy affair.
-
Set aside about 2 tablespoons of white modeling chocolate for your tassels later. This will give your caps that finishing touch.
-
Color about ⅔ of the white modeling chocolate with flesh tone food coloring, and use additional colors for the graduation caps. Let them rest at room temperature for about 30 minutes.
-
Roll the flesh tone modeling chocolate to about 1/16 inch thickness, then cut out twelve 3-inch circles. These will top off your cookie base nicely.
-
Roll out your colored modeling chocolate to the same thickness for the diamond-shaped grad caps.
-
Cut a triangle-shaped notch from each circle using the same diamond cutter. Precision here will make your grad caps stand out!
-
Brush a light coating of corn syrup on a cookie, and stack the circle and diamond shape on top, pressing the seams securely.
-
Color modeling chocolate for the tassels next. Choose a vibrant hue to complement your caps beautifully.
-
Roll the modeling chocolate into a tube and use a clay extruder to create strands. Cut into twelve 1-inch pieces for the tassel’s top section.
-
Attach a single strand to each grad cap. Brush a small dot of corn syrup to secure it snugly in the center.
-
Switch to a multi-hole disc on your extruder and push the modeling chocolate to create longer strands, cutting them to about ¾ inch.
-
Pinch the strands together on one end and attach it to the top strand with corn syrup, creating a cohesive tassel.
-
Form small balls from the modeling chocolate matching your grad cap color, flattening them to secure over the end of the single strand.
Optional: Add sprinkles or edible glitter for an extra celebratory touch!
Exact quantities are listed in the recipe card below.
How to Store and Freeze Graduation Cookies
- Room Temperature: Keep your decorated graduation cookies in an airtight container for up to 3 days to maintain their freshness and flavor.
- Fridge: If you want them to last a bit longer, you can refrigerate them in a sealed container for up to 1 week. Allow to come to room temperature before serving.
- Freezer: For longer storage, freeze the undecorated cookies in a single layer and then transfer them to a freezer-safe bag for up to 3 months.
- Reheating: To enjoy frozen cookies, thaw them in the fridge overnight. For a warm treat, gently reheat them in the oven at 300°F (150°C) for about 5-7 minutes.
When you’re ready to celebrate, these delicious graduation cookies will be waiting for you, just as cheerful as your big day!
Make Ahead Options
These Graduation Cookies are perfect for meal prep enthusiasts! You can prepare the cookie dough up to 24 hours in advance; simply wrap it tightly in plastic wrap and refrigerate. Additionally, cut out the circle and diamond shapes and store them in a single layer between parchment paper in an airtight container for up to 3 days. When you’re ready to bake, just take them straight from the fridge to the oven—no need to thaw! For the decorations, you can color and roll the modeling chocolate a day ahead and store it at room temperature in a sealed container. Just before serving, assemble and decorate the cookies, and you’ll have delightful treats ready with minimal last-minute effort!
Graduation Cookie Cake Variations
Feel free to unleash your creativity with these delightful twists and substitutions that will make your graduation cookie cake even more special!
-
Gluten-Free: Substitute all-purpose flour with a gluten-free blend to accommodate guests with dietary restrictions, ensuring everyone can enjoy a treat.
-
Dairy-Free: Replace butter with coconut oil or vegan butter, and use dairy-free white chocolate for a completely dairy-free version that’s still rich and decadent.
-
Nut-Free: Omit almond extract and use additional vanilla to keep that delicious flavor intact while catering to nut allergies.
-
Flavor Boost: Add a teaspoon of lemon zest to the cookie dough for a refreshing zing that beautifully complements the sweetness.
-
Chocolate Lovers: Swap half the white chocolate with dark chocolate for a bold twist that adds depth to the cookies and pleases chocolate enthusiasts.
-
Colorful Sprinkles: Fold in vibrant sprinkles into the cookie base before baking for a fun surprise in each bite, perfect for festive celebrations.
-
Add Citrus: Incorporate orange or lemon extract to infuse a citrusy note, creating a bright contrast to the sweet chocolate topping.
-
Spicy Touch: Sprinkle cinnamon or nutmeg into the dough for a warm, inviting spice that adds an unexpected yet delightful flavor profile, especially appealing during cool seasons.
No matter how you choose to customize, these variations will keep the essence of your graduation cookies while adding your unique flair!
What to Serve with Graduation Cookies?
Looking to create a delightful spread that perfectly complements these beautifully crafted treats?
- Fruity Punch: A bright, refreshing punch adds a fruity sparkle that balances the sweetness of the cookies. Opt for a mix of citrus and berries for color and flavor!
- Cheese Platter: A selection of creamy cheeses, nuts, and dried fruits provides an enticing contrast to the sweet cookies, creating a well-rounded snack table.
- Mini Sandwiches: Savory mini sandwiches can balance the sweetness, offering guests a satisfying bite in between those adorable decorated cookies. Choose a variety of fillings for fun!
- Chocolate-Covered Strawberries: These sweet bites provide a touch of elegance, pairing beautifully with the rich flavors of white chocolate in the cookies. They are a simple yet decadent choice.
- Coffee Bar: Set up a coffee station with a variety of brews and creamers. The warmth of the coffee will enhance the buttery cookie flavors and create a cozy atmosphere.
- Graduation Cake: A beautifully decorated graduation-themed cake aligns with the party’s theme. The combination of textures will leave guests raving.
Making these pairings will ensure your graduation celebration is as memorable as it is delicious!
Expert Tips for Graduation Cookie Cake
- Chill the dough: Allow the cookie dough to chill for 30 minutes before rolling; this helps prevent stickiness and ensures cleaner cuts.
- Use a sharp cutter: A sharp cookie cutter makes cleaner edges, resulting in beautifully shaped cookies for your graduation cookie cake.
- Color carefully: When using food coloring, start with a tiny amount and gradually add more until you reach your desired shade to avoid overly bright colors.
- Watch the bake time: Every oven is different; keep an eye on your cookies and pull them out just as the edges begin to turn golden for optimal texture.
- Decorate with care: Allow cookies to cool fully before decorating to prevent melting any of your beautiful crafted designs.
Graduation Cookie Cake Recipe FAQs
What type of food coloring should I use for the grad caps?
I recommend using gel food coloring for vibrant hues that won’t alter the consistency of your modeling chocolate. Start with a small amount and gradually mix in more until you achieve the perfect shade.
How should I store my graduation cookies?
To keep your decorated graduation cookies fresh, store them in an airtight container at room temperature for up to 3 days. If you prefer a longer shelf life, refrigerate them in a sealed container for up to 1 week, making sure to let them come to room temperature before serving for the best taste.
Can I freeze graduation cookies?
Absolutely! To freeze your undecorated cookies, place them in a single layer until fully frozen, then transfer them to a freezer-safe bag. They can be kept for up to 3 months. When you’re ready to enjoy them, thaw in the fridge overnight, and if you’d like them warm, reheat gently in the oven at 300°F (150°C) for about 5-7 minutes.
What if my cookie dough is too sticky?
If your dough feels too sticky while mixing, don’t worry! Simply sprinkle in a little extra flour, a tablespoon at a time, until you reach the desired consistency. Be careful not to add too much at once; this ensures your cookies still have that wonderful chewy texture.
Can pets eat these cookies?
It’s best to keep these graduation cookies away from pets. While the ingredients are generally safe for humans, chocolate can be toxic to dogs and cats. Make sure to store your cookies out of reach to keep your furry friends safe!
How can I avoid spreading during baking?
To help maintain the shape of your cookies while baking, refrigerate the dough for about 30 minutes before rolling it out. This helps to firm up the butter and keeps the cookies from spreading too much in the oven. Plus, be sure to watch your bake time closely!

Graduation Cookie Cake Recipe for a Sweet Celebration
Equipment
- Oven
- Mixing bowls
- - Cookie cutters
- Wire rack
Ingredients
For the Cookie Base
- 2 cups all-purpose flour Add more if the dough feels sticky.
- 0.25 teaspoon salt Enhances the flavors.
- 0.25 teaspoon baking powder Helps the cookies rise.
- 0.5 cup butter Softened.
- 0.75 cups sugar Sweetens and adds chewiness.
- 1 large egg Binds the ingredients together.
- 0.75 teaspoon pure vanilla extract Adds warmth and aroma.
- 0.5 teaspoon almond extract Provides a nutty flavor.
For the Decorations
- 16 ounces white chocolate Melts beautifully.
- 0.33 cup light corn syrup Acts as a glue for decorations.
- food coloring Various colors for decorations.
Instructions
Preparation Steps
- Preheat your oven to 350°F (175°C).
- Combine the flour, salt, and baking powder in a bowl.
- Cream the softened butter and sugar together until light and fluffy.
- Add the egg, vanilla, and almond extract, stirring until well incorporated.
- Mix in the dry ingredients just until combined.
- Roll out the cookie dough on a floured surface until it's about ⅛ inch thick.
- Cut twelve 3-inch circles from the dough using a cookie cutter.
- Shape twelve diamond-shaped grad caps from the remaining dough.
- Cut a triangle-shaped notch from each circle using the same diamond-shaped cutter.
- Brush two long edges of each diamond-shaped piece with corn syrup, and insert it into the notch of the circle.
- Bake your cookies for 10-14 minutes until the edges are set.
- Cool the cookies completely on a wire rack before decorating.
- Set aside about 2 tablespoons of white modeling chocolate for your tassels later.
- Color about ⅔ of the white modeling chocolate with flesh tone food coloring.
- Roll the colored modeling chocolate to about 1/16 inch thickness, then cut out twelve 3-inch circles.
- Roll out your colored modeling chocolate to the same thickness for the diamond-shaped grad caps.
- Brush a light coating of corn syrup on a cookie, and stack the circle and diamond shape on top.
- Color modeling chocolate for the tassels next.
- Roll the modeling chocolate into a tube and cut into twelve 1-inch pieces for the tassel's top section.
- Attach a single strand to each grad cap.
- Pinch the strands together on one end and attach it to the top strand with corn syrup.
- Form small balls from the modeling chocolate matching your grad cap color.