

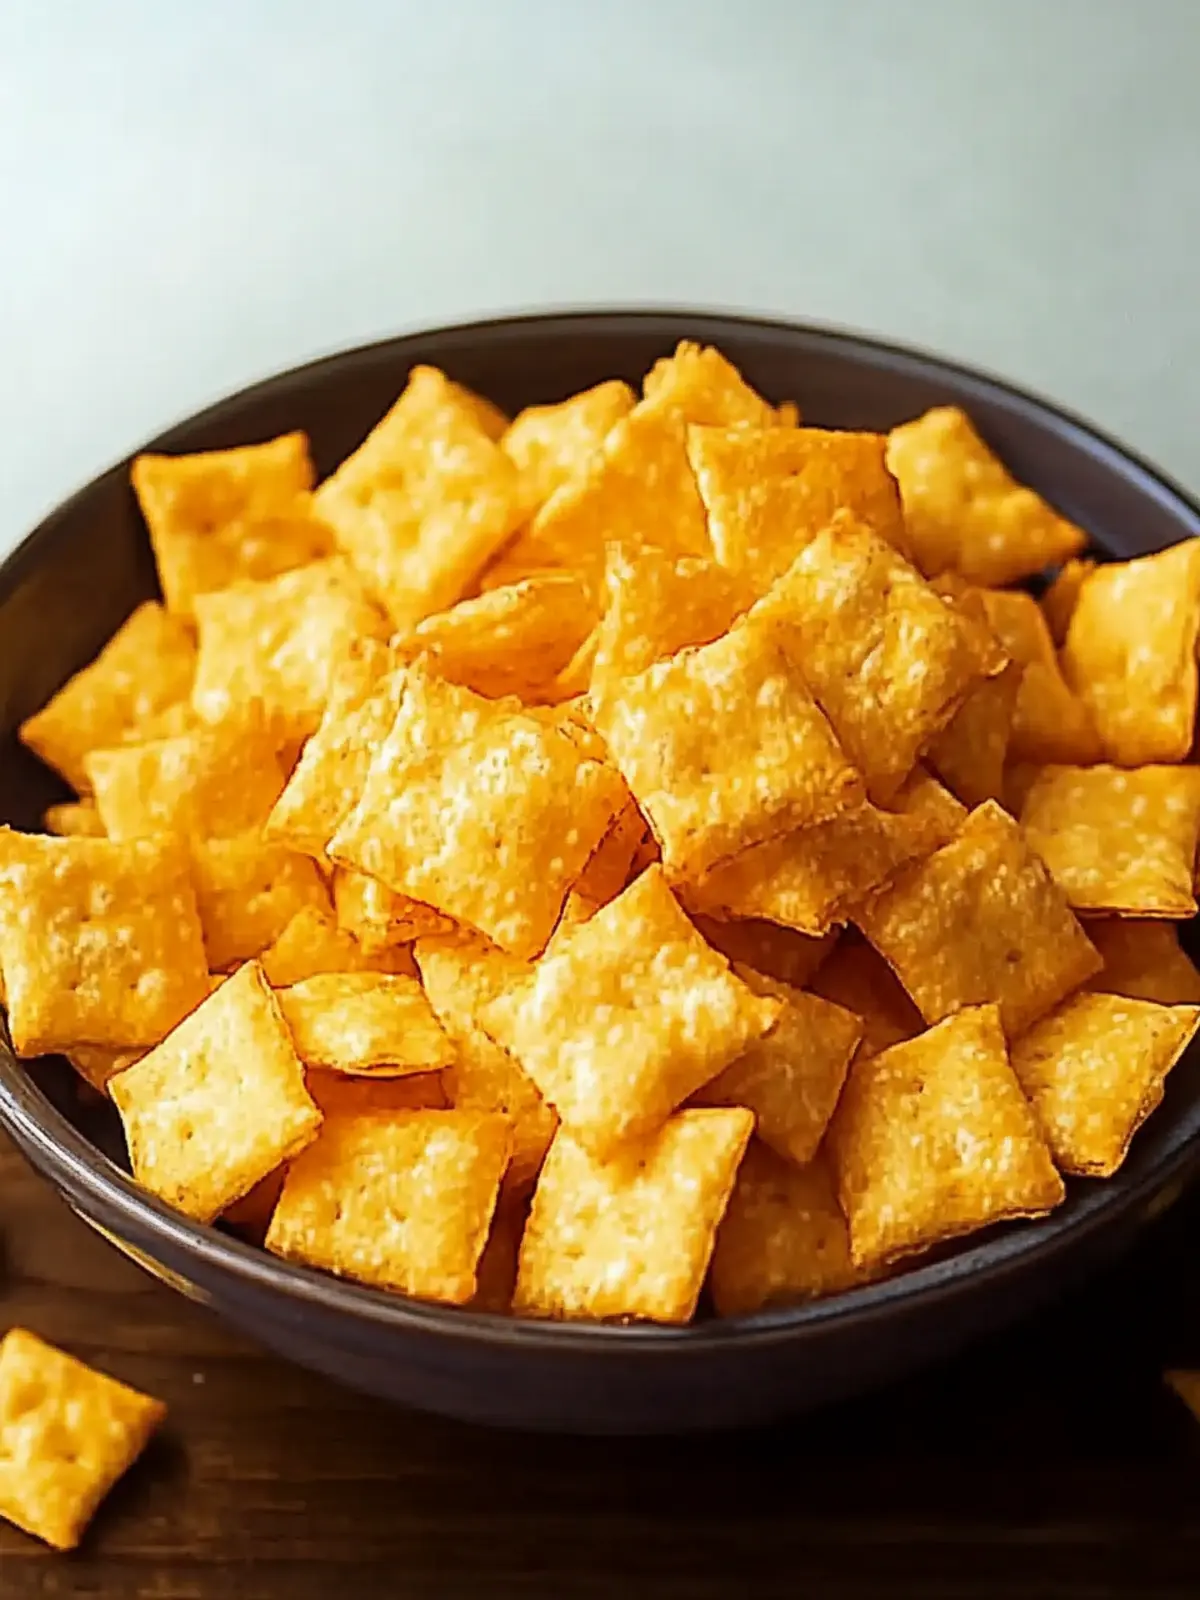
When the craving for a crunchy, cheesy snack strikes, there’s nothing quite like the satisfying bite of homemade Cheez Its. I first developed this recipe during an afternoon spent experimenting in the kitchen, trying to create a healthier version of a childhood favorite. The result? Crispy, flavorful crackers made with just five simple ingredients, ready to be enjoyed at any moment. These delights are perfect for family movie nights or casual gatherings, where you can serve them solo, dip them into your favorite sauces, or showcase them on a vibrant cheese board.
What sets this Cheez It recipe apart is not just its ease, but also the versatility—you can play with various cheeses and spices to suit your taste or dietary needs, including a delightful gluten-free option. So, if you’re tired of reaching for those store-bought snacks piled high with preservatives, it’s time to whip up a batch of these homemade wonders that will bring smiles to faces and crunch to snack time!
Why is this cheezit recipe a must-try?
Simplicity at Its Best: This cheezit recipe requires just five ingredients and minimal fuss, making it perfect for both novice and seasoned home cooks.
Unmatched Flavors: The use of sharp cheddar cheese adds a rich, savory kick that’s hard to resist.
Customizable Delight: Feel free to experiment with different cheeses and spices, ensuring everyone finds a flavor they love.
Kid-Friendly Appeal: Kids adore these crunchy snacks, making them a hit at family gatherings or movie nights.
Healthier Option: Say goodbye to preservatives and hello to a fresh, homemade treat that’s naturally satisfying.
Cheez It Recipe Ingredients
For the Dough
- Butter – Provides rich flavor and moisture; substitute with dairy-free margarine for a vegan option.
- Sharp Cheddar Cheese – The star ingredient offering a bold, cheesy flavor; grate fresh for the best melting characteristics and can replace with gouda or parmesan for different tastes.
- Salt – Enhances flavor and balances the cheese’s richness.
- All-Purpose Flour – Gives structure to the crackers; opt for gluten-free flour blends if needed.
- Cold Milk or Water – Adds moisture to bind the dough; use milk for creaminess or water for a lighter texture.
How to Make Cheez It Recipe
-
Beat Together: In a stand mixer, combine softened butter, sharp cheddar cheese, and salt. Mix on medium speed until everything is well combined and creamy, around 2-3 minutes.
-
Mix in Flour: Gradually add in the all-purpose flour to the mixture. Continue mixing until you achieve a crumbly texture that resembles wet sand.
-
Add Liquid: Pour in the cold milk or water. Switch to a low speed and mix just until a cohesive dough forms. Shape the dough into a disc, wrap it in plastic, and refrigerate for at least 1 hour to firm up.
-
Preheat and Prepare: Preheat your oven to 350°F (175°C). Line your baking sheets with parchment paper, ensuring an easy transfer of your crackers post-baking.
-
Roll the Dough: On a lightly floured surface, roll the chilled dough to about 1/8 inch thickness. Aim for even thickness to ensure consistent baking.
-
Cut and Poke: Use a knife or pizza cutter to cut the dough into 1-inch squares. Poke holes in the center of each square with a chopstick to prevent puffing during baking.
-
Bake: Place the squares on the prepared baking sheets and bake for about 15 minutes, or until they turn golden brown and fragrant. Allow them to cool on wire racks before serving.
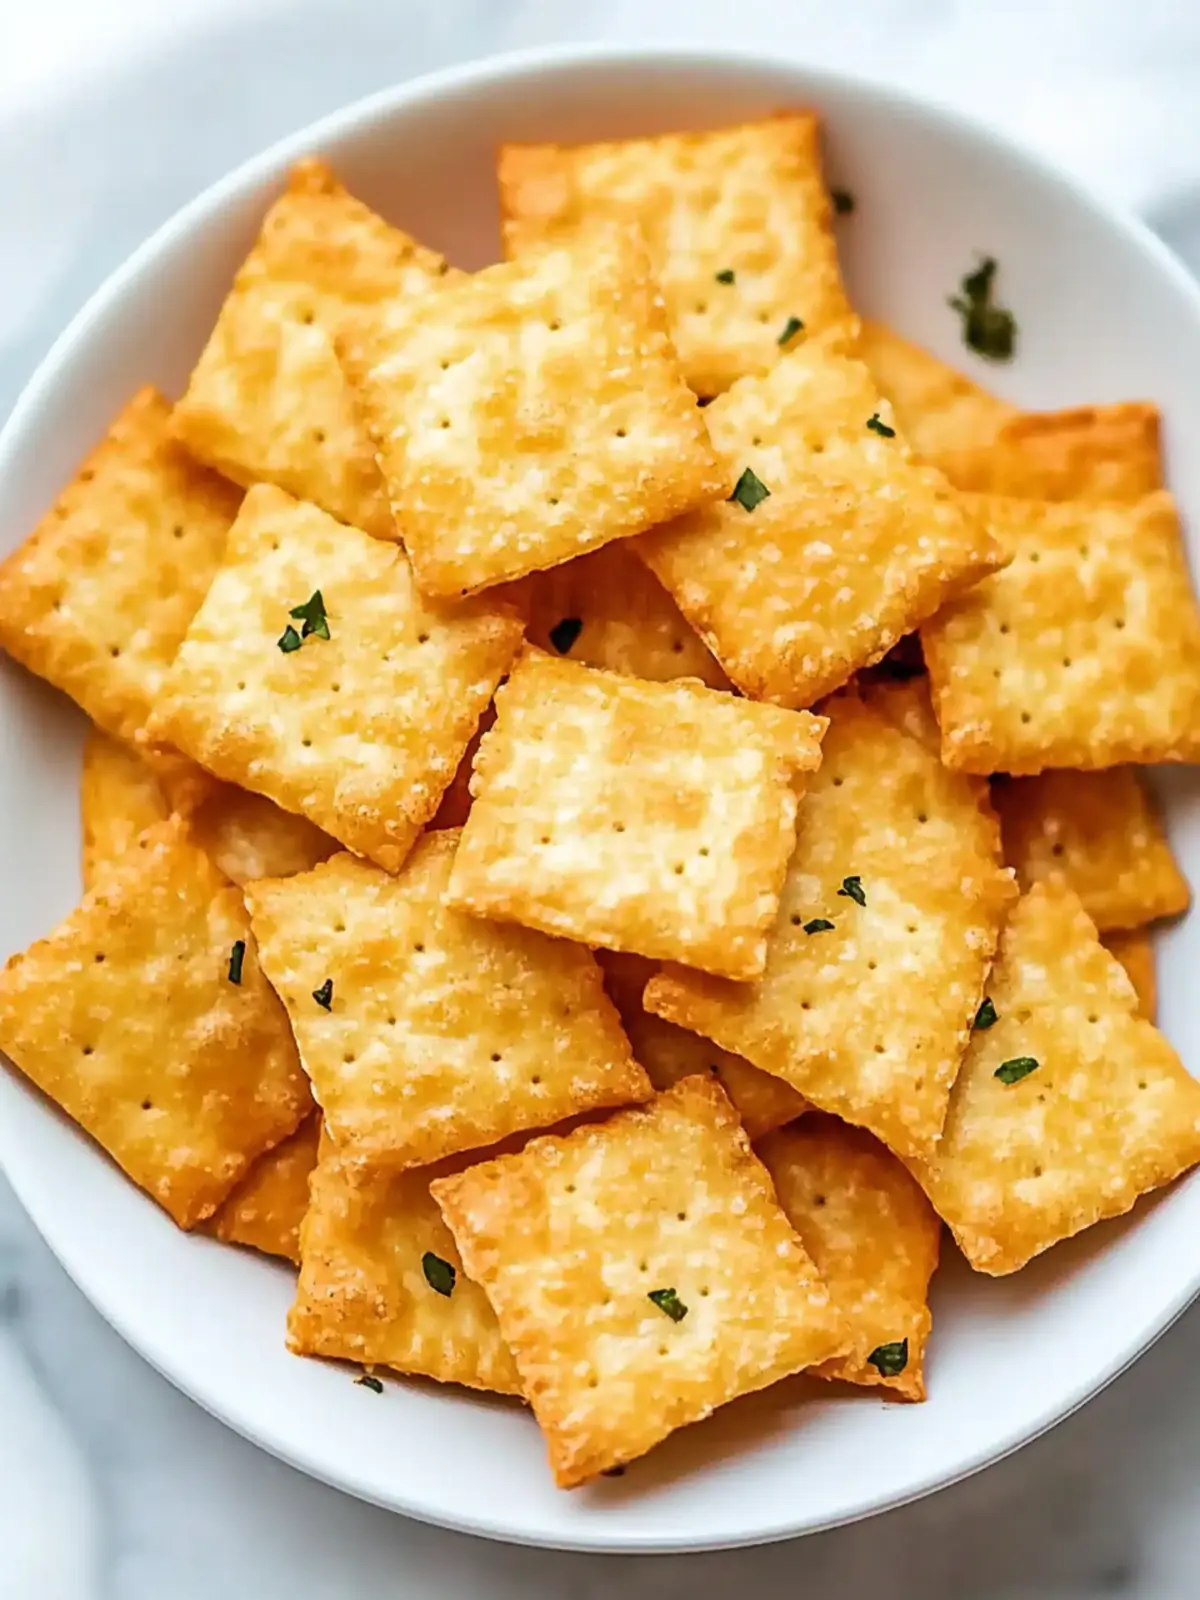
Optional: Sprinkle with herbs or spices after baking for an extra flavor boost!
Exact quantities are listed in the recipe card below.
Make Ahead Options
These Homemade Cheez Its are a fantastic choice for busy home cooks looking to simplify snack time! To prep ahead, you can make the dough up to 24 hours in advance; just shape it into a disc, wrap it tightly in plastic, and refrigerate. You can also cut the dough into squares and leave them uncooked for up to 3 days in the fridge if you prefer a fresher baked taste. Just ensure they are well-covered to prevent drying out. When you’re ready to bake, preheat your oven and follow the final baking instructions, and you’ll have delicious, crispy crackers that taste just as wonderful as freshly made, saving you precious time on busy days!
Cheez It Variations
Get creative and personalize your homemade crackers with exciting twists that will delight your taste buds!
-
Different Cheeses: Swap in gouda or parmesan to explore new flavor profiles. Each cheese brings its unique charm to these crunchy bites.
-
Spice It Up: Sprinkle cayenne, smoked paprika, or garlic powder into the dough for an added kick. The heat levels can transform your snack from mild to fiery!
-
Herb-Infused: Incorporate fresh herbs like rosemary, thyme, or even dill to create aromatic notes. These fragrant additions elevate each cracker and make them beautifully fragrant.
-
Nutritional Boost: Mix in ground flaxseeds or chia seeds for added texture and nutrition. This variation seamlessly gives a wholesome touch to your favorite snack.
-
Sweet & Savory: Try dusting your baked Cheez Its with cinnamon or powdered sugar for a dessert-inspired version. It’s a fun twist that adds a hint of sweetness after baking!
-
Nutty Flavor: Add finely chopped nuts like walnuts or pecans to the dough for an unexpected crunch. This gives your crackers a rich, nutty depth that complements the cheese well.
-
Alternative Flours: Use chickpea flour or almond flour instead of all-purpose for unique flavors and textures. These swaps can introduce a gluten-free version without compromising on taste.
-
Cheesy Dips: Serve your Cheez Its with a creamy cheese dip or guacamole for a fun appetizer. This pairing can take your snack to another level, making it perfect for gatherings!
How to Store and Freeze Cheez It Recipe
Room Temperature: Store homemade Cheez Its in an airtight container at room temperature for up to 1 week to maintain their delightful crunch.
Fridge: If you need them to last longer, you can refrigerate the crackers for up to 2 weeks in an airtight container; they’ll stay fresh and tasty.
Freezer: For even more extended storage, freeze the crackers in a single layer on a baking sheet, then transfer to a freezer-safe bag for up to 3 months.
Reheating: To restore that crispy texture, reheat the frozen Cheez Its in a preheated oven at 350°F (175°C) for about 5–7 minutes—perfect for snacking anytime!
What to Serve with Homemade Cheez It’s?
Elevate your snacking experience with delicious accompaniments that perfectly complement the cheesy crunch of these delightful crackers.
-
Fresh Veggies: Crisp carrots, crunchy cucumbers, and sweet bell peppers add a refreshing crunch and balance the richness of the cheese.
-
Creamy Dips: Pair with smooth guacamole or herbed yogurt dip for contrasting textures that will leave everyone reaching for more.
-
Charcuterie Board: Serve alongside meats, fruits, and a variety of cheeses for a vibrant cheese board that will wow your guests and spark conversation.
-
Savory Soups: Enjoy with a bowl of tomato basil or creamy broccoli cheddar for a comforting, delightful dipper that enhances every bite.
-
Fruit Chutney: A spoonful of sweet and tangy chutney brings a delightful brightness that cuts through the cheese’s richness and adds complex flavors.
-
Craft Beer: Pair your homemade Cheez It’s with a crisp lager or a hoppy IPA for a satisfying adult snack that balances lightness with cheesy goodness.
-
Chocolate Almonds: For a sweet-salty kick, serve with chocolate-covered almonds that with each bite bring a delightful contrast to the savory crackers.
Indulging in these pairings will enhance your homemade Cheez It experience, creating a delightful spread perfect for any occasion.
Expert Tips for Cheez It Recipe
-
Thin is Best: Roll your dough to 1/8 inch thick for that perfect crispy texture. Thicker dough can lead to chewy crackers that may disappoint.
-
Poke Holes: Don’t skip the step of poking holes in each square! This prevents moisture from building up during baking, ensuring a delightful crunch.
-
Watch the Clock: Keep an eye on your crackers while they bake. Aim for a golden brown color; over-baking can lead to an unappetizing flavor.
-
Storage Matters: Store any leftovers in an airtight container to maintain their crunch. They can last up to a week on the counter—longer in the refrigerator!
-
Flavor Variations: Get creative with your cheezit recipe! Try different cheeses and spices, such as smoked paprika or garlic powder, to find your family’s favorite combination.
Cheez It Recipe FAQs
What type of cheese should I use for this cheezit recipe?
Using sharp cheddar cheese will give you the bold, cheesy flavor that defines these homemade crackers. However, feel free to experiment with gouda or parmesan for unique taste profiles—each cheese will impart a different character to the crackers, keeping things exciting!
How should I store the homemade Cheez Its?
Absolutely! Store your homemade Cheez Its in an airtight container at room temperature for up to 1 week to ensure they stay crunchy. If you want them to last longer, refrigerate them, and they should remain fresh for about 2 weeks.
Can I freeze my Cheez Its, and if so, how?
Yes, you can freeze these crackers for up to 3 months! Start by placing the baked Cheez Its in a single layer on a baking sheet and freeze them for about 1 hour. Once fully frozen, transfer them to a freezer-safe bag, removing as much air as possible before sealing. To enjoy them later, just reheat in a preheated oven at 350°F (175°C) for about 5–7 minutes.
What if my dough is too crumbly?
If you find that your dough is excessively crumbly and doesn’t come together, it may need a tad more moisture. Gradually add additional cold milk or water, a teaspoon at a time, until you achieve a soft, pliable dough. Be careful not to overdo it; a little goes a long way!
Can I make these crackers gluten-free?
Very! To make a gluten-free version of this cheezit recipe, simply substitute the all-purpose flour with a gluten-free flour blend. I recommend using a blend designed for baking for the best results. This swap will keep the taste and texture delightful while accommodating gluten sensitivities.
Can I give homemade Cheez Its to my pets?
While these crackers are delicious for us, it’s not safe to share them with your pets, particularly because of the added salt and cheese. Always stick to pet-friendly treats specifically formulated for their dietary needs!

Cheez It Recipe: Crispy Homemade Crackers Your Family Will Love
Equipment
- - Stand mixer
- Baking sheets
- Parchment paper
- - Plastic wrap
- Rolling Pin
- Knife or pizza cutter
- Chopstick
Ingredients
For the Dough
- 1 cup Butter Provides rich flavor and moisture; substitute with dairy-free margarine for a vegan option.
- 1 cup Sharp Cheddar Cheese Grate fresh for the best melting characteristics; can replace with gouda or parmesan.
- 1/2 teaspoon Salt Enhances flavor and balances the cheese's richness.
- 1 cup All-Purpose Flour Opt for gluten-free flour blends if needed.
- 3 tablespoons Cold Milk or Water Use milk for creaminess or water for a lighter texture.
Instructions
How to Make Cheez It Recipe
- In a stand mixer, combine softened butter, sharp cheddar cheese, and salt. Mix on medium speed for 2-3 minutes.
- Gradually add in the all-purpose flour to the mixture and mix until crumbly.
- Pour in the cold milk or water and mix just until a cohesive dough forms. Shape into a disc, wrap in plastic, and refrigerate for at least 1 hour.
- Preheat your oven to 350°F (175°C) and line your baking sheets with parchment paper.
- On a lightly floured surface, roll the chilled dough to about 1/8 inch thickness.
- Cut the dough into 1-inch squares and poke holes in each square to prevent puffing.
- Place on baking sheets and bake for about 15 minutes until golden brown. Allow to cool on wire racks before serving.