

There’s something truly special about homemade bone broth—it’s like a warm hug in a bowl. Whether the crisp air of fall has you reaching for cozy comforts or a busy weeknight leaves you craving something nourishing, this bone broth recipe from scratch is a go-to in my kitchen. The rich, savory aroma wafting through my home while it simmers reminds me that good things take time, but you can easily prepare it in both a pressure cooker or slow cooker.
Beyond its comforting warmth, bone broth is a powerhouse of nutrients, bursting with collagen, minerals, and flavors that elevate any dish—from hearty soups to simple sips on a chilly evening. It’s not just a remedy for the body; it’s a celebration of flavors that tell a story of care and simplicity. So grab your favorite bones, and let’s dive into this delightful, homemade journey together!
Why is bone broth recipe from scratch worthwhile?
Homemade Comfort: Nothing compares to the warmth of a freshly made broth that wraps you in a cozy embrace.
Nutrient-Rich: Packed with collagen and minerals, it’s an excellent gut health booster.
Versatile Uses: Use it in soups, risottos, or sip it solo for a nourishing treat.
Economical: Transform kitchen scraps and bones into liquid gold, saving money while reducing waste.
Easy Preparation: Whether you choose the pressure cooker or slow cooker method, making bone broth is simple and satisfying.
Discover more about making bone broth for a nourishing addition to your culinary repertoire!
Bone Broth Recipe from Scratch
• There’s nothing quite like homemade goodness!
For the Base
- Bones – Choose from chicken, beef, or pork; roasting them first intensifies the flavor profile.
- Apple Cider Vinegar – Helps to extract valuable minerals from the bones; any vinegar you like can work too!
For the Flavor
- Onion – Sweetens the broth while adding depth; a staple in any good broth.
- Carrots – Enhance both flavor and color with their natural sweetness.
- Celery – Adds aromatic notes that uplift the entire mix.
- Garlic – Offers warmth and a robust flavor that enriches the broth.
For the Aroma
- Bay Leaves – Infuse herbal notes that work beautifully with the other ingredients.
- Whole Peppercorns – Introduces a gentle kick of spice to your broth.
- Sea Salt – Essential for seasoning; adjust to your personal taste preferences.
Optional Enhancements
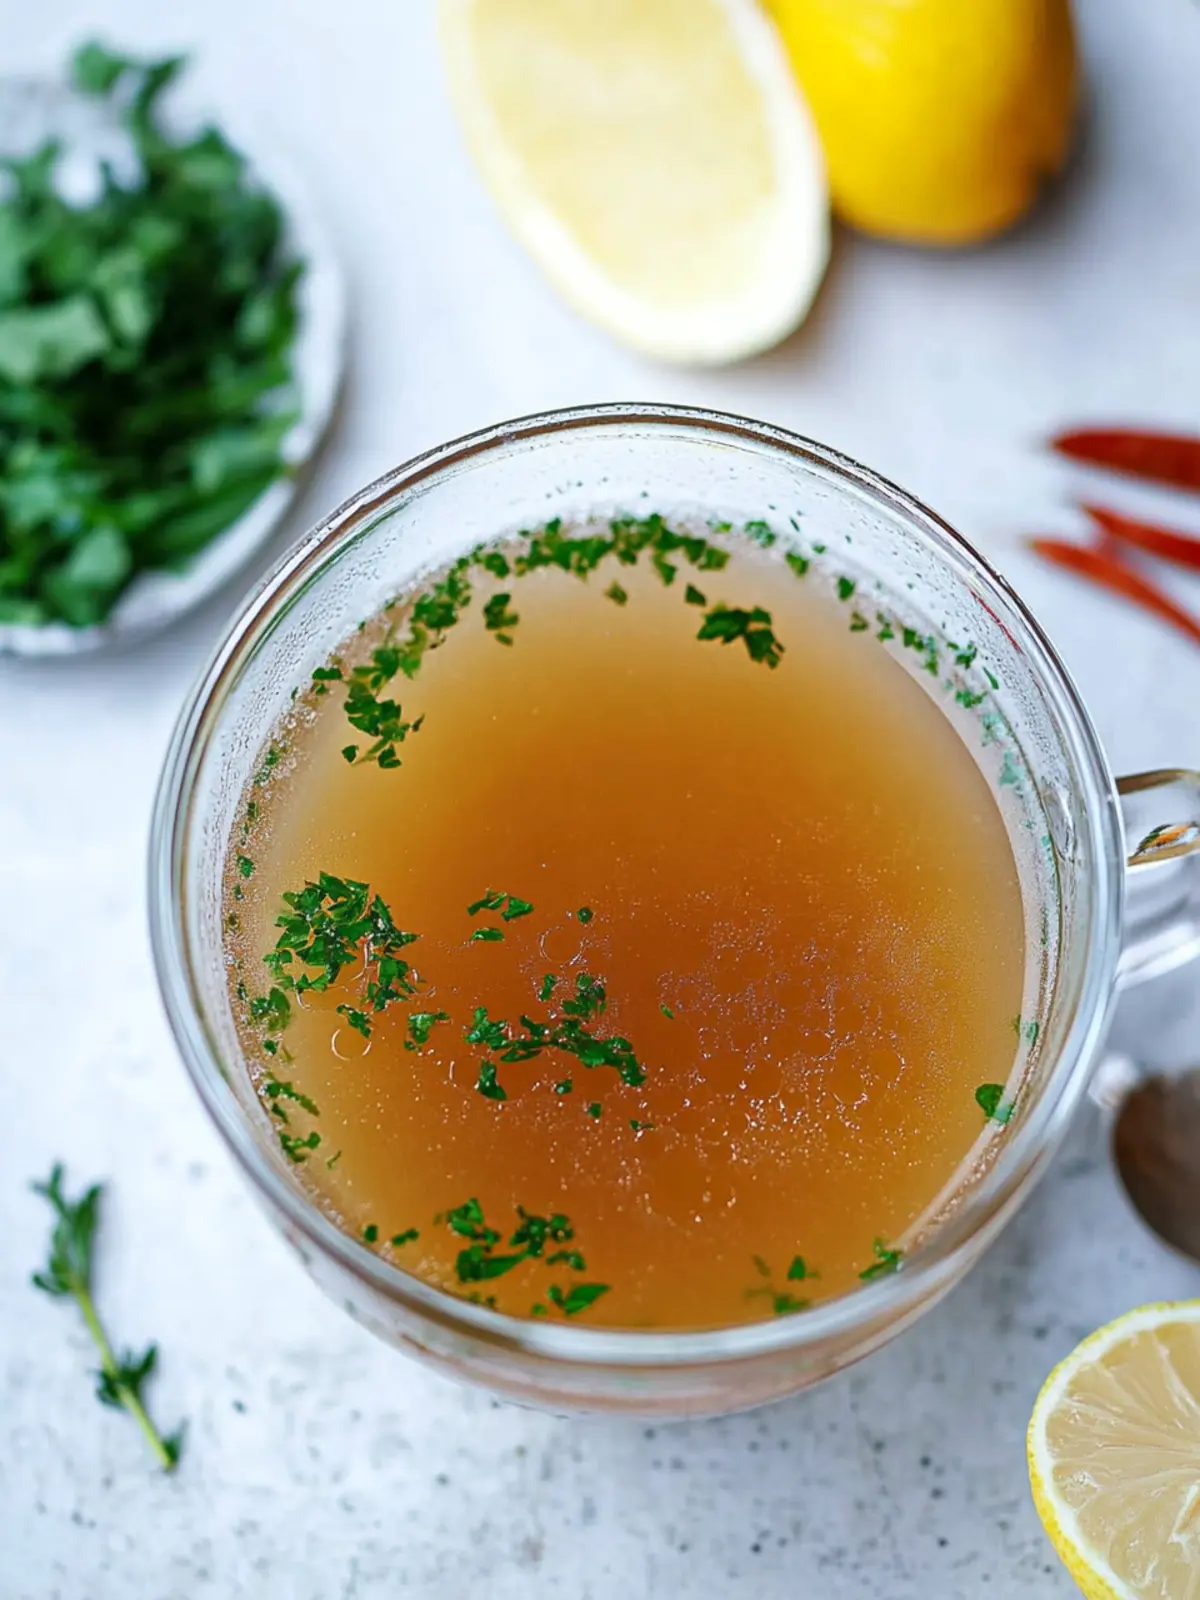
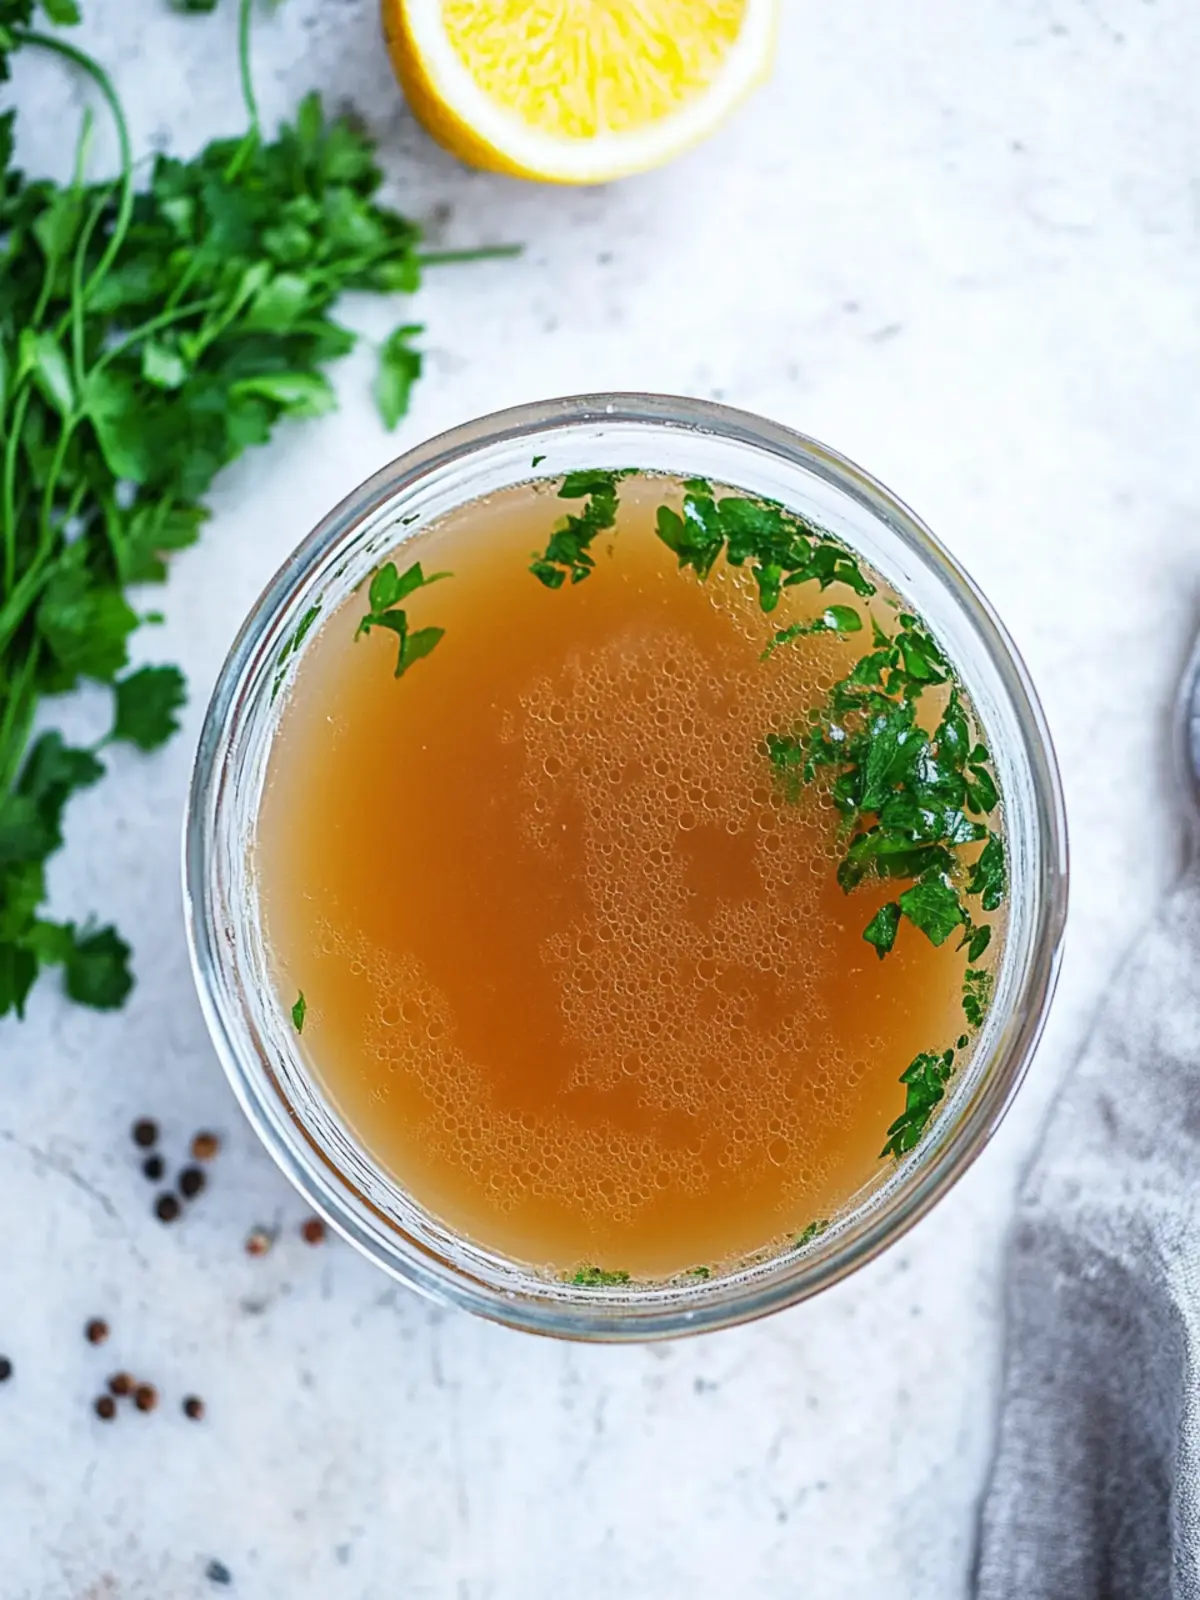
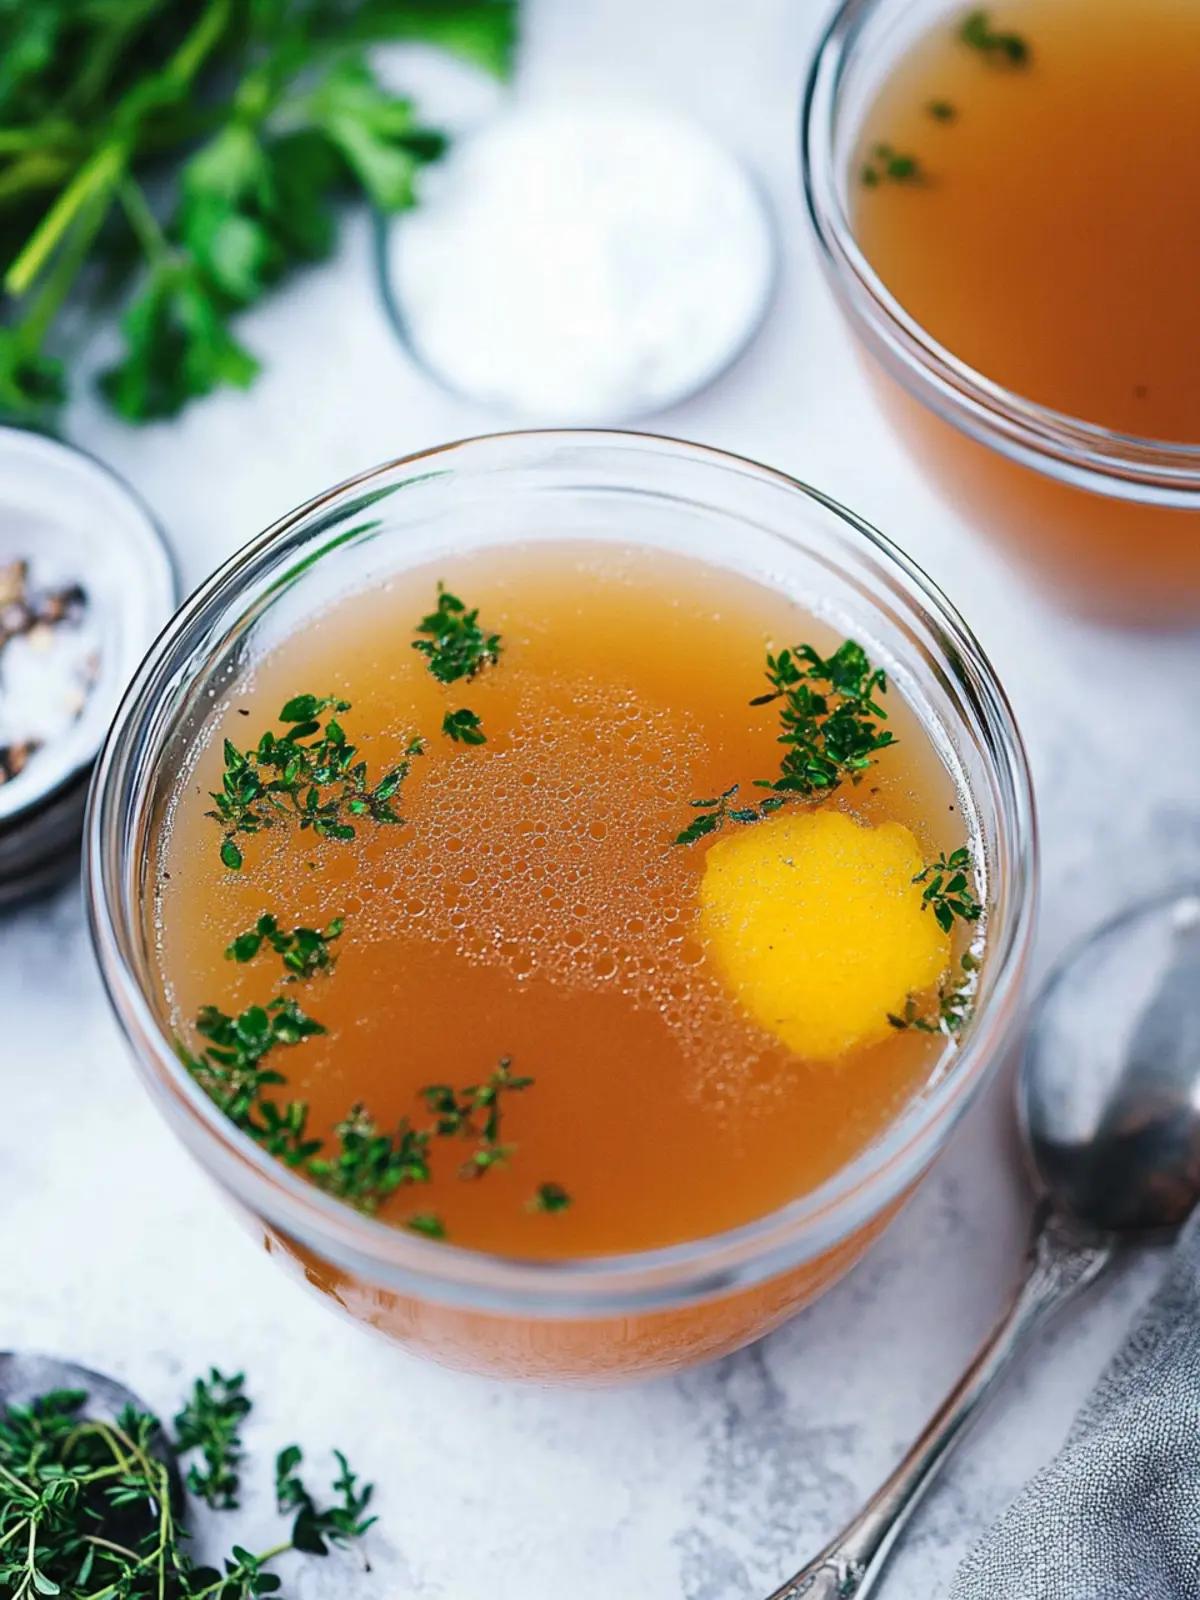
- Parsley/Dill/Thyme – Fresh herbs elevate the complexity of flavors; ideally used at the end of cooking.
- Ginger – Adds a delightful warmth and has numerous health benefits; a great alternative for an Asian twist.
How to Make Bone Broth from Scratch
-
Preheat the oven to 425°F (218°C). Spread the bones on a baking sheet and roast them for about 30 minutes, or until they are beautifully browned. This step will amplify the flavor of your broth.
-
Combine the roasted bones, apple cider vinegar, and the rest of the aromatics in a pressure cooker or slow cooker. Add enough cold water to cover the ingredients fully. This will ensure all the nutrients are extracted beautifully.
-
Cook in the pressure cooker on high for 3 hours (or 4 if you’re using beef or pork bones). If you’re going the slow cooker route, set it on low for 24-48 hours. Enjoy the enticing aromas filling your kitchen!
-
Check the consistency once the cooking time is up. The bones should be breaking apart, indicating that all those delicious flavors have been infused into the broth.
-
Strain the broth through a fine-mesh strainer into a clean container. Allow it to cool, skim off any excess fat, and store it in airtight containers. Your liquid gold is ready to enhance your dishes!
Optional: Drizzle with a splash of fresh lemon juice right before serving for a zesty twist!
Exact quantities are listed in the recipe card below.
How to Store and Freeze Bone Broth
Fridge: Store your bone broth in airtight containers for up to 5 days. This keeps it fresh and flavorful, ready for your next nourishing meal.
Freezer: For longer storage, freeze the broth in portioned containers or ice cube trays for easy access. It can be kept for up to 3 months without losing flavor.
Reheating: When ready to use, thaw frozen broth in the fridge overnight or heat directly from frozen on the stove. Bring to a gentle boil and you’re good to go!
Expert Tips for Bone Broth Recipe from Scratch
- Bone Roasting: Always roast your bones first to enhance the depth of flavor; this crucial step makes a noticeable difference.
- Vinegar Benefits: Don’t skip the vinegar. It helps pull nutrients from the bones, ensuring your broth is packed with minerals.
- Monitor Cooking Time: Whether you’re using a pressure cooker or slow cooker, follow the recommended times to fully extract flavors and nutrients from the bones.
- Natural Release Advantage: For the best flavor and richness, allow pressure to release naturally, especially in the pressure cooker.
- Proper Storage: Store broth in airtight containers and keep in the refrigerator for up to 5 days or freeze for later use; it’s a great make-ahead option.
Make Ahead Options
Making this bone broth recipe from scratch is a fantastic option for meal prep, saving you time during busy weeknights! You can roast the bones and combine them with the ingredients up to 24 hours in advance. Simply refrigerate the mixture until you’re ready to cook. When you are set to enjoy your homemade broth, cook it in the pressure cooker or slow cooker as directed. This way, all the flavors will meld perfectly while ensuring that your broth remains just as delicious and nutrient-rich. By preparing in advance, you’ll have a warm, comforting broth on hand without the daily time commitment!
What to Serve with Easy Homemade Bone Broth?
Bone broth is versatile and comforts the soul while nourishing the body. Pair it with these delightful accompaniments for a well-rounded meal.
- Crusty Bread: Perfect for dipping, a warm loaf enhances the experience with its rustic texture and aroma.
- Savory Risotto: Creamy risotto made with your bone broth creates a luxurious dish rich in flavor and nutrients.
- Hearty Vegetables: Roasted or sautéed seasonal veggies add vibrant colors and crunch, complementing the broth’s richness beautifully.
- Noodle Soup: Use your homemade broth as a base for a delightful noodle soup, packed with fragrant herbs and spices for a hearty meal.
- Simple Salad: A fresh, light salad with citrus vinaigrette balances the warmth of the broth, providing a refreshing contrast.
- Homemade Dumplings: Tender dumplings cooked in your broth become infused with flavor; a delightful way to elevate your dish.
- Stuffed Peppers: Savory stuffed peppers harmonize with bone broth, making for a filling and wholesome option.
- Herbal Tea: A soothing cup of herbal tea pairs wonderfully, enhancing relaxation as you sip your rich broth.
Bone Broth Recipe from Scratch Variations
Embrace the art of customization with these delightful twists to elevate your bone broth experience!
-
For a Hearty Flavor: Add roasted mushrooms for an earthy depth that enhances umami notes. The combination of mushrooms and bones creates a warm hug in every sip.
-
Herb-Infused: Experiment with fresh herbs like rosemary or basil towards the end of cooking to brighten the flavor profile. This adds a fragrant twist that transports you to herb gardens in full bloom.
-
Spicy Kick: Toss in sliced jalapeños or a dash of cayenne pepper for heat. The warmth from the spices will awaken your senses and add wonderful complexity.
-
Asian Twist: Incorporate soy sauce or miso paste to introduce a savory depth reminiscent of your favorite Asian broths. This transforms your creation into a delightful base for ramen or soup.
-
Citrus Zing: Add a few slices of lemon or lime during the last hour of cooking for a refreshing citrus note. This subtle twist can elevate your broth from comforting to invigorating!
-
Nutty Flavor: Stir in a spoonful of tahini or sesame oil for a nutty richness. This unexpected addition lends an inner Mediterranean flair to your hearty broth.
-
Creamy Finish: Blend the broth after straining with a splash of coconut milk for a creamy consistency. This adds both richness and a gentle, tropical sweetness.
-
Root Veggie Surprise: Toss in parsnips or sweet potatoes for natural sweetness and richness. These root vegetables break down beautifully, enhancing the overall flavor profile.
Let your creativity run wild as you craft the perfect bone broth that truly sings to your flavor preferences!
Bone Broth Recipe from Scratch Recipe FAQs
How do I select the best bones for the broth?
Choosing the right bones is essential for a flavorful bone broth. I recommend using a mix of meaty bones, such as beef shank or short ribs for beef broth, and chicken wings or necks for chicken broth. If you roast them first at 425°F (218°C) for about 30 minutes, it builds a richer flavor. Always look for bones with some cartilage, as this will contribute to the gelatinous texture of your broth.
How long can I store homemade bone broth?
You can refrigerate your bone broth in airtight containers for up to 5 days. Just make sure it cools completely before sealing. If you want to keep it longer, it’s best to freeze it! This way, it will last for up to 3 months without losing its delightful flavor.
Can I freeze bone broth? If so, how?
Absolutely! After cooling, I often pour my broth into ice cube trays for easy portioning or use larger freezer-safe containers. Once frozen, the broth cubes can be transferred to a labeled zip-top bag to save space. When you’re ready to use them, just pop a few cubes into your soup or stew, or thaw them overnight in the fridge.
What do I do if my broth is too salty?
If your bone broth ends up too salty, don’t fret! You can add additional water to dilute it to your taste. Alternatively, toss in some peeled, whole potatoes while reheating—the potatoes will absorb excess salt! Just remember to remove them before serving.
Is bone broth safe for pets to consume?
Yes, bone broth can be a nutritious treat for pets! Just ensure that it doesn’t contain any onions or garlic, as these can be harmful to them. Additionally, it’s best to offer it in moderation, as a tasty supplement to their regular diet!
What should I do if my broth doesn’t gel after refrigeration?
If your broth doesn’t have a gel-like consistency upon chilling, it may be due to using bones that didn’t have enough collagen. Next time, try to include more cartilage-rich bones like chicken feet or beef knuckles. Remember, a good broth might not necessarily gel, but as long as the flavor is rich and satisfying, you’re on the right track!

Ultimate Bone Broth Recipe from Scratch for Rich Flavor
Equipment
- pressure cooker
- - Slow Cooker
- Baking sheet
- - Fine mesh strainer
Ingredients
For the Base
- 2 pounds bones Choice of chicken, beef, or pork
- 2 tablespoons apple cider vinegar
For the Flavor
- 1 medium onion Chopped
- 2 medium carrots Chopped
- 2 stalks celery Chopped
- 4 cloves garlic Crushed
For the Aroma
- 2 leaves bay leaves
- 1 teaspoon whole peppercorns
- 1 tablespoon sea salt Adjust to taste
Optional Enhancements
- 1 cup parsley Fresh, chopped
- 1 cup dill Fresh, chopped
- 1 cup thyme Fresh, chopped
- 1 inch ginger Sliced
Instructions
Cooking Steps
- Preheat the oven to 425°F (218°C). Spread the bones on a baking sheet and roast them for about 30 minutes, or until they are beautifully browned.
- Combine the roasted bones, apple cider vinegar, and the rest of the aromatics in a pressure cooker or slow cooker. Add enough cold water to cover the ingredients fully.
- Cook in the pressure cooker on high for 3 hours (or 4 if using beef or pork bones), or in the slow cooker on low for 24-48 hours.
- Check the consistency once the cooking time is up. The bones should be breaking apart.
- Strain the broth through a fine-mesh strainer into a clean container. Allow it to cool, skim off any excess fat, and store it in airtight containers.