

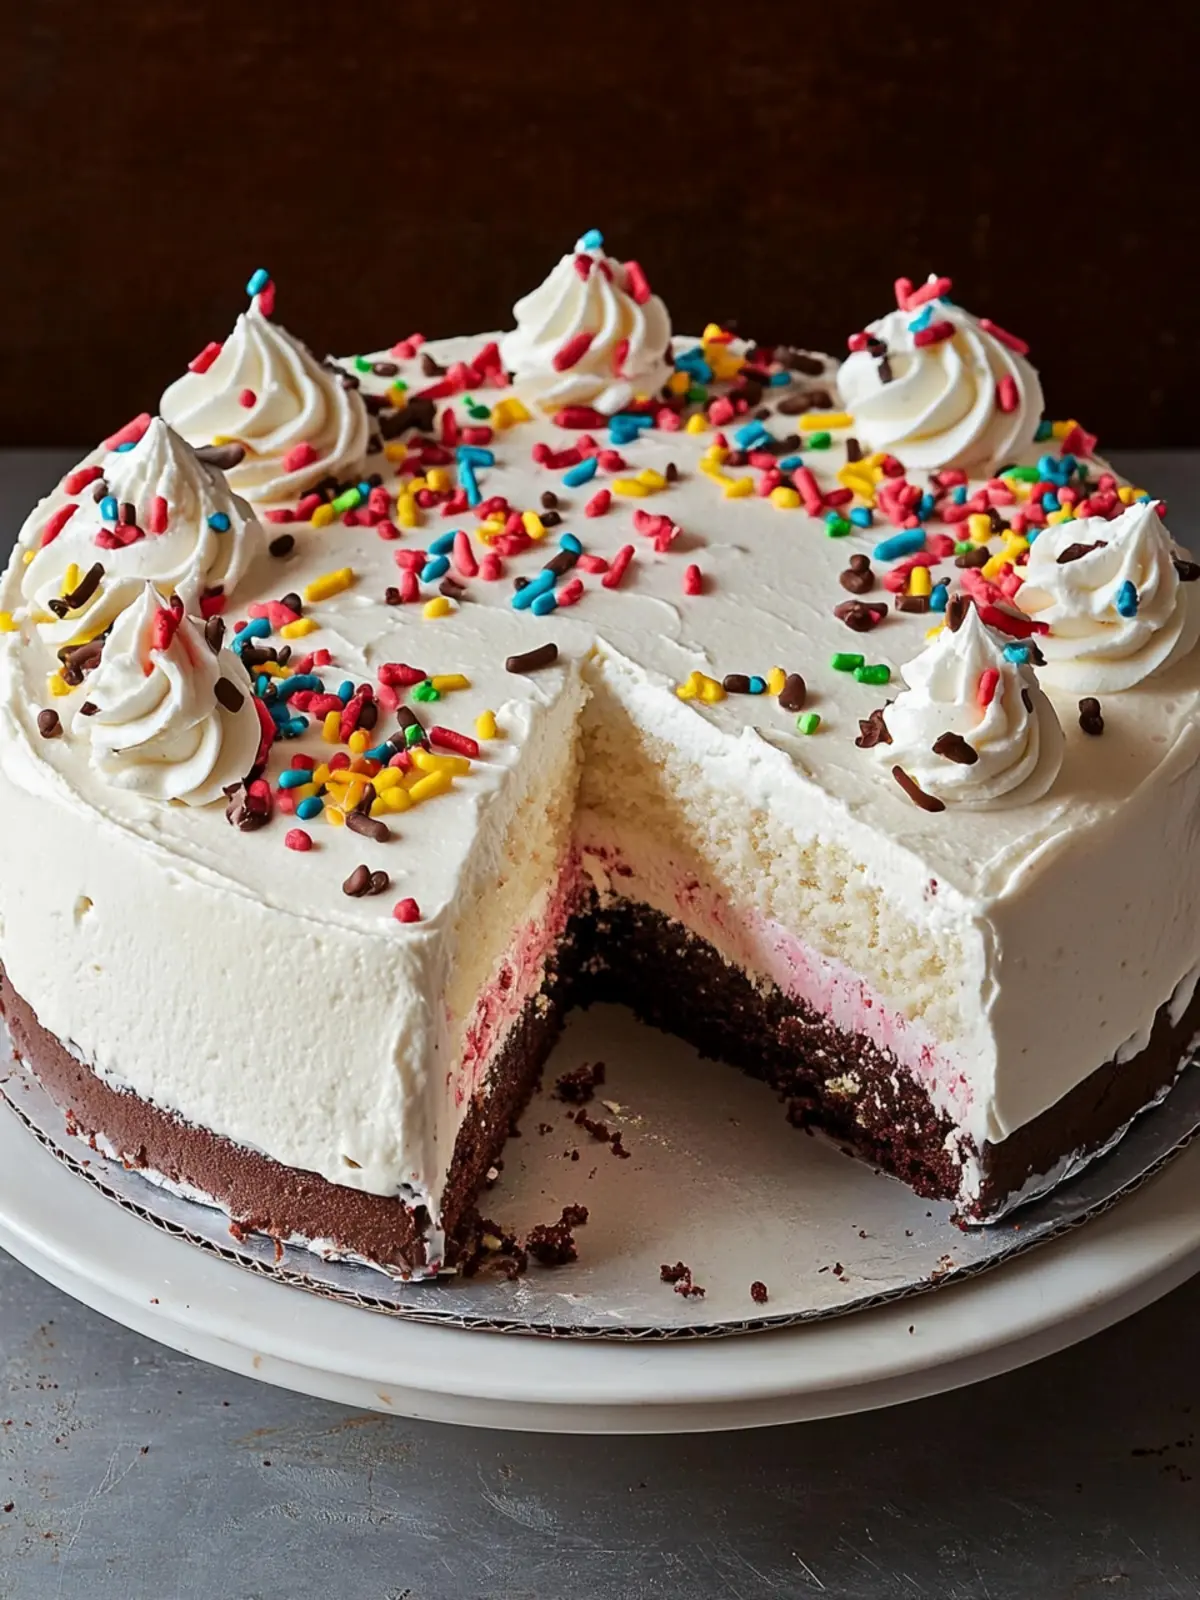
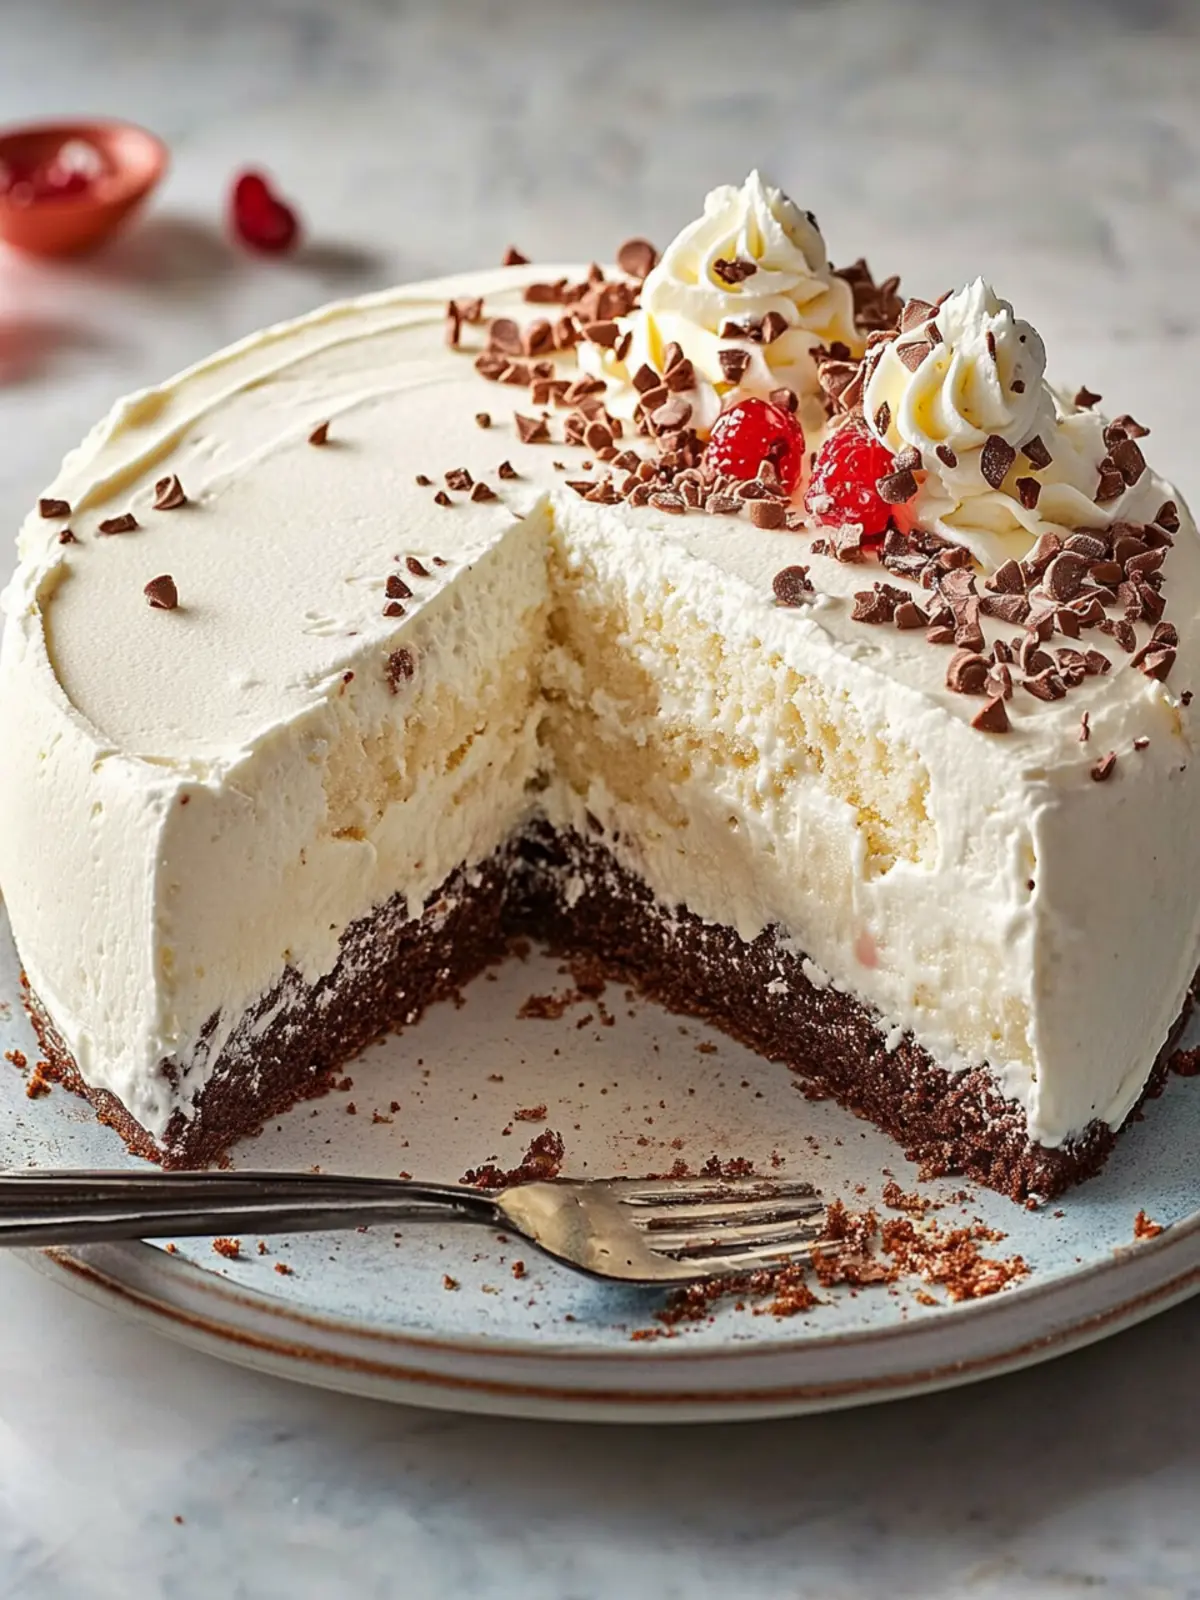
There’s nothing quite like the joy of serving a homemade dessert that brings back carefree childhood memories. As soon as I took my first bite of this Copycat Dairy Queen Ice Cream Cake, I was transported to summer days spent at the local ice cream shop, savoring the creamy layers of vanilla and chocolate ice cream. The delightful blend of flavors is accompanied by a luscious fudge ribbon and a satisfying crunch from the cookie layer—every bite feels like a celebration!
I was searching for a way to recreate this nostalgic classic when I decided to try making it myself. To my delight, this easy-to-follow recipe not only delivers that iconic flavor but also lets me customize it just the way I like. Whether you’re planning a birthday party or simply want to treat yourself after a long week, this decadent dessert is sure to impress friends and family alike. So grab your mixing bowls and let’s indulge in the sweet bliss of homemade joy!
Why will you love this Copycat Dairy Queen Ice Cream Cake?
Unforgettable nostalgia: This recipe captures the essence of your favorite childhood dessert, making it a perfect treat for any occasion.
Easy to customize: Tailor the flavors and toppings to suit your preferences, allowing for endless variations.
Impress your guests: Its stunning layers and rich flavors will leave your family and friends in awe—ideal for celebrations!
Time-saving: With straightforward steps and accessible ingredients, you’ll create a delectable cake in no time.
Indulgent textures: From creamy ice cream to the delightful cookie crunch, every bite is a delicious experience!
Copycat Dairy Queen Ice Cream Cake Ingredients
For the Cookie Crunch Layer
• Oreo cookies – Adds a delightful crunch; substitute with gluten-free cookies for a gluten-free version.
• Unsalted butter, melted – Binds the cookie crumbs together; can use vegan butter as a substitute.
For the Fudge Ribbon
• Semisweet chocolate chips (about 3 1/2 oz.) – Provides a rich chocolate flavor; dark chocolate deepens the taste.
• Refined coconut oil or vegetable shortening – Ensures smooth melting for the fudge; can be omitted if not desired.
For the Ice Cream Layers
• Vanilla ice cream (1 1/2 qt.) – The creamy base layer of the cake; substitute with dairy-free ice cream for a vegan option.
• Hot fudge topping (11.5-oz. jar) – Adds moisture and sweetness; homemade fudge elevates the dish’s gourmet status.
• Chocolate ice cream (1 1/2 qt.) – Offers a rich, decadent second layer; try flavored varieties for a unique twist.
For the Topping
• Heavy whipping cream (1 1/2 cups) – For a fluffy whipped topping; non-dairy whipped cream serves as a suitable substitute.
• Confectioners’ sugar (1/4 cup) – Sweetens the whipped cream; adjust to taste or use a sugar substitute.
• Pure vanilla extract (1 1/2 tsp.) – Enhances the overall flavor; almond extract offers a lovely alternative.
• Sprinkles – For a fun, decorative touch; feel free to swap in nuts or chocolate shavings for a unique finish.
How to Make Copycat Dairy Queen Ice Cream Cake
-
Prepare Cookie Crunch: Coarsely chop your Oreo cookies and mix them with melted butter in a bowl. Spread the mixture evenly on a baking sheet and toast it in the oven at 350°F for about 8-10 minutes until crispy and fragrant.
-
Combine Chocolate Mixture: Once the cookie crunch has cooled, toss it with the melted semisweet chocolate until fully coated. Place this mixture in the refrigerator to chill until it sets, about 30 minutes.
-
Thaw Ice Cream: While your cookie crunch sets, let the vanilla and chocolate ice cream sit at room temperature for around 10 minutes. This will make spreading much easier.
-
Layer Ice Cream: In a round cake tin, start by spreading an even layer of vanilla ice cream as the base. Pour the hot fudge topping over this layer, swirling it slightly.
-
Add Cookie Crunch: Evenly sprinkle the chilled chocolate cookie mixture over the fudge layer, pressing gently to ensure it adheres.
-
Add Chocolate Ice Cream: Carefully spoon chocolate ice cream over the cookie layer. Use an offset spatula to smooth it out, creating a lovely second layer.
-
Whip Cream Mixture: In a mixing bowl, whip the heavy cream with confectioners’ sugar and vanilla extract until stiff peaks form, indicating it’s fluffy and ready.
-
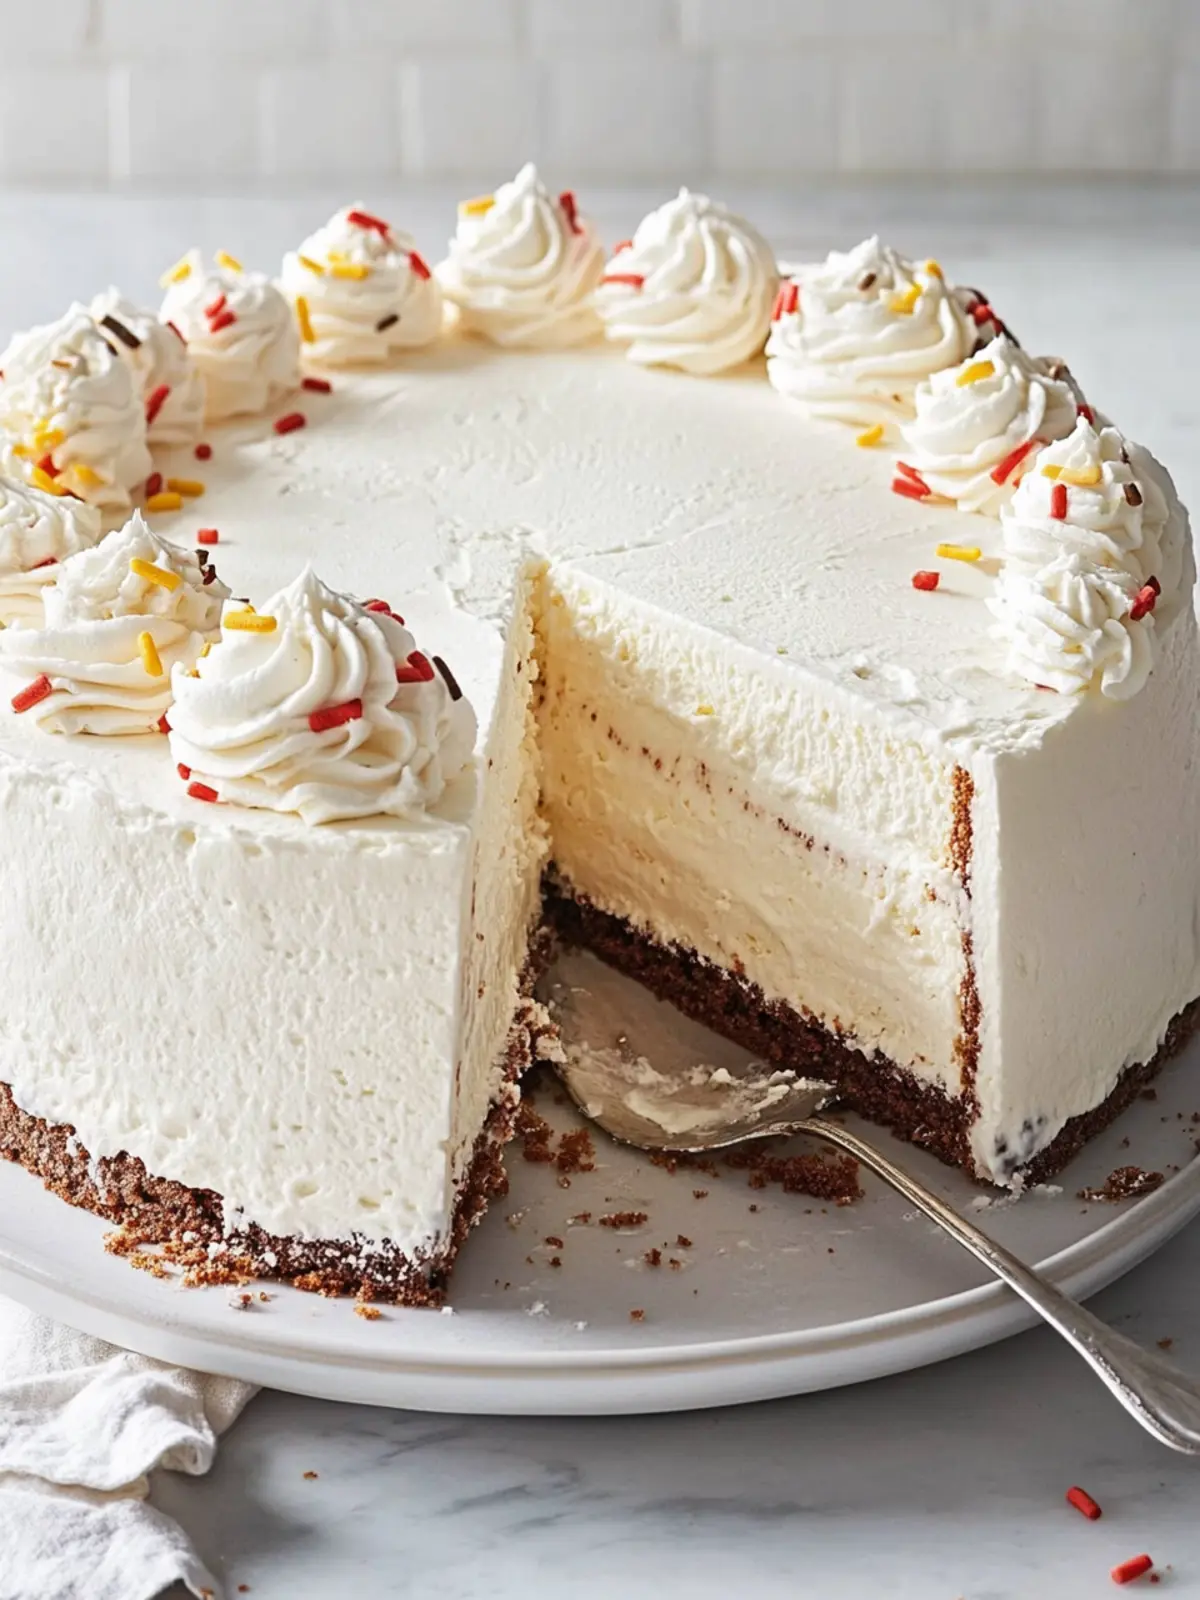
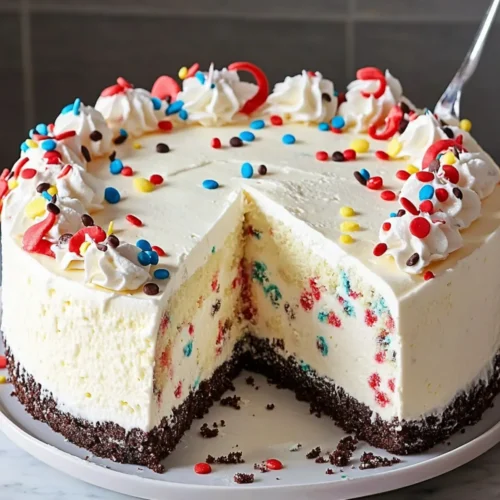
Top Cake: Dollop the whipped cream mixture over the chocolate ice cream, smoothing it out. Decorate the top with colorful sprinkles for that perfect finishing touch.
-
Freeze: Cover the assembled cake with plastic wrap and freeze for at least 7 hours or overnight. This step ensures it’s firm and ready to serve when you’re craving a slice.
Optional: Drizzle more hot fudge or add fresh fruit slices before serving for an extra touch.
Exact quantities are listed in the recipe card below.
Make Ahead Options
Preparing this Copycat Dairy Queen Ice Cream Cake in advance is a fantastic way to save time, especially for busy weeknights or special occasions! You can make the cookie crunch layer and chocolate mixture up to 24 hours ahead—simply store them in an airtight container in the refrigerator. Additionally, both layers of ice cream can be assembled and frozen up to 3 days in advance. To maintain quality, ensure the cake is tightly covered with plastic wrap to prevent freezer burn. When ready to serve, whip the heavy cream and top the cake just before your guests arrive for that perfect, fresh finish—ensuring it stays as delicious as the day you made it!
Expert Tips for Copycat Dairy Queen Ice Cream Cake
-
Soften Ice Cream: Ensure your ice cream is softened for easier spreading; this prevents a lumpy cake and creates beautiful layers.
-
Use an Offset Spatula: For neat, even layers, opt for an offset spatula; it’ll help you achieve that perfect, smooth finish instead of a spoon.
-
Chill Thoroughly: Allow the assembled cake to freeze fully for at least 7 hours or overnight to ensure all layers set beautifully, avoiding a melty mess.
-
Upgrade Your Fudge: Consider making your own fudge to elevate the flavor; it’s simple and adds a gourmet touch to your Copycat Dairy Queen Ice Cream Cake.
-
Experiment with Flavors: Don’t be afraid to mix it up! Try different ice cream flavors and toppings for a fun twist on this classic dessert.
What to Serve with Copycat Dairy Queen Ice Cream Cake?
Create the perfect dessert spread that complements the rich, creamy flavors of this nostalgic delight.
-
Fresh Berries: Juicy strawberries or raspberries added on the side brighten up every slice and balance the sweetness perfectly.
-
Chocolate Fudge Sauce: Drizzling extra fudge sauce over individual servings enhances the chocolate experience, taking indulgence to a whole new level.
-
Whipped Cream: A dollop of homemade whipped cream on top adds an airy texture that pairs beautifully with the cake’s rich layers.
-
Mint Leaves: Fresh mint leaves not only look gorgeous as a garnish but also provide a refreshing contrast to the cake’s sweetness.
-
Coffee or Espresso: The robust flavors of coffee or a shot of espresso provide a delightful counterpoint, making it a perfect end to a meal.
-
Ice Cream Floats: For an extra fun twist, serve with soda floats using your favorite fizzy drink—think root beer or cream soda for a playful combination.
-
Nutty Toppings: Chopped nuts like almonds or hazelnuts can sprinkle over slices for added crunch and a nutty flavor that complements the dessert’s layers.
-
Chocolate Chip Cookies: For the ultimate dessert duo, serve a few warm chocolate chip cookies alongside for a nostalgic treat that pairs well.
-
Fruit Sorbet: A refreshing scoop of sorbet offers a fruity cleanse to balance the cake’s richness, especially on warm summer days.
-
Sparkling Water: A glass of sparkling water provides a light, bubbly refreshment that can cleanse the palate between bites of decadent cake.
Copycat Dairy Queen Ice Cream Cake Variations
Make this delightful cake even more exciting by customizing it to your heart’s content! Each variation opens up a new realm of flavors and textures.
-
Gluten-Free: Swap Oreo cookies for gluten-free chocolate sandwich cookies to keep everyone happy and safe from gluten.
-
Vegan Delight: Use coconut or almond-based ice cream and vegan butter to create a plant-based version that everyone can enjoy.
-
Flavor Fusion: Try using mint chocolate chip or salted caramel ice cream for a refreshing twist on standard flavors—what a delightful surprise!
-
Fruity Layers: Incorporate layers of fresh strawberries or bananas between the ice cream layers for a burst of fruity goodness that enhances every bite.
-
Nutty Crunch: Add crushed nuts like pecans or almonds to the cookie crunch layer for an extra crunch and layer of flavor—it’s a delightful surprise!
-
Heat It Up: Mix in some crushed spicy cinnamon candy or chili powder to the chocolate layer for a unique sweet and spicy combination that will tantalize your taste buds.
-
Homemade Fudge: Make your fudge topping from scratch using cocoa powder, sugar, and milk for a richer, more indulgent chocolate experience that you won’t forget.
-
Caramel Swirl: Drizzle homemade or store-bought caramel syrup between layers for a sweet surprise that creates a deliciously gooey experience!
Feel free to mix and match these ideas to create your own personalized version of this beloved dessert!
Storage Tips for Copycat Dairy Queen Ice Cream Cake
Fridge: Store leftover cake covered in the fridge for up to 3 days, but keep in mind that the texture may become softer over time.
Freezer: For longer storage, keep the cake in an airtight container or tightly wrapped in plastic wrap in the freezer for up to 2 weeks without losing flavor or texture.
Reheating: Allow the frozen cake to thaw in the refrigerator for a few hours before serving; this will make slicing easier and restore that creamy texture.
Serving Tip: When ready to enjoy your Copycat Dairy Queen Ice Cream Cake, let it sit at room temperature for about 10 minutes for the best texture and flavor experience.
Copycat Dairy Queen Ice Cream Cake Recipe FAQs
What kind of Oreo cookies should I use?
You can use regular Oreo cookies for that classic flavor, but if you’re looking for a gluten-free option, try gluten-free chocolate sandwich cookies! They’ll provide the same satisfying crunch without any gluten.
How should I store leftover Copycat Dairy Queen Ice Cream Cake?
Store any leftovers in the freezer, tightly wrapped in plastic wrap or in an airtight container, for up to 2 weeks. If stored in the fridge, consume within 3 days as the texture may become softer.
Can I freeze this ice cream cake?
Absolutely! After you’ve assembled your Copycat Dairy Queen Ice Cream Cake, cover it tightly with plastic wrap and freeze it for at least 7 hours or overnight. This allows all the flavors to meld beautifully and makes for easier slicing when you’re ready to enjoy!
What if my ice cream is too hard to spread?
No worries! Just let it sit at room temperature for about 10 minutes to soften before spreading. You want your ice cream to be soft enough to create smooth layers without melting all over the place.
Are there any allergies I should be aware of?
If you’re serving this dessert to guests, keep in mind it contains dairy and gluten, thanks to the ice cream and Oreo cookies. For those with nut allergies, ensure you’re using safe products as some chocolate toppings may have cross-contamination risks. You can always customize by using non-dairy ice cream and gluten-free cookies if needed!
How can I prevent a “melty mess” when serving?
To avoid that, freeze the cake for the full recommended time before slicing. If the cake seems too hard to cut, let it sit at room temperature for about 5-10 minutes before serving to reach the perfect creamy texture.
Homemade Copycat Dairy Queen Ice Cream Cake Bliss
Equipment
- Oven
- Mixing bowl
- cake tin
- - Offset spatula
Ingredients
For the Cookie Crunch Layer
- 25 cookies Oreo cookies Substitute with gluten-free cookies for a gluten-free version.
- 1/2 cup Unsalted butter, melted Can use vegan butter as a substitute.
For the Fudge Ribbon
- 3.5 oz Semisweet chocolate chips Dark chocolate deepens the taste.
- 2 tbsp Refined coconut oil or vegetable shortening Can be omitted if not desired.
For the Ice Cream Layers
- 1.5 qt Vanilla ice cream Substitute with dairy-free ice cream for a vegan option.
- 11.5 oz Hot fudge topping Homemade fudge elevates the dish's gourmet status.
- 1.5 qt Chocolate ice cream Try flavored varieties for a unique twist.
For the Topping
- 1.5 cups Heavy whipping cream Non-dairy whipped cream serves as a suitable substitute.
- 1/4 cup Confectioners' sugar Adjust to taste or use a sugar substitute.
- 1.5 tsp Pure vanilla extract Almond extract offers a lovely alternative.
- Sprinkles Feel free to swap in nuts or chocolate shavings for a unique finish.
Instructions
How to Make Copycat Dairy Queen Ice Cream Cake
- Coarsely chop your Oreo cookies and mix them with melted butter in a bowl. Spread the mixture evenly on a baking sheet and toast it in the oven at 350°F for about 8-10 minutes until crispy and fragrant.
- Once the cookie crunch has cooled, toss it with the melted semisweet chocolate until fully coated. Place this mixture in the refrigerator to chill until it sets, about 30 minutes.
- While your cookie crunch sets, let the vanilla and chocolate ice cream sit at room temperature for around 10 minutes. This will make spreading much easier.
- In a round cake tin, start by spreading an even layer of vanilla ice cream as the base. Pour the hot fudge topping over this layer, swirling it slightly.
- Evenly sprinkle the chilled chocolate cookie mixture over the fudge layer, pressing gently to ensure it adheres.
- Carefully spoon chocolate ice cream over the cookie layer. Use an offset spatula to smooth it out, creating a lovely second layer.
- In a mixing bowl, whip the heavy cream with confectioners' sugar and vanilla extract until stiff peaks form, indicating it's fluffy and ready.
- Dollop the whipped cream mixture over the chocolate ice cream, smoothing it out. Decorate the top with colorful sprinkles for that perfect finishing touch.
- Cover the assembled cake with plastic wrap and freeze for at least 7 hours or overnight. This step ensures it's firm and ready to serve when you’re craving a slice.