
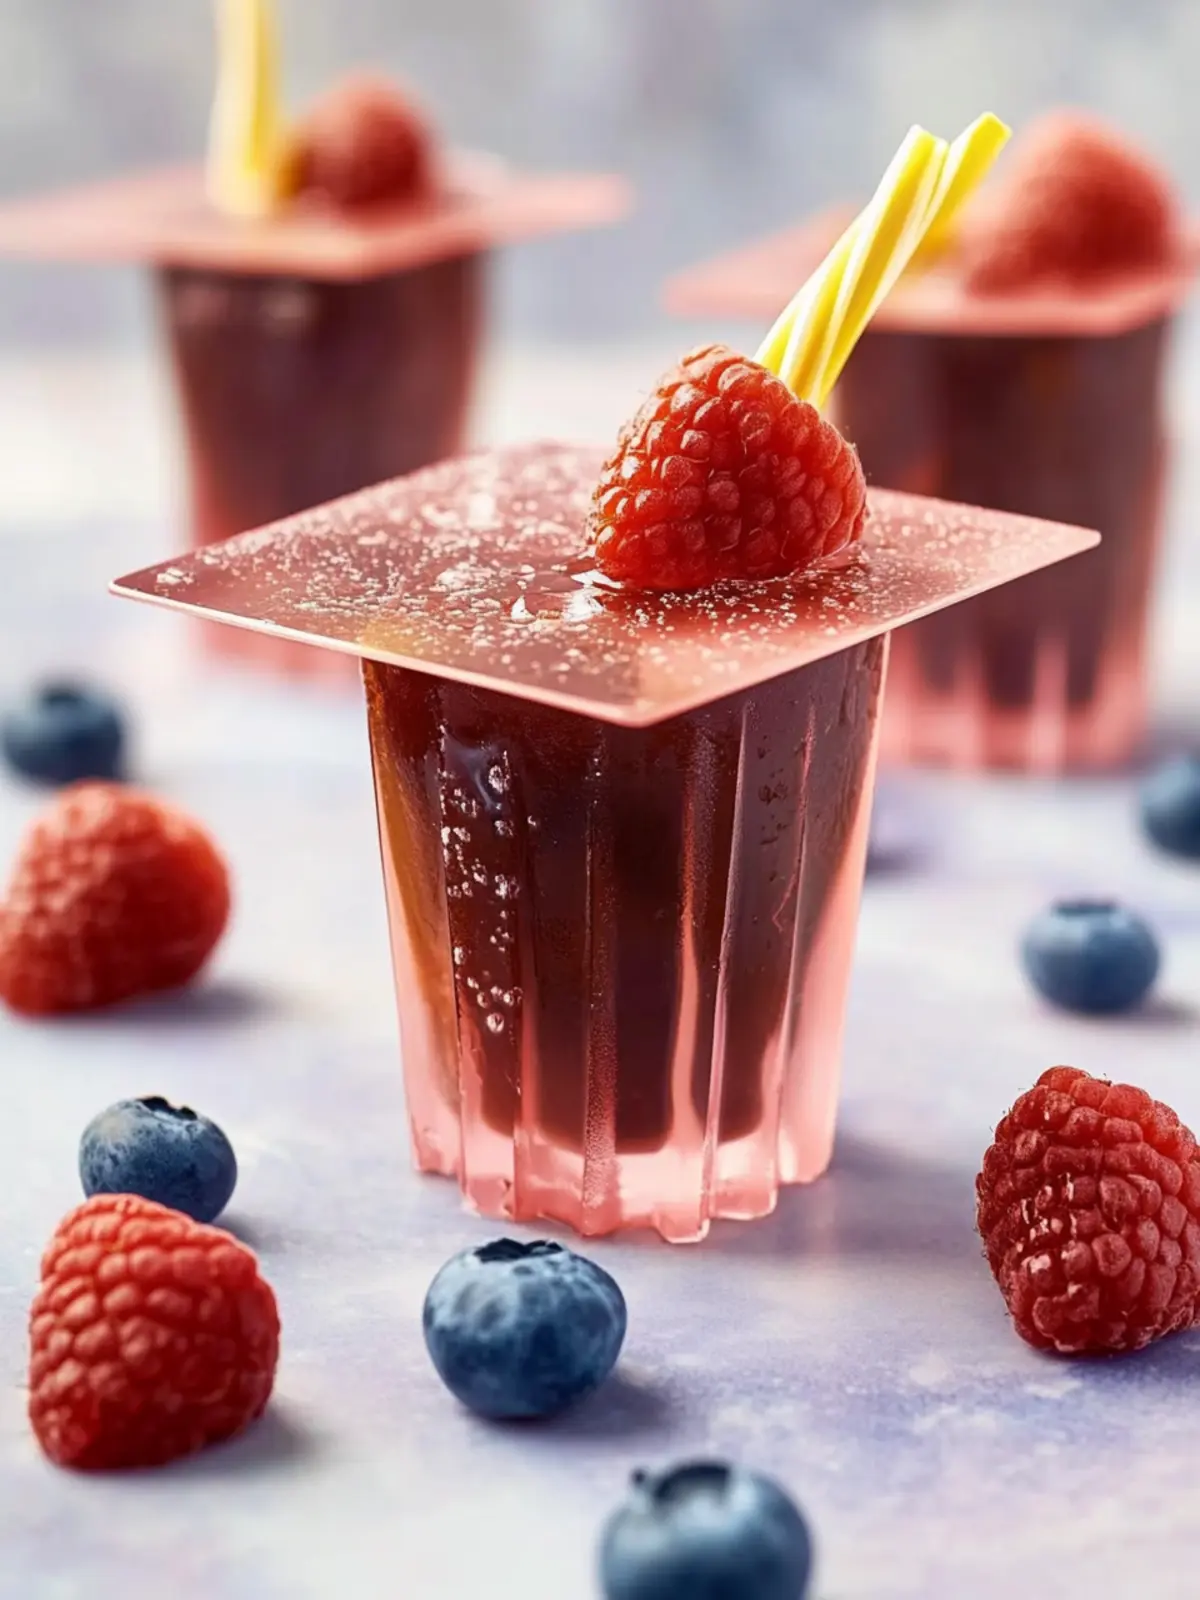
As graduation season rolls around, I find myself swept up in a whirlwind of pride and nostalgia. The sound of jubilant cheers and the smell of fresh blooms instantly transports me back to my own special day. To celebrate this momentous occasion, I’ve whipped up a fun and easy treat that brings a dash of sweetness to any graduation party: Chocolate Graduation Caps Treats!
These delightful little creations are not only adorable; they pack a punch of flavor that will have everyone returning for seconds. With just a handful of ingredients—like creamy Reese’s, rich Ghirardelli chocolate, and colorful M&Ms—these treats are a breeze to assemble. Best of all, they’re sure to be the star of the dessert table, making them perfect for your celebration. Join me in crafting these simple yet impressive graduation bites that bring fun and festivity to the table!

Why are Graduation Recipes so special?
Delightful and Fun: These Chocolate Graduation Caps Treats are not just sweets; they’re tiny celebrations on your table! Easy to Make: With only 10 minutes of prep, you can whip up these charming delights without any fuss. Colorful Creation: The vibrant food coloring adds a festive touch, perfect for honoring graduates. Crowd Pleaser: Everyone, from kids to adults, will adore these bite-sized treats that look as good as they taste. Memorable Moment: Create a centerpiece that sparks joy and nostalgia, making your graduation festivities truly special! For more inspiration on celebrating occasions, check out my other festive graduation recipes.
Graduation Recipes Ingredients
• Get ready to craft the perfect treats!
For the Chocolate Caps
- Mini Reese’s Peanut Butter Cups – unwrapped and ready to indulge, these add a creamy texture that everyone loves.
- Ghirardelli Chocolate Squares – rich and indulgent, they create the perfect ‘cap’ for your graduation treats.
For the Decoration
- Mini M&M’s – colorful and fun, these will serve as the perfect tassel embellishment on top of each cap.
- Vanilla Frosting – used for piping, it adds a sweet touch to hold everything together; feel free to tint it with your favorite food coloring.
- Food Coloring – just a few drops will add vibrancy and personalization, showcasing school colors or festive shades.
These Graduation Recipes promise to be a delightful addition to your celebration!
How to Make Chocolate Graduation Caps Treats
-
Prepare the Base: Start by placing each mini Reese’s peanut butter cup top side down on a wax paper-lined baking sheet. This will serve as the sturdy base for your delightful caps.
-
Tint the Frosting: Grab your vanilla frosting and add a few drops of your chosen food coloring. Mix well until you achieve a vibrant hue, adding that festive touch perfect for graduation.
-
Pipe the Frosting: Using a piping bag or a plastic bag with the corner snipped, pipe a small dab of frosting right in the center of each peanut butter cup. This will help hold the chocolate cap in place.
-
Add the Chocolate Cap: Gently place a Ghirardelli chocolate square on top of each peanut butter cup. It should sit snugly atop the frosting, creating the cap look!
-
Create the Tassel: Using the same piping bag, pipe a small tassel shape on top of each chocolate square, making it look just like a graduation cap!
-
Finish with M&M’s: Place a mini M&M right on top of each piped tassel. This will give your graduation caps that final touch of color and fun.
-
Chill Out: Allow your adorable treats to set in the fridge for about 1 hour. This helps everything firm up nicely, ensuring they hold their shape when served.
Optional: Garnish with edible glitter for a festive sparkle!
Exact quantities are listed in the recipe card below.

Expert Tips for Graduation Recipes
-
Choose Quality Chocolate: Use high-quality Ghirardelli chocolate squares for a rich flavor that pairs perfectly with the sweet peanut butter cups.
-
Bag the Frosting: If you don’t have a piping bag, a zip-top plastic bag with a snipped corner works just as well for creating tassels and dabs of frosting.
-
Chill Thoroughly: Don’t skip the refrigeration step! Allow the treats to set for about 1 hour to ensure everything stays in place and looks perfect when served.
-
Customize Colors: Feel free to use food coloring that matches your graduate’s school colors, adding a personal touch to these delightful graduation recipes.
-
Avoid Overfilling: When piping the frosting, be cautious not to overdo it; too much can cause a messy overflow. A small dab is perfect!
What to Serve with Chocolate Graduation Caps Treats?
Creating a memorable graduation celebration means pairing these delightful treats with the perfect accompaniments that resonate with fun and festivity.
-
Sparkling Lemonade: Refreshing and zesty, this drink adds a bubbly touch to your dessert table, enhancing the celebratory mood.
-
Mini Fruit Skewers: Colorful and vibrant, they provide a fresh balance to the sweetness, making your dessert spread visually appealing.
-
Chocolate Fondue: Dip fresh fruits or marshmallows for an interactive dessert experience. It complements the chocolate theme while offering varied flavors.
-
Vanilla Ice Cream: Creamy and cool, this classic treat pairs beautifully with the rich chocolate flavors, offering a delightful contrast.
Nothing says festive like something sweet alongside a sweet.
-
Caramel Sauce: Drizzle over the caps for an added gooey texture that amplifies every bite’s flavor, making it a true crowd pleaser.
-
Graduation-Themed Cupcakes: Keep the celebratory spirit alive! Decorate with the school’s colors and caps, making the dessert table instantly fun and festive.
As you create your special graduation spread, these pairings will ensure that your Chocolate Graduation Caps Treats shine even brighter!
Graduation Recipes Variations
Feel free to let your creativity shine as you customize these delightful treats to suit your taste and occasion!
-
Nut-Free: Substitute the mini Reese’s peanut butter cups with cookie butter or sunflower seed butter cups for a tasty allergen-friendly option.
-
Vegan: Use dairy-free chocolate squares and a plant-based frosting to make these treats suitable for vegan diets, without losing any of the fun!
-
Flavored Frosting: Replace vanilla frosting with chocolate or strawberry frosting to introduce a new flavor twist that complements the chocolates.
-
Crunchy Texture: Mix in crushed graham crackers or chocolate cookies into the frosting before piping for a delightful crunch that adds an unexpected surprise.
-
Colorful Theme: Use various shades of food coloring to create a rainbow effect with your frosting, perfect for a colorful graduation party!
-
Chocolate Drizzle: Drizzle melted chocolate over the finished caps for an extra layer of sweetness and visual appeal, making them even more enticing.
-
Spicy Kick: Add a pinch of cayenne pepper to your frosting for a unique spicy twist that contrasts beautifully with the sweetness of the treats.
-
Mini Versions: Create bite-sized versions using mini peanut butter cups and chocolate squares for a fun party platter that allows guests to indulge without overdoing it.
Make Ahead Options
These Chocolate Graduation Caps Treats are a lifesaver for busy home cooks looking to simplify their celebrations! You can prepare the mini Reese’s peanut butter cups with the piped frosting up to 24 hours in advance. Simply assemble the caps but leave off the M&Ms and tassels until right before serving to keep them fresh and vibrant. Store the assembled treats in an airtight container in the refrigerator. This prevents the frosting from becoming too soft and ensures the chocolate remains firm. When it’s time for the festivities, simply finish by adding the mini M&Ms on top, and you’ll have beautifully decorated treats that are just as delightful as if made fresh that day!
How to Store and Freeze Chocolate Graduation Caps Treats
Room Temperature: Keep the treats stored in an airtight container at room temperature for up to 3 days to maintain their deliciousness.
Fridge: If you prefer a longer shelf life, store them in the fridge for up to a week. Just ensure they’re in a sealed container to prevent them from drying out.
Freezer: For longer storage, these treats can be frozen for up to 2 months. Place them in a single layer on a baking sheet to freeze individually before transferring to an airtight container.
Reheating: When ready to enjoy, simply let them sit at room temperature for about 15 minutes after removing from the fridge or freezer, allowing the chocolate to soften. These Chocolate Graduation Caps Treats are sure to delight!

Chocolate Graduation Caps Treats Recipe FAQs
How do I choose the right mini Reese’s peanut butter cups?
Absolutely! When selecting your mini Reese’s peanut butter cups, look for those that are fresh and have no visible damage. Opt for a package that is not close to its expiration date—about 2-3 months before it expires is ideal for the best flavor and texture.
How should I store the Chocolate Graduation Caps Treats?
You can keep your delightful treats in an airtight container at room temperature for up to 3 days. However, if you want them to last longer, storing them in the fridge can extend their shelf life to a week. Ensure they’re sealed well to avoid drying out!
Can I freeze the Chocolate Graduation Caps Treats?
Very! To freeze, place the treats in a single layer on a baking sheet and freeze them until solid, about 1-2 hours. Once fully frozen, transfer them to an airtight container or a freezer-safe bag. They can be stored in the freezer for up to 2 months.
What if my frosting is too runny for piping?
No worries! If your frosting turns out too runny, you can easily fix it by adding a bit more powdered sugar until you reach your desired consistency. Mix thoroughly and let the frosting sit for a few minutes to thicken up, making it easier to pipe on your treats.
Are these treats suitable for those with nut allergies?
I recommend it! Since the recipe includes Reese’s peanut butter cups, which are made with peanuts, they’re not suitable for those with nut allergies. You can consider using chocolate-covered caramel or chocolate candies that are nut-free as a delicious alternative if you’re making them for someone with this allergy.
Chocolate Graduation Caps Treats for Celebratory Fun
Equipment
- - Piping bag
- Baking sheet
- wax paper
Ingredients
For the Chocolate Caps
- 12 pieces Mini Reese's Peanut Butter Cups unwrapped
- 12 pieces Ghirardelli Chocolate Squares
For the Decoration
- 1 cup Mini M&M's
- 1/2 cup Vanilla Frosting can be tinted with food coloring
- 1 bottle Food Coloring adds vibrancy
Instructions
How to Make Chocolate Graduation Caps Treats
- Prepare the Base: Start by placing each mini Reese's peanut butter cup top side down on a wax paper-lined baking sheet.
- Tint the Frosting: Grab your vanilla frosting and add a few drops of your chosen food coloring. Mix well until you achieve a vibrant hue.
- Pipe the Frosting: Using a piping bag, pipe a small dab of frosting right in the center of each peanut butter cup.
- Add the Chocolate Cap: Place a Ghirardelli chocolate square on top of each peanut butter cup.
- Create the Tassel: Pipe a small tassel shape on top of each chocolate square using frosting.
- Finish with M&M's: Place a mini M&M right on top of each piped tassel.
- Chill Out: Allow your treats to set in the fridge for about 1 hour.