

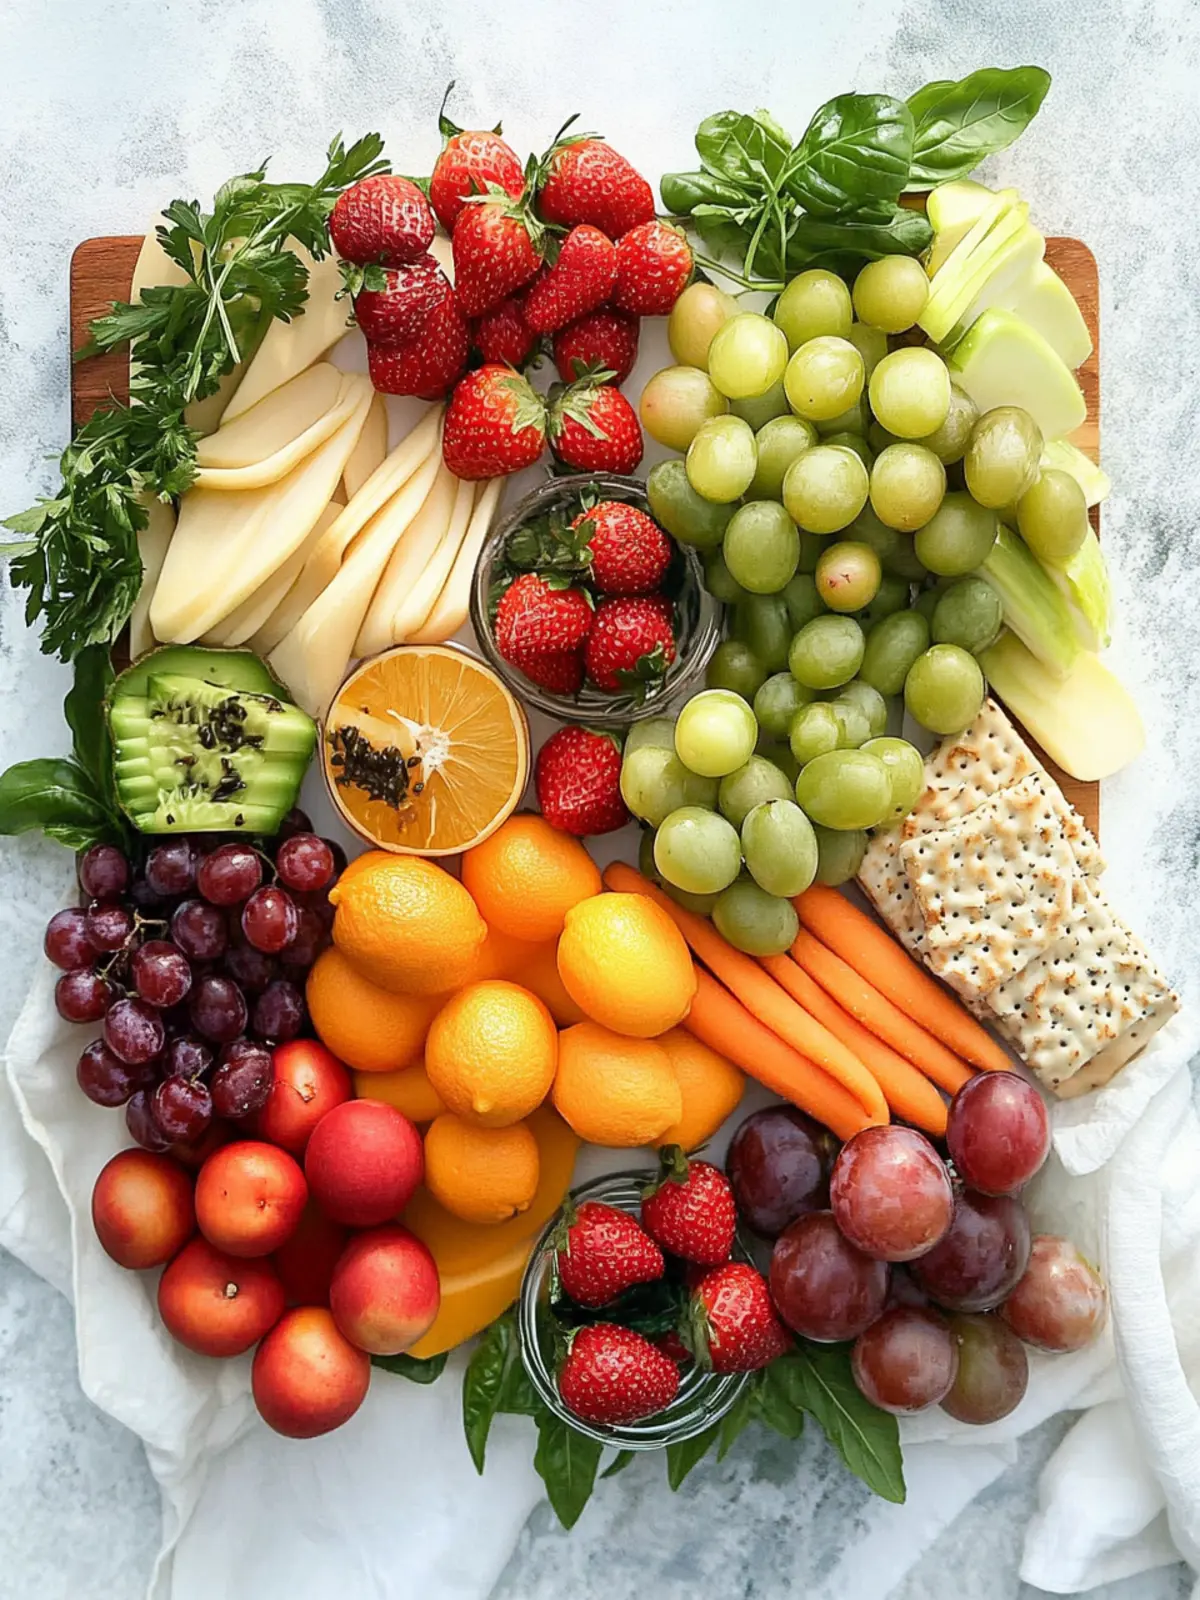
There’s something undeniably delightful about assembling a classic relish tray that makes it a go-to for gatherings, game days, or even a cozy movie night at home. Picture this: vibrant hues of fresh vegetables juxtaposed with tangy pickles and savory bites of cheese. It’s a feast for the eyes that comes together in just 20 minutes!
The beauty of this relish tray lies in its versatility. Whether you’re a dedicated home chef or just someone looking to escape the mundane cycle of fast food, this platter offers an array of flavors and textures that can please any palate. Plus, you can customize it endlessly—add your favorite olives or rotate in seasonal veggies!
So grab your favorite platter, and let’s transform simple ingredients into a colorful spread that invites everyone to dig in. Trust me, once you set this tray on the table, it won’t be long before the compliments start pouring in!
Why will you love this relish tray?
Vibrant Presentation: This relish tray showcases an eye-catching array of colors, making it a showstopper for any gathering.
Quick to Prepare: In just 20 minutes, you can create a stunning platter without any cooking required, perfect for busy schedules.
Flavor Explosion: The combination of fresh veggies, tangy pickles, and rich cheeses means every bite is bursting with flavor.
Endless Customization: Personalize your tray with your favorite ingredients or seasonal picks for a unique touch every time.
Crowd-Pleaser: Whether it’s game day, a picnic, or a cozy gathering, this platter is sure to satisfy and impress everyone around the table.
Don’t forget to check out other great ideas for appetizers to complement your feast!
Relish Tray Ingredients
• Create a delectable and colorful relish tray with these fresh ingredients.
For the Vegetables
- Celery sticks – cut into 3–4-inch pieces for a crisp and refreshing crunch.
- Carrots – peeled and cut for vibrant color and sweetness.
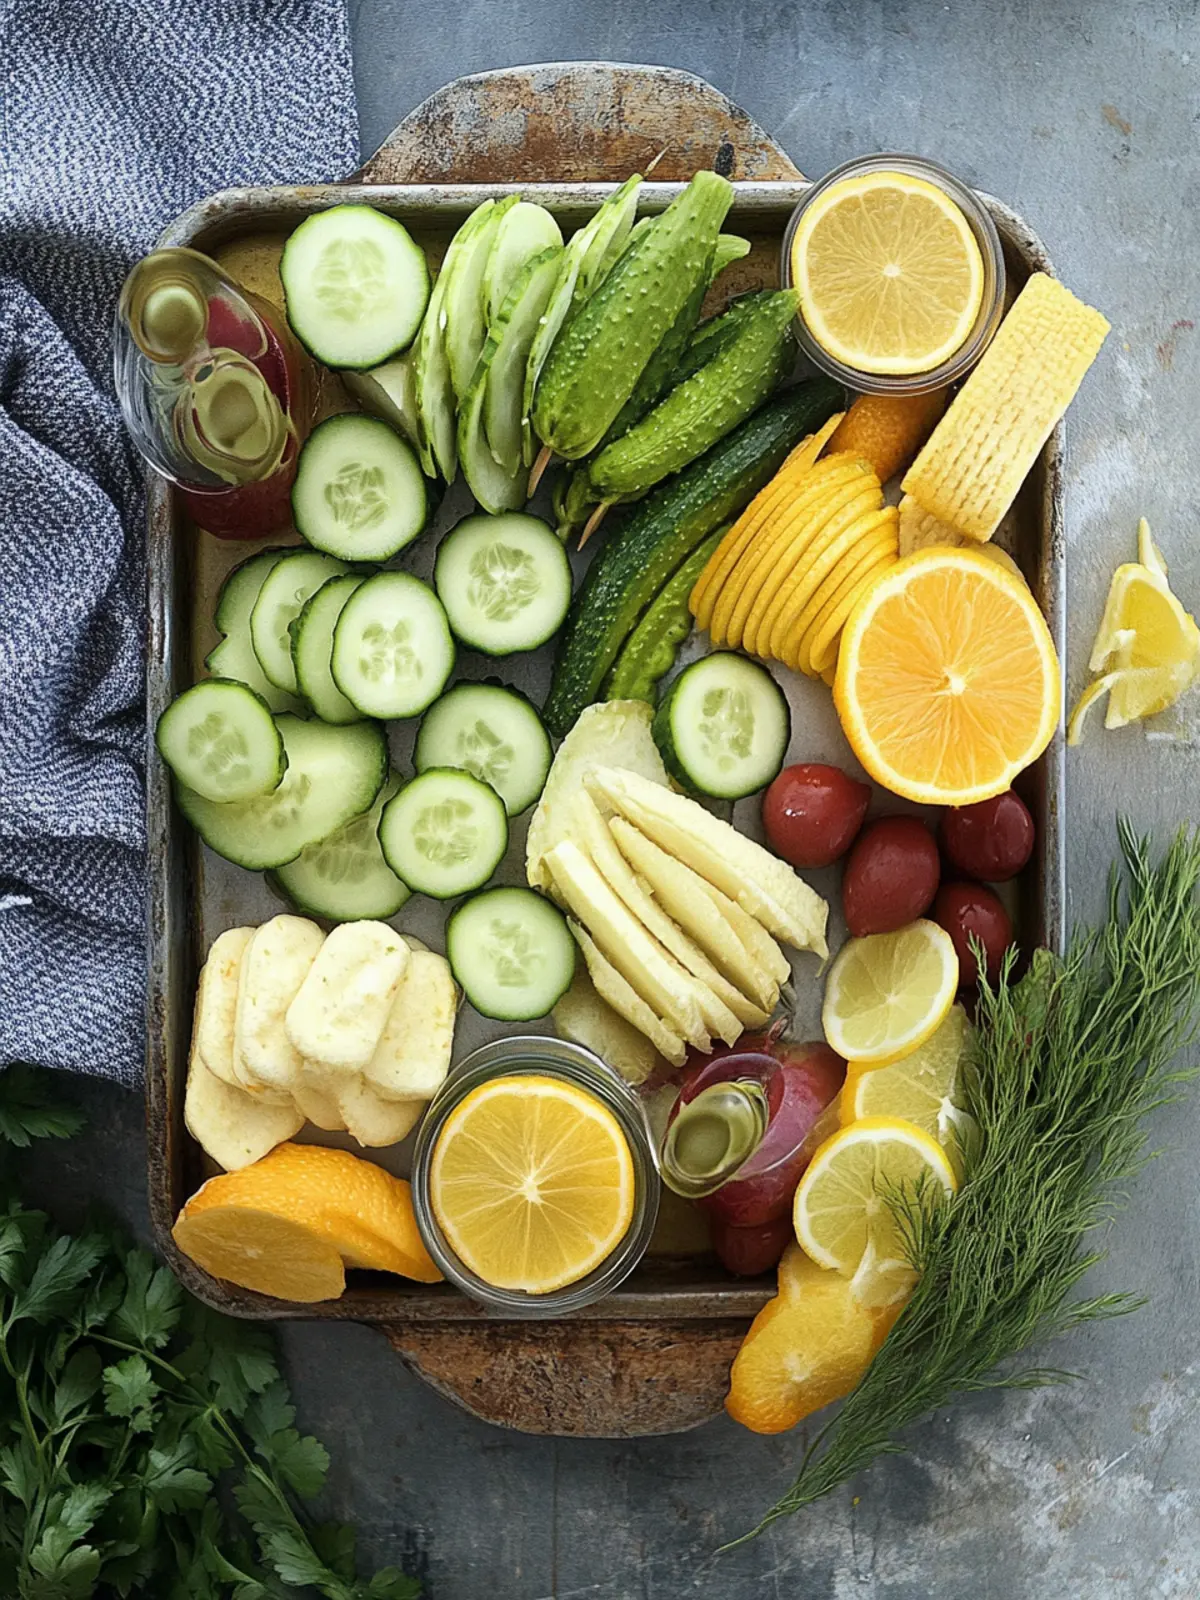
- Cucumber – sliced into rounds for a cool, hydrating bite.
- Radishes – halved if large for a peppery punch in every nibble.
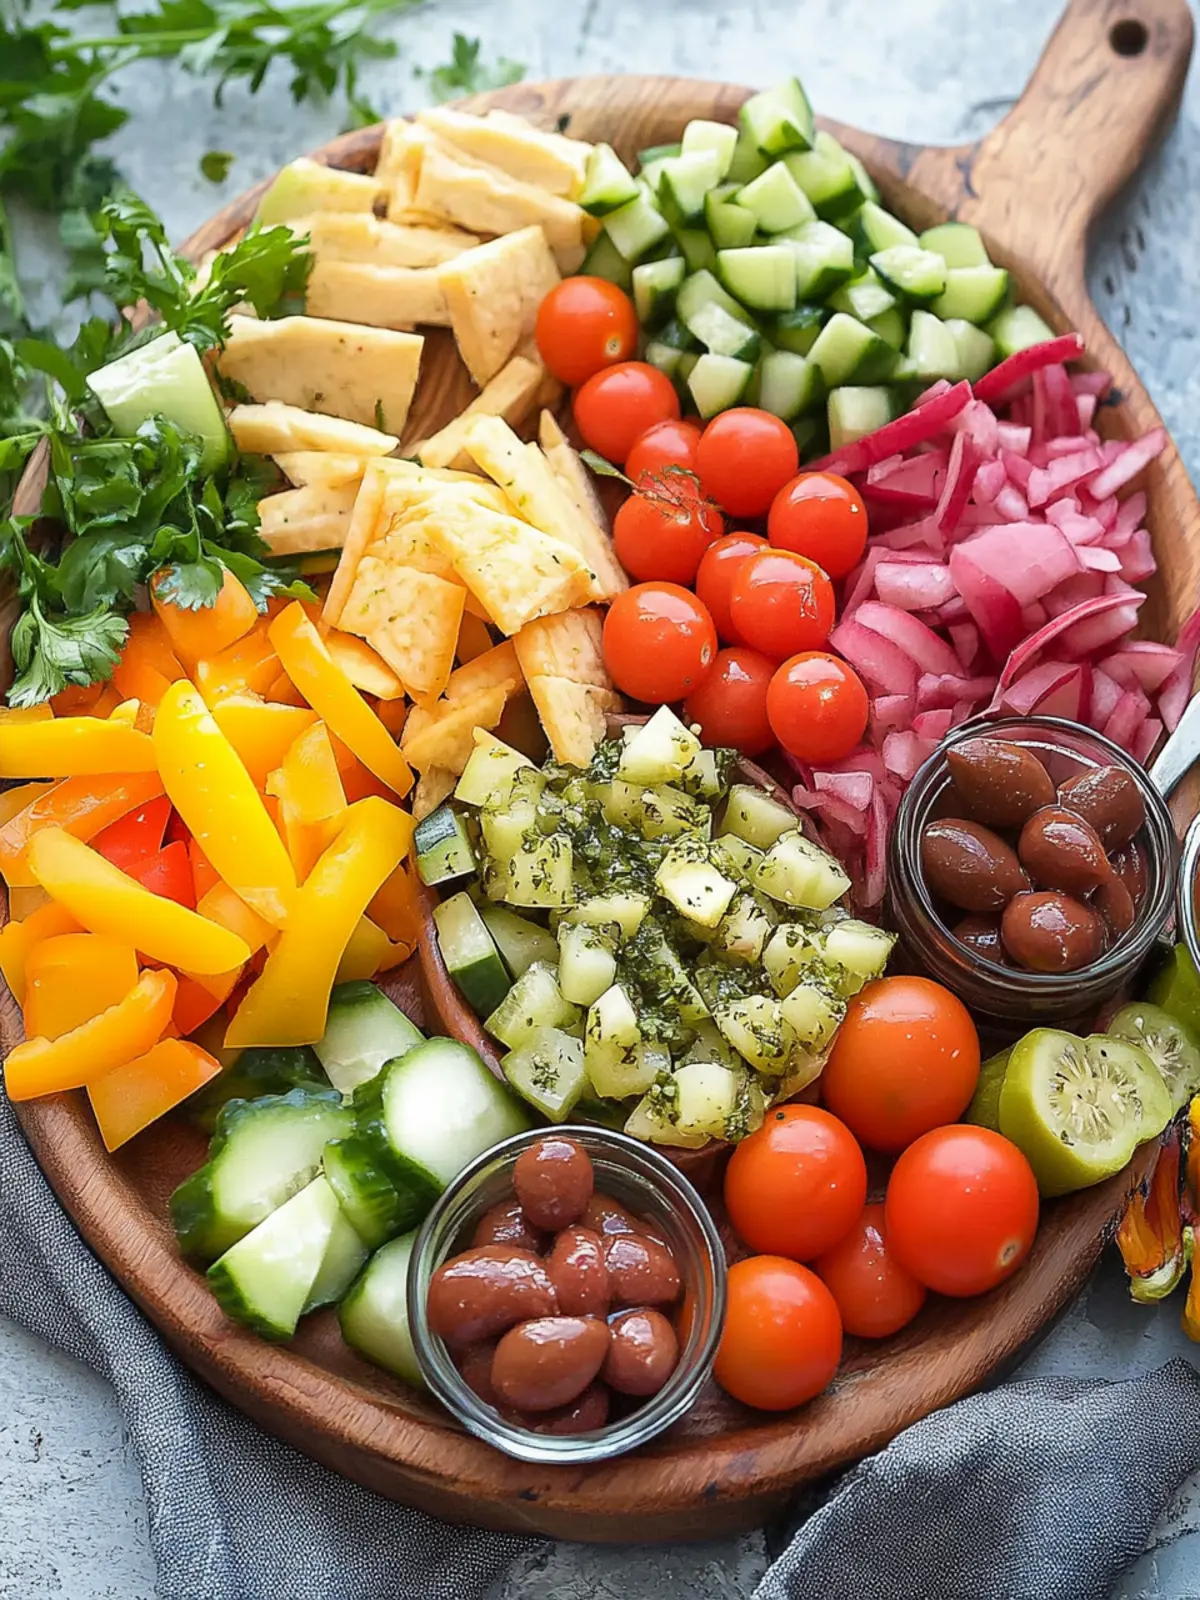
- Cherry tomatoes – add juicy bursts of flavor and a pop of red.
- Bell pepper strips – use assorted colors for a visually stunning tray.
- Broccoli or cauliflower florets – either option brings a nice crunch.
- Green onions or scallions – for a mild onion flavor to balance the platter.
For the Pickled Goodies
- Dill pickle spears or chips – essential for that tangy zest.
- Sweet gherkins – add a hint of sweetness to the mix.
- Cornichons – optional but they offer a classic French twist.
- Green olives – Castelvetrano or “queen” olives bring richness.
- Black olives – a familiar favorite that rounds out the flavors.
- Pickled peppers, pepperoncini – introduce a touch of heat.
- Pickled onions or okra – optional but refreshingly unique.
For the Hearty Touches
- Marinated mushrooms – provide a savory earthy flavor.
- Pickled beets – add color and a slight sweetness to the mix.
- Pepperoni or salami – for a heartier option, slice them thinly.
- Cheese cubes – choose from cheddar, Colby jack, or Swiss for variety.
For the Finishing Touches
- Lemon wedges – a zesty accompaniment to olives and pickles.
How to Make a Relish Tray
-
Choose your platter: Begin by selecting a large oval platter, a sheet pan, or a divided tray that will display all your vibrant ingredients beautifully.
-
Prep the veggies: Wash and dry each veggie thoroughly; remember, dry vegetables help the dips cling better, making every bite deliciously satisfying.
-
Cut for convenience: Slice your veggies into grab-and-go sticks or spears, ensuring they’re roughly the same size for a neat and appealing presentation.
-
Drain the briny items: Carefully remove pickles and olives from their jars, patting them lightly to avoid any puddles on your tray that could make a mess.
-
Add a dip: Place your favorite dip in a small bowl, then position it in the center or off to one side of your platter for easy access.
-
Arrange in sections: Organize your ingredients by grouping each item in its own little section around the dip, creating a visually appealing spread.
-
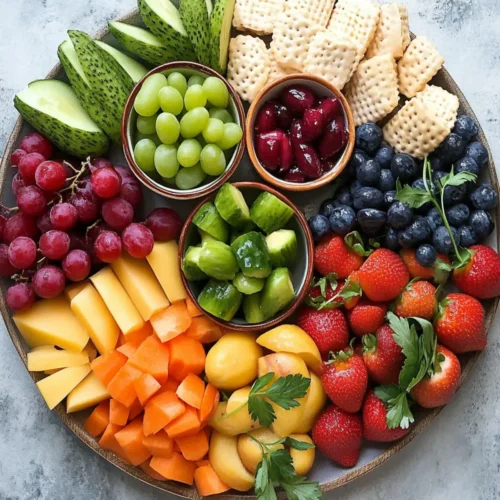
Layer colors: Position wet items, like pickles and peppers, toward the edges while mixing colors—green, red, orange, and white—for that classic, abundant look.
-
Finish with flair: Add fresh herb sprigs like dill or parsley for a pop of freshness, along with small forks for olives and pickles, plus toothpicks for easy snacking.
Optional: A sprinkle of paprika over the vegetables can add a cheerful touch.
Exact quantities are listed in the recipe card below.
Make Ahead Options
These delightful relish trays are a lifesaver for busy weeknights or gatherings! You can prep most of the ingredients up to 24 hours in advance. Start by washing and cutting the vegetables, storing them in an airtight container like a resealable bag with a damp paper towel to keep them fresh and crisp. Additionally, drain and pat dry the pickled items a day ahead and store them separately to prevent any puddling on your platter. When ready to serve, simply arrange everything on your chosen platter, add a dip, and voilà—your beautifully organized relish tray is just as fresh and vibrant as if you prepared it on the spot!
Tips for the Best Relish Tray
Color Coordination: Arrange items by color to enhance visual appeal and create an inviting spread that draws guests in.
Cut Evenly: Keep your veggie pieces similar in size; this not only looks nicer, but also ensures a balanced bite every time you grab a stick.
Water Management: Always pat dry briny items like pickles and olives; excess moisture can lead to a soggy relish tray—nobody wants that!
Dip Placement: Place the dip in a bowl that’s not too big; it should allow easy access, inviting everyone to dive into the flavors without making a mess.
Seasonal Variations: Remember to get creative with your ingredients! Switch things up according to the season or your favorite flavor profiles to make every relish tray unique!
How to Store and Freeze Relish Tray
Room Temperature: Keep leftovers out for a maximum of 2 hours to ensure freshness and safety while enjoying your relish tray.
Fridge: Store any uneaten veggies, cheeses, and pickles in an airtight container in the refrigerator for up to 3 days for optimal freshness.
Freezer: It’s not recommended to freeze your relish tray, as the texture of fresh veggies and cheeses won’t hold up well after defrosting.
Reheating: If you have marinated mushrooms or cooked items, gently reheat in the microwave for 15-30 seconds, just to warm and revive their original flavor.
Relish Tray Variations
Feel free to get creative and make this relish tray your own with delicious twists and substitutions!
-
Veggie Swap: Replace celery with jicama sticks for a sweeter crunch. It adds a delightful twist that surprises the taste buds.
-
Herb Infusion: Toss in fresh herbs like dill or basil mixed with your veggies for an aromatic touch. They brighten up the platter with their fragrance and flavor.
-
Cheese Blend: Use feta or pepper jack instead of cheddar for a tangy kick. Each cheese brings its own character, elevating your bites with new layers of flavor.
-
Fruit Addition: Add sliced strawberries or apple wedges for a surprising sweetness. The contrast of savory and sweet brings harmony to each nibble.
-
Flavor Punch: Introduce spicy pickles or jalapeños to dial up the heat. Perfect for those who crave a little excitement in every bite!
-
Nutty Crunch: Include a handful of roasted nuts for an unexpected crunchy element. They add a layer of texture that complements the creaminess of the cheese.
-
Dip Options: Swap traditional ranch with tzatziki or hummus to offer a delightful Mediterranean flair. The tangy yogurt of tzatziki harmonizes beautifully with fresh ingredients.
-
Meat Choices: Try prosciutto or smoked salmon instead of salami for a gourmet twist. These choices bring sophistication to your platter, enticing even the most discerning palates.
What to Serve with Classic Relish Tray?
Looking to elevate your platter experience? Pair these delightful accompaniments for a vibrant table setting that will impress your guests.
- Crunchy Pita Chips: Perfect for dipping and adds an enjoyable crunch to each bite of your relish tray.
- Hummus Duo: This creamy spread offers a flavorful contrast that complements the fresh veggies beautifully.
- Savory Meat Platter: Add a selection of cured meats like prosciutto or salami for a heartier option that pairs wonderfully.
- Cheese Selections: A mix of tangy and mild cheeses enhances flavor variety and enriches your snacking experience.
- Fresh Fruit Medley: Juicy fruits like grapes or apple slices provide a sweet contrast and invigorate the palate.
- Zesty Olives: Introduce more varieties for a briny burst that can mingle with the flavors present in your relish tray.
- Artisan Bread: Accompany with slices of crusty bread to soak up all the wonderful flavors, inviting hearty appreciation.
- Sparkling Lemonade: This refreshing drink is a delightful pairing, balancing the salty and tangy notes of your platter.
- Chocolate-Dipped Strawberries: For a sweet ending, these indulgent treats add romance and a touch of decadence.
Classic Relish Tray Recipe FAQs
How do I select the right vegetables for my relish tray?
Absolutely! When choosing vegetables, look for fresh, vibrant colors and firm textures. For example, choose cucumbers that are firm and unblemished, celery sticks that snap cleanly, and bell peppers that feel heavy for their size. Avoid any that have dark spots or are overly soft.
What is the best way to store leftover relish tray ingredients?
Very! For any uneaten items, I recommend transferring them into an airtight container and storing them in the refrigerator. Most vegetables and cheeses will stay fresh for up to 3 days. Make sure to label the container with the date to keep track of freshness!
Can I freeze ingredients from my relish tray?
The more the merrier! However, I’d advise against freezing the relish tray as a whole, since many of the vegetables and cheeses lose their texture after thawing. If you really want to freeze certain items, consider only freezing marinated mushrooms. Place them in a freezer-safe container and they will keep well for up to 3 months. Just thaw them in the fridge overnight before serving.
What should I do if my relish tray looks too sparse?
No worries! If you find that your tray looks a bit empty, you can always add more ingredients. Incorporate some seasonal veggies, extra cheese cubes, or even more pickles to fill in the gaps. I often mix in some nuts or crackers on the side to add volume and texture, which can make the whole look more inviting.
Are there any dietary considerations I should keep in mind?
Absolutely! When making a relish tray, consider any guests with dietary restrictions. For example, be mindful of allergies to specific cheeses or nuts and offer alternatives like dairy-free cheese options. Additionally, if you have gluten-sensitive guests, you could provide gluten-free crackers or serve the dishes on their own for easy enjoyment. Always ask your guests about their preferences, as everyone enjoys a safe and delicious experience!
Delicious Relish Tray: Your Perfect Party Platter Guide
Equipment
- large oval platter
Ingredients
For the Vegetables
- 1 bunch Celery sticks cut into 3–4-inch pieces
- 3 medium Carrots peeled and cut
- 1 large Cucumber sliced into rounds
- 6 large Radishes halved if large
- 1 pint Cherry tomatoes whole
- 1 medium Bell pepper sliced into strips, assorted colors
- 1 cup Broccoli or cauliflower florets
- 4 stalks Green onions or scallions
For the Pickled Goodies
- 1 cup Dill pickle spears or chips
- 1 cup Sweet gherkins
- 1 cup Cornichons optional
- 1 cup Green olives Castelvetrano or queen olives
- 1 cup Black olives
- 1 cup Pickled peppers or pepperoncini
- 1 cup Pickled onions or okra optional
For the Hearty Touches
- 1 cup Marinated mushrooms
- 1 cup Pickled beets
- 4 oz Pepperoni or salami thinly sliced
- 8 oz Cheese cubes cheddar, Colby jack, or Swiss
For the Finishing Touches
- 1 whole Lemon wedges
Instructions
How to Make a Relish Tray
- Choose your platter: Begin by selecting a large oval platter, a sheet pan, or a divided tray that will display all your vibrant ingredients beautifully.
- Prep the veggies: Wash and dry each veggie thoroughly; remember, dry vegetables help the dips cling better, making every bite deliciously satisfying.
- Cut for convenience: Slice your veggies into grab-and-go sticks or spears, ensuring they're roughly the same size for a neat and appealing presentation.
- Drain the briny items: Carefully remove pickles and olives from their jars, patting them lightly to avoid any puddles on your tray that could make a mess.
- Add a dip: Place your favorite dip in a small bowl, then position it in the center or off to one side of your platter for easy access.
- Arrange in sections: Organize your ingredients by grouping each item in its own little section around the dip, creating a visually appealing spread.
- Layer colors: Position wet items, like pickles and peppers, toward the edges while mixing colors—green, red, orange, and white—for that classic, abundant look.
- Finish with flair: Add fresh herb sprigs like dill or parsley for a pop of freshness, along with small forks for olives and pickles, plus toothpicks for easy snacking.